Windows 10 allows you to create a child account to monitor your child’s PC activity and online activities. Combined with Microsoft Family Safety, you can remotely control how your kids use the computer from anywhere using your Microsoft account. In this tutorial we’ll show you how to add a child account in Windows 10 and manage it online with Microsoft Family Safety.
Part 1: Add A Child Account in Windows 10
Before getting started, you need to log in to Windows 10 with a Microsoft account. The child account we’ll created will also have to be a Microsoft account. Here’s how to add a child account in Windows 10:
- Press the Windows key + I to open the Settings app, or click Settings from the Start menu.
- Click Accounts, then click Family and Other Users in the left side panel. From here, click add a new family member. As I said before, you need to be logged in with your Microsoft account, otherwise you won’t have this option.

- Select the radio button “Add a child“, and enter the child’s Microsoft email address and click Next.
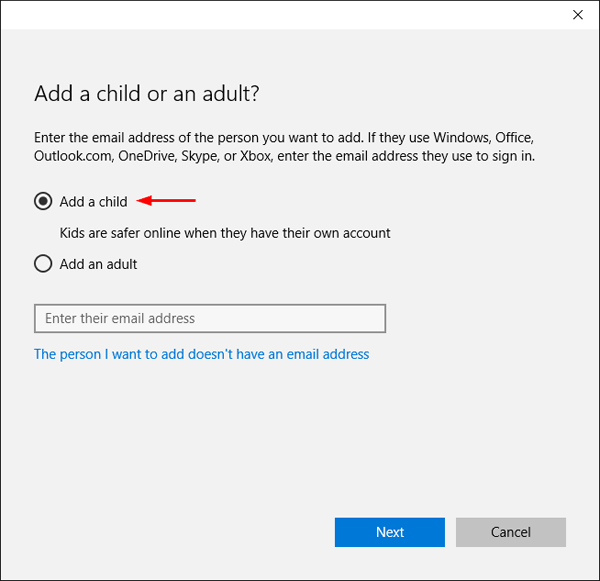
If your kids do not have a Microsoft account, click the “The person I want to add doesn’t have an email address” link to create a new Microsoft account for them.
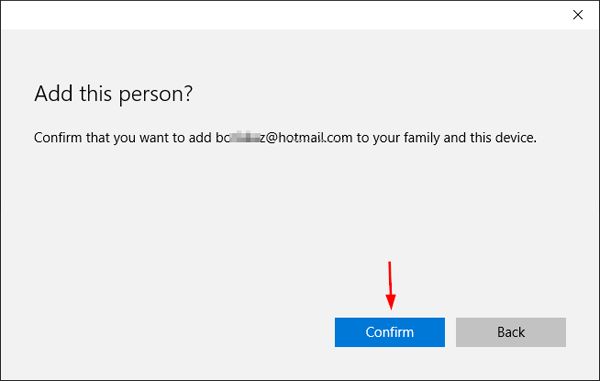
- Now, you will be asked to confirm the action. Simply click the Confirm button.
- Just after the confirmation, the invitation will be sent to your child’s email address. Click Close.
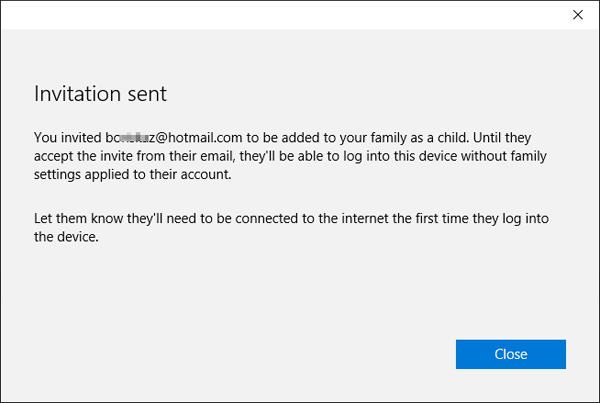
- You’ll need to login to the child email account and accept the invitation by clicking on the “Accept Invitation” link.
- Now the child account is created successfully and the kids can use their Microsoft account to log in to the Windows 10 machine.
Part 2: Enable Parental Controls
With your child account added, you’re ready to head to the Family Safety website. From there you can block certain websites, limit screen time and enable the activity reporting. Here’s how:
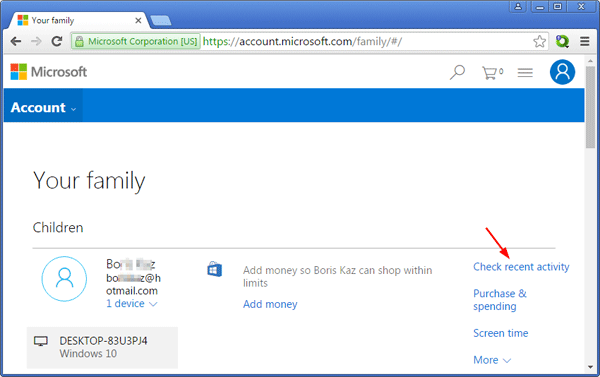
- To enable parental controls, visit the Family Safety website and login with your Microsoft account. This can be done from any computers or phones with Internet connection. In the Microsoft Family settings page, select the child account you want to enable parental controls for, and click the “Check recent activity” link.
- First, turn on Activity reporting if you want to track the kids’ PC activity. You can also choose to receive a weekly report on their activity via email.

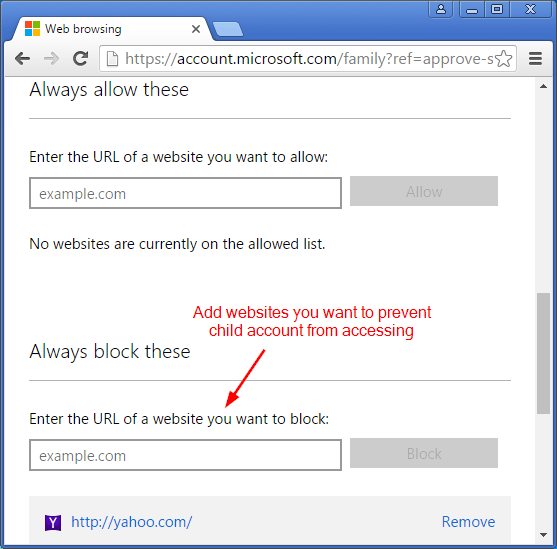
- Click the Web browsing tab and turn on “Block inappropriate websites“. Scroll down and you’ll find options for allowing specific websites, or alternatively blocking unwanted sites.
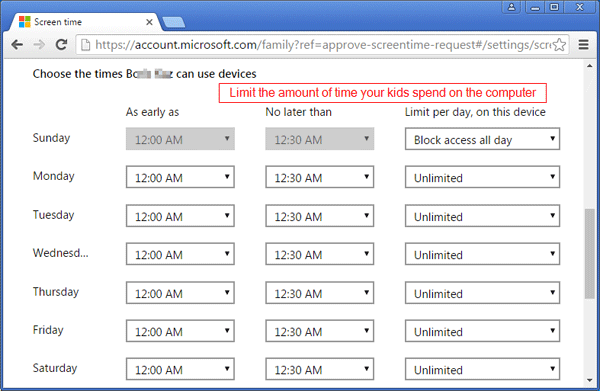
- Click the Screen time tab and you can limit the time your child has access to your PC. Turn on “Set limits for when my child can use devices“, and then set the earliest and latest times they’re allowed to use the computer for each day of the week.
- Click the Apps & games tab and turn on “Block inappropriate apps and games“. Select the age group which you think is appropriate for your child and games belonging to that age group only will be available for playing.
Part 3: What Will Happen After Enabling Parental Controls
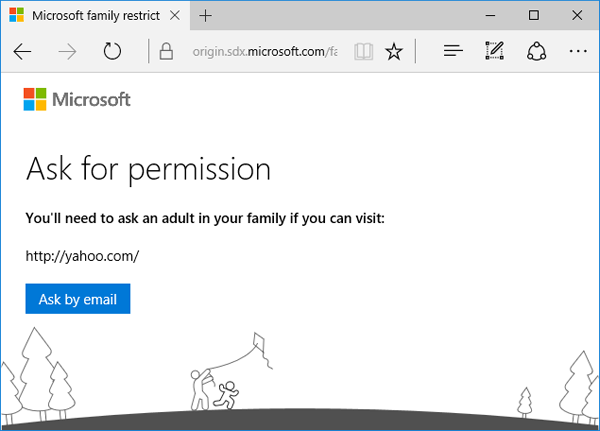
When the kids tries to access a blocked website or application, this warning will appear and they can click the “Ask by email” button to ask for parental approval to view the website or run the application.
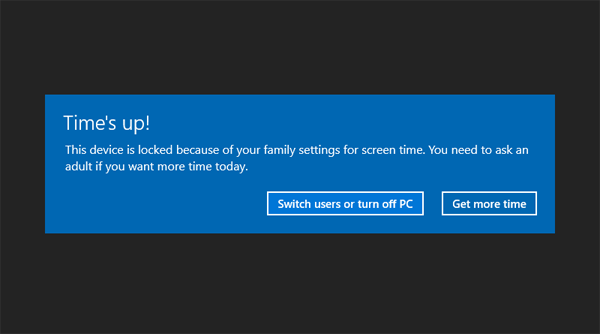
Once the screen time limit is reached, kids will see a notification saying “Time’s up” if they try to log in to Windows 10. Click the “Get more time” button and the system will notify parents via email that the kids would like more time.
