While installing Windows 8, right before the setup is about to make your PC ready it asks you whether you would like to use a local account or the Microsoft account to log on the computer. If you have chosen local account while configuring Windows, it’s not too late and you can change to use Microsoft account anytime.
In this tutorial I’ll show you how to switch local account to Microsoft account in Windows 8. Before getting started, make sure your computer has internet access so you can connect to your Hotmail or Windows Live account.
How to Switch Local Account to Microsoft Account in Windows 8?
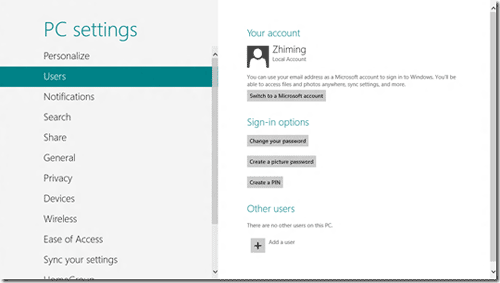
- From the Metro UI, click or swipe the upper right corner of the screen to show the Charms menu. Click or tap on the More PC settings link.

- Select Users. Then click/tap on “Switch to a Microsoft account”.
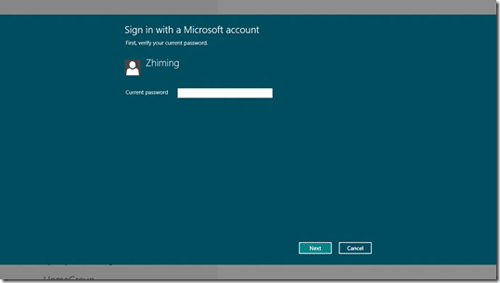
- Type in your local account password.
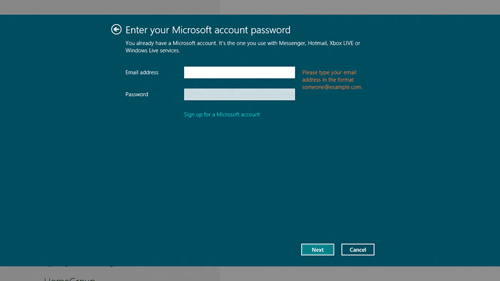
- And then enter your Live ID or your Hotmail account. If you don’t have one already, you can create one by clicking the link “Sign up for a new email address”.
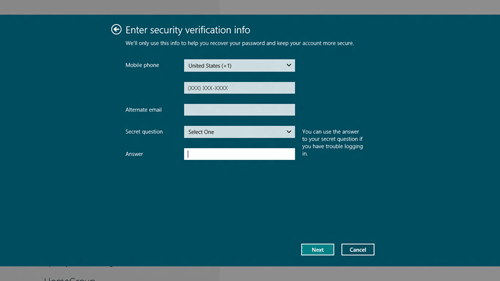
- Answer the security question to confirm your identity. You may receive an SMS message from your mobile phone that shows “Security info was added for xxx”.
- Click on Finish. You’ve completed the setup procedure.
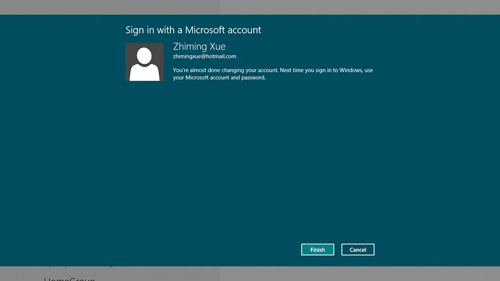
- Next time you start your computer, you can log on to Windows 8 with Windows Live ID. After logging in, some of your Metro apps will show data e.g. email, photos, and documents associated with your Windows Live ID account.
One benefit of signing in to your PC with a Microsoft account is that you can sync info between any PCs you use that are also running Windows 8 or Windows RT. When you sign in with a Microsoft account, your PC is connected to the cloud. This means that many of your personal settings and preferences are stored on Microsoft servers online, and then are synced to any PC that you sign in to.