All versions of Windows come with a useful disk checking feature which can check the integrity of your hard disk, fix file system errors and scan for bad sectors. In this tutorial we’ll show you 3 ways to run disk error check in Windows 10, 8 and 7.
Method 1: Run Disk Check from Windows Explorer
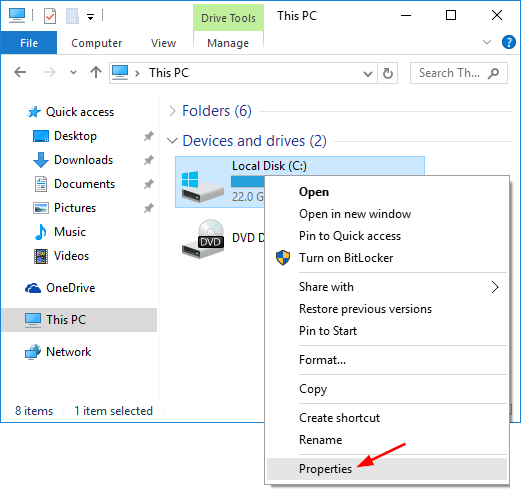
- Open Windows Explorer. Right-click on the drive you want to run the disk check on, and choose Properties.
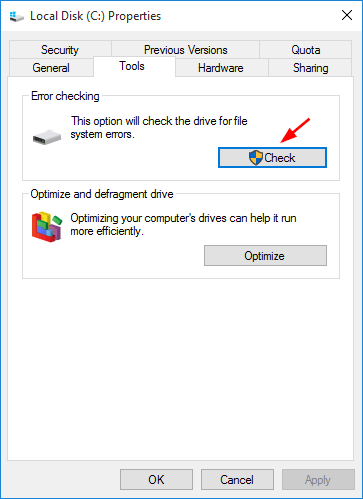
- Select the Tools tab. Under the “Error checking” section, click on the Check button.
- Click on Scan drive button to run the disk check.
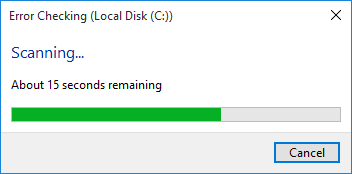
If your selected drive is a system partition that is being used, Windows will let you schedule a disk check on the next restart.
Method 2: Run Disk Check Using the Chkdsk Command Line
-
Open an elevated Command Prompt.
- In Windows 10/8, simply press the Windows key + X and select “Command Prompt (Admin)“.
- In Windows 7, click on Start, navigate to Accessories, right-click on Command Prompt and select Run as administrator.
- You can run the chkdsk command to run the disk check. Replace C: with the letter of the drive you’d like to run a disk check.
chkdsk /f /r C: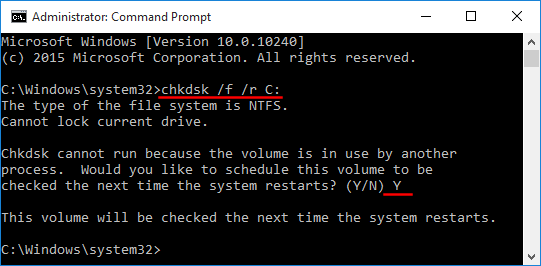
The /f flag tells windows to fix any issues and the /r flag tells it to do a deep scan. It locates bad sectors and recovers whatever information is readable.
Method 3: Run Disk Check By Setting The Dirty Bit
Sometimes if your PC is not properly shut down or crashed, a dirty flag is set on the disk to force disk check to be run at the next reboot. Here is a simple way to set a dirty bit for your drive manually:
- Open an elevated Command Prompt.
- Type the following command and press Enter. Replace C: with the letter of the drive you want to set as dirty.
fsutil.exe dirty set C: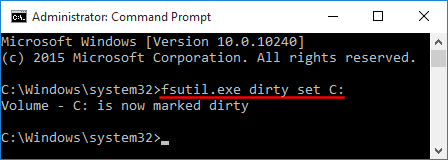
- Reboot your computer and Windows will force a disk check on your specified drive.