Unable to type a special character using your keyboard? Can’t find the symbol you need in the Character Map utility? In this tutorial we’ll show you how to create your own special characters using Windows built-in tool – Private Character Editor, and insert the custom characters into a Word or any other document.
Part 1: Create Special Characters in Windows 10
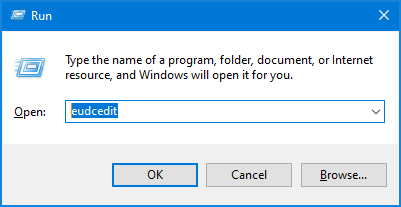
- Press the Windows key + R to bring up the Run dialog. Type eudcedit and hit Enter to open up the Private Character Editor utility.
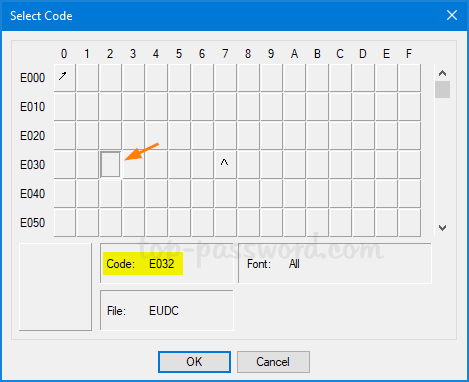
- First, click any empty box in the grid and it will generate a hexadecimal code that is used to identify your custom character uniquely. Click OK.
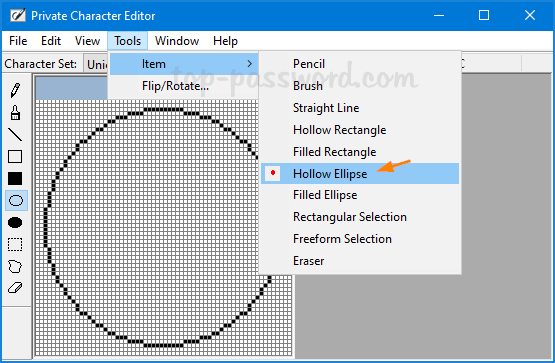
- You will then be presented with a drawing board. Click on the Tools menu and select Item, you can find different tools which you can use to design your own character.
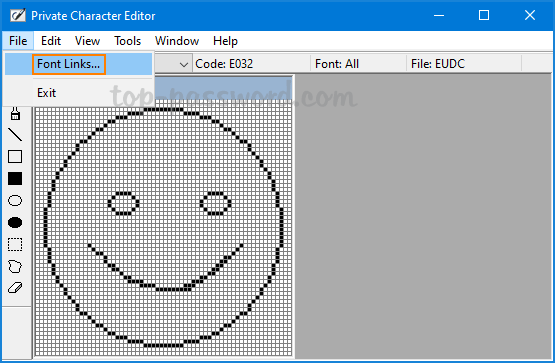
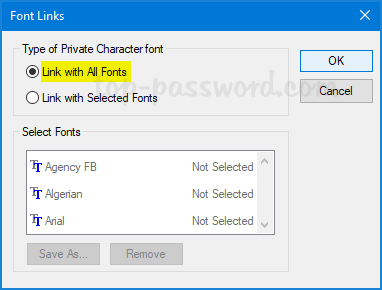
- To save your character, click on the File menu and select Font Links.
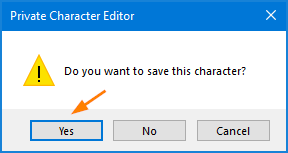
- When you are asked if you want to save this character. Click Yes.
- Select the “Link with All Fonts” option and click OK, you’re done.
Part 2: Insert Your Created Characters into Any Document
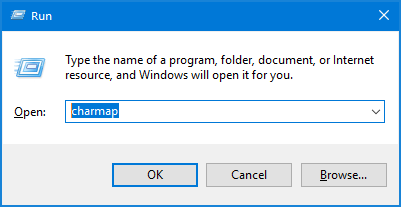
- Press the Windows key + R to bring up the Run dialog. Type charmap and hit Enter to open up the Character Map utility.
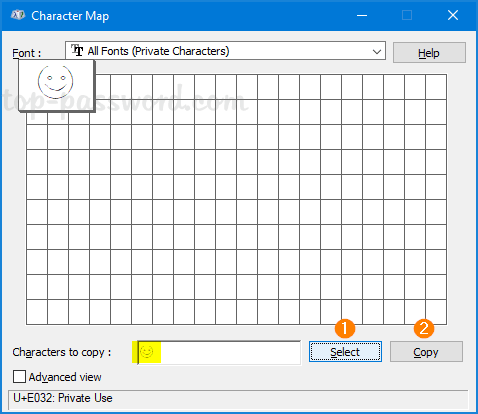
- Click on the Font drop-down list and select “All Fonts (Private Characters)” from it.
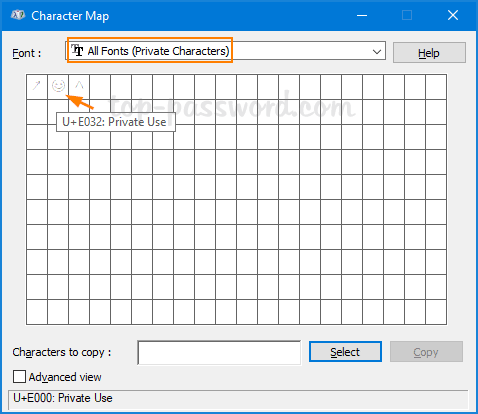
Move your cursor over a character in the grid and you can see its associated hexadecimal code. Just find and click your created character.
- Your selected character should appear in the “Character to copy” field below. Click on Select and then click on Copy.
- Now, you can use Ctrl + V to paste that character into Microsoft Word and Notepad.
With Private Character Editor you can create your own special characters easily. However this tool doesn’t have options to export or import characters, so you might be unable to transfer your created characters to another computer.