File Explorer should be one of your most frequently used programs in Windows. In this tutorial we’ll show you 5 quick ways to open File Explorer in Windows 11.
Method 1: Using Windows + E Keyboard Shortcut
Just press the Windows key and E key simultaneously, it will launch File Explorer immediately. This method also works with previous versions of Windows.
Method 2: Access from Quick Link Menu
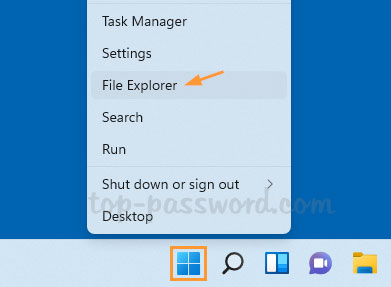
Right-click the Start button on the taskbar (or press Windows + X keyboard shortcut), the Quick Link menu will appear with a few options. Select “File Explorer” from the list to open it.
Method 3: Pin File Explorer to Taskbar
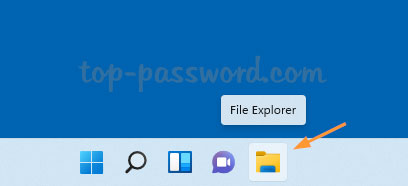
In Windows 11, the File Explorer shortcut is pinned to the taskbar by default, you just need to click to open it.
If File Explorer has been removed from the taskbar, you can pin it to taskbar by following these steps:
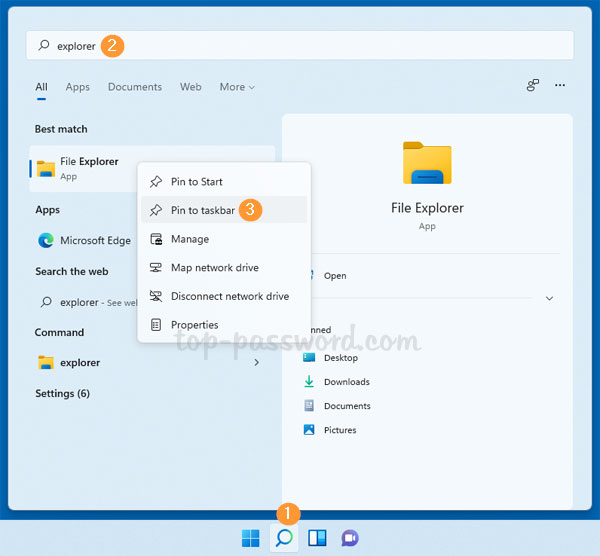
Click the Search button on the taskbar, then type “explorer” and the File Explorer app will show up in the search results. Right-click it and select “Pin to taskbar“.
Method 4: Using the Run box, Command Prompt or PowerShell
Press the Windows key + R to launch the Run dialog box, type explorer and hit Enter to open File Explorer.
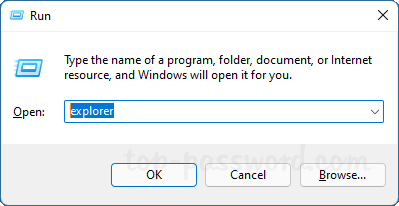
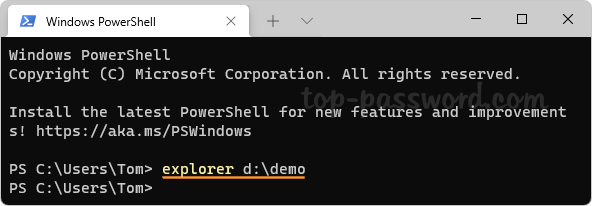
You can also execute the explorer command in the Windows Terminal (Command Prompt or Windows PowerShell) to start File Explorer. Or let File Explorer open to specific folder using this command:
explorer path_of_your_folder
Method 5: Add “This PC” icon on Desktop
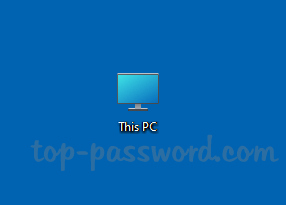
If you could make Windows show “This PC” icon on your desktop, you can click it to open File Explorer with ease. Here’s how you can add “This PC” icon on the desktop:
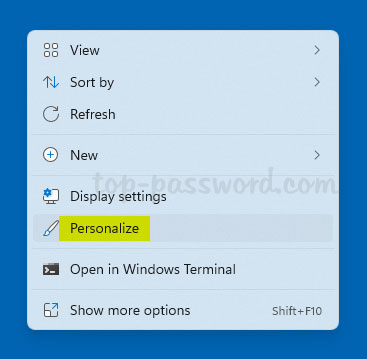
- Right-click the blank area on your desktop and select Personalize.
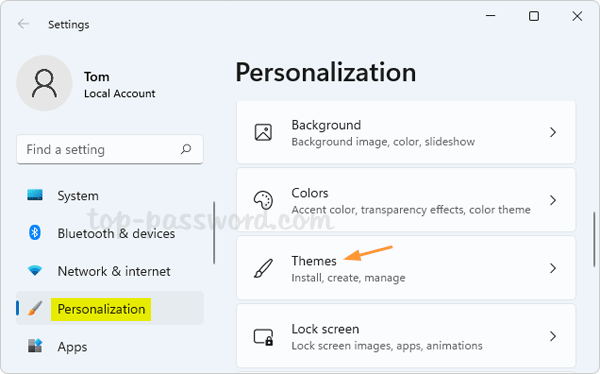
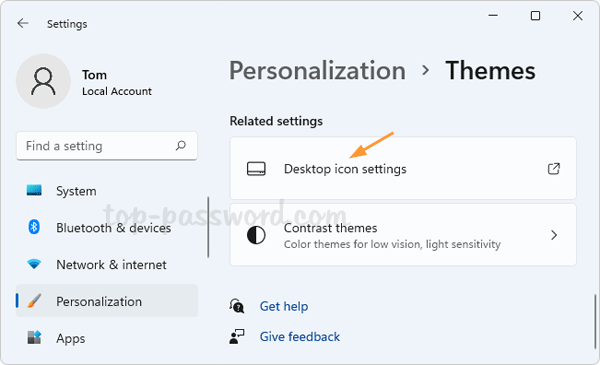
- The Settings app will open to the Personalization page. Click the Themes category in the right pane.
- Under the Related Settings tab, click on “Desktop icon settings“.
- Check the box next to Computer and click on Apply.
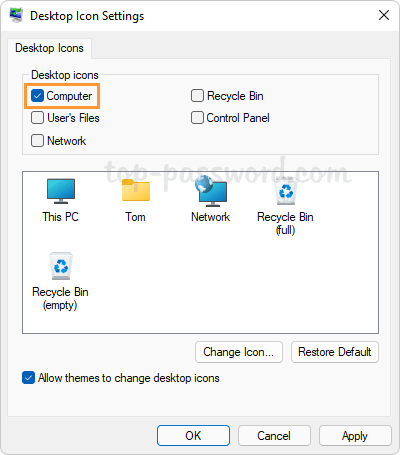
You should see the “This PC” icon show up on the desktop.
