How do I reset Terminal to initial settings in Windows 11? Windows Terminal lets you customize color schemes, fonts and profiles for Command Prompt and PowreShell. If you’ve played around with Windows Terminal settings and messed it up, here are 2 easy methods to reset Windows Terminal to default settings in Windows 11.
Method 1: Reset Windows Terminal to Default Settings via Terminal
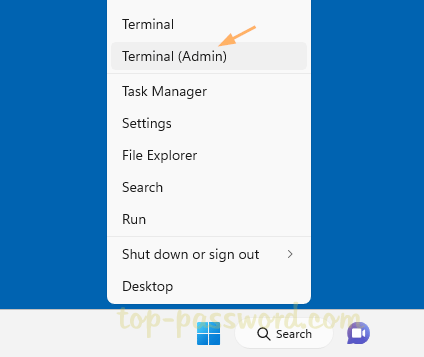
- Right-click the Start button and choose “Terminal (Admin)“.
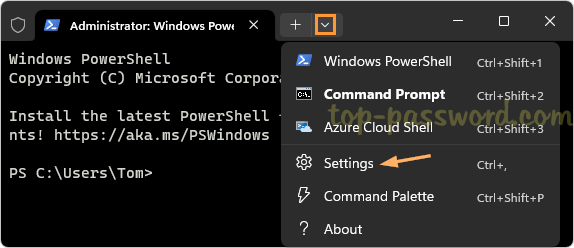
- When the Windows Terminal opens up, click the down-arrow icon in the title bar and select Settings from the drop-down list.
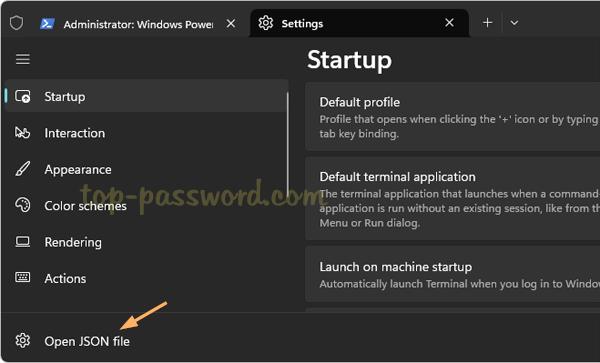
- Click the “Open JSON file” option at the bottom of the left navigation pane.
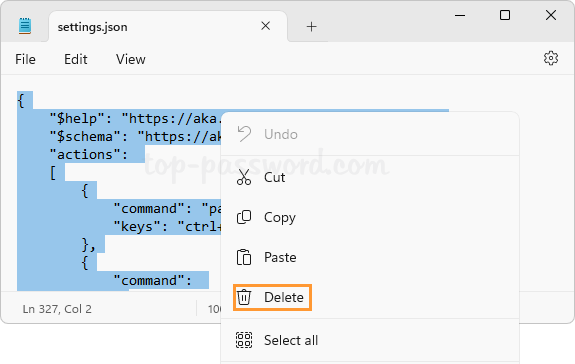
- Select the Notepad app to open the JSON file. Next, press Ctrl + A to select all the content in the JSON file, right-click them and choose Delete.
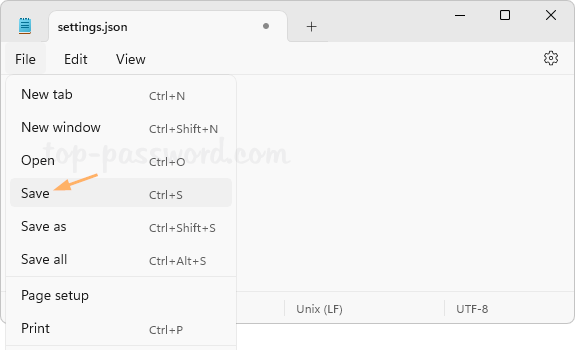
- Click the File menu and choose Save. Close Notepad. Windows Terminal will immediately regenerate the JSON file with default settings.
Method 2: Reset Windows Terminal to Default Settings via File Explorer
- Press the Windows key + R to bring up the Run box, type the following path and press Enter.
%LocalAppData%\Packages\Microsoft.WindowsTerminal_8wekyb3d8bbwe\LocalState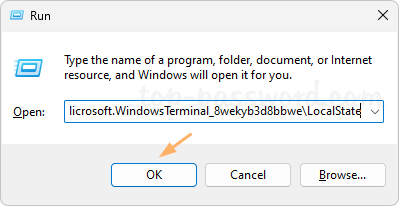
- File Explorer will open and take you to the location where the
settings.jsonfile is stored. Just delete thesettings.jsonfile and it will reset Windows Terminal back to its default settings.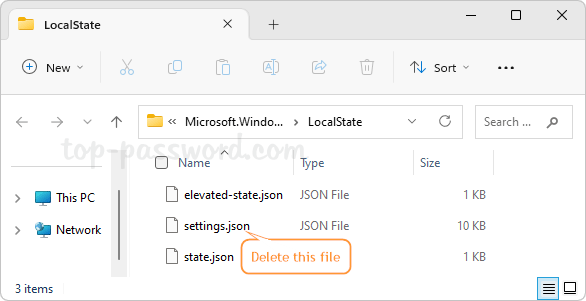
- The next time you open Windows Terminal, a fresh copy of the
settings.jsonfile will be created with all the default settings.
That’s it!