How do I access the Service Manager in Windows 11? The Services applet is a centralized place to start, stop, enable or disable any services installed on your Windows system. In this tutorial we’ll show you 5 quick ways to open the Services applet in Windows 11.
Method 1: Open the Services Applet via the Run Dialog
- Press the Windows key + R together to launch the Run dialog box, type services.msc in the text field and press Enter.
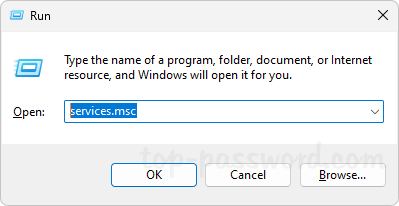
- This should be the most common and fastest way to access the Services tool in Windows.
Method 2: Open the Services Applet via Windows Terminal
- Once you’ve launched Windows Terminal, enter the services.msc command and hit Enter.
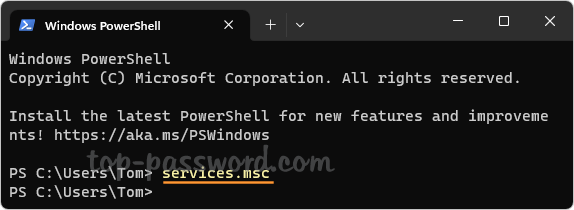
- It will quickly open the Services tool.
Method 3: Open the Services Applet via Search
- Type services in the Search box on the taskbar. Next, click the Services app which appears under the “Best match” section.
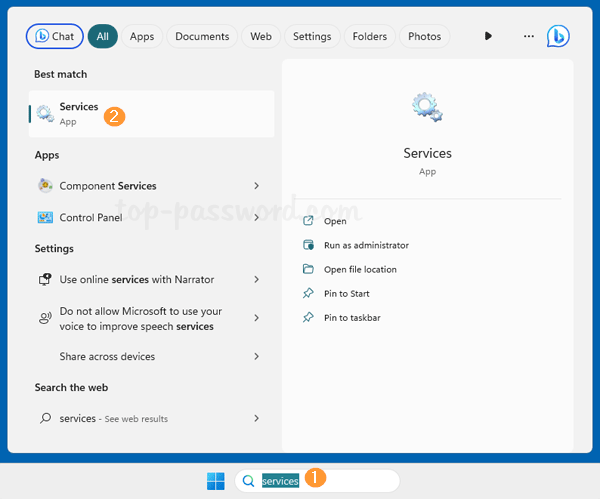
- The Services Manager tool will launch immediately.
Method 4: Open the Services Applet via Computer Management
- Right-click the Start button on the taskbar, and then choose Computer Management from the pop-up menu.
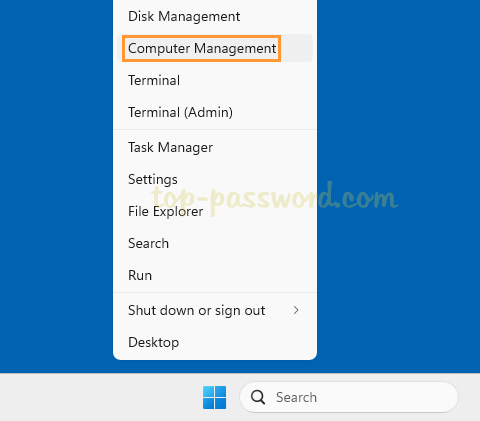
- In the left pane, expand the “Services and Applications” folder and then click on Services.
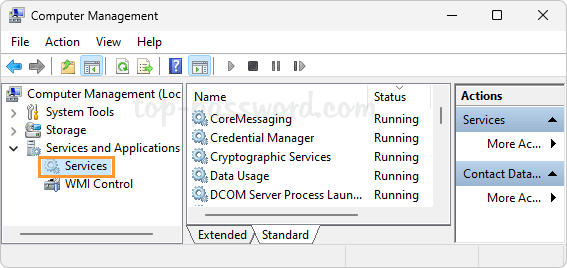
- You’ll see a list of services installed on your computer.
Method 5: Create a Desktop Shortcut to Open the Services Applet
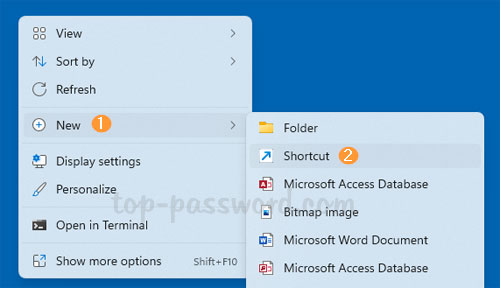
- Right-click the blank space on your desktop and then choose New -> Shortcut.
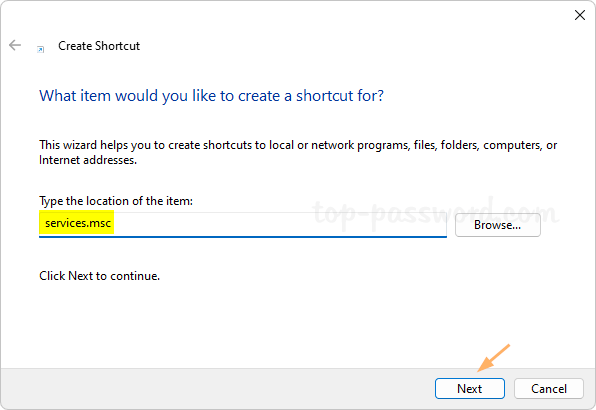
- Type services.msc in the shortcut location box and click Next.
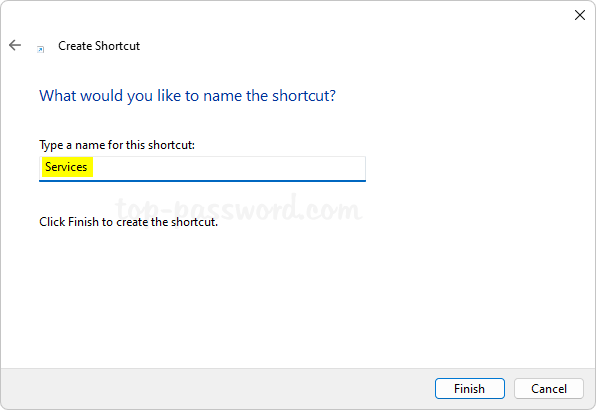
- Enter a name for this shortcut and click Finish.
- Whenever you want to open Windows Services, you can double-click the desktop shortcut to quickly access it.

That’s it!