Looking for an easy way to add Windows 11 to an office network/domain? Joining a Windows 11 PC to AD domain is not straightforward for beginners. In the tutorial we’ll walk you through the steps to join Windows 11 PC to Windows Server domain.
How to Join Windows 11 PC to Windows Server Domain
Before getting started, make sure that your Windows Server has already been promoted to a domain controller and you know exactly the domain name. Then follow the steps outlined below to join your Windows 11 PC to that domain.
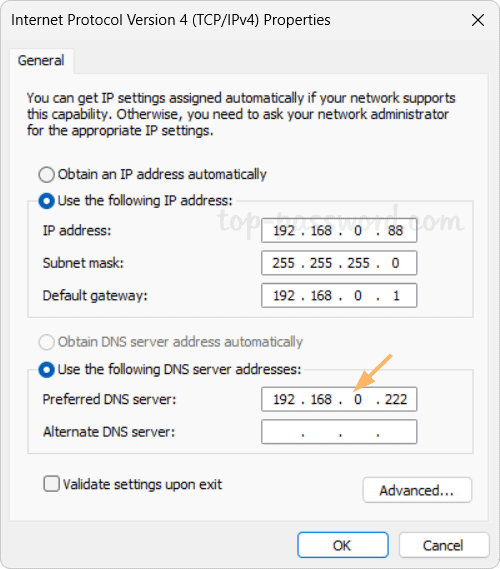
- First of all, open Windows Terminal and ping the domain name of your remote Windows Server DC. If it can’t be resolved, then you need to open network adapter settings and specify the IP address of Windows Server DC as the preferred DNS server.
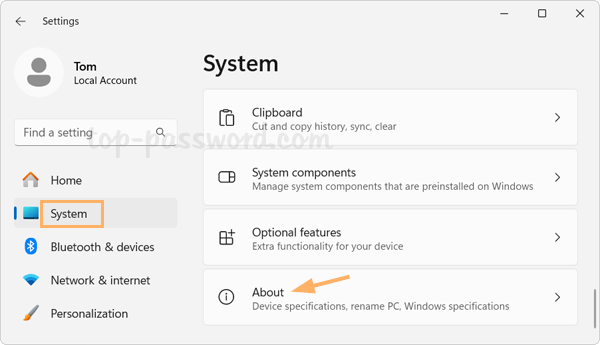
- Press the Windows key + I together to open the Settings app. Choose the System menu at the left navigation column and then click About on the right side.
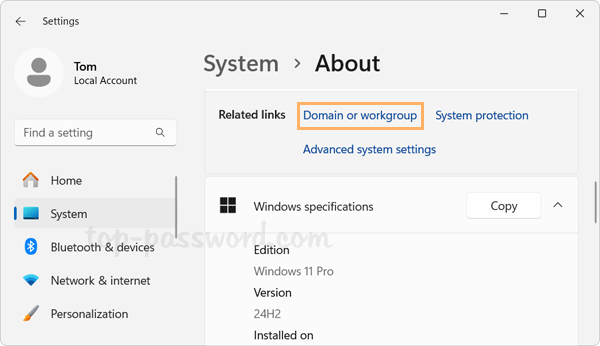
- Look for the “Related links” section, and then click the “Domain or workgroup” link.
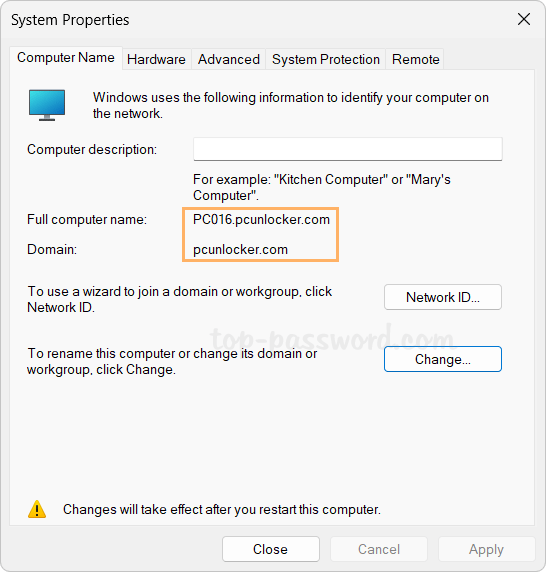
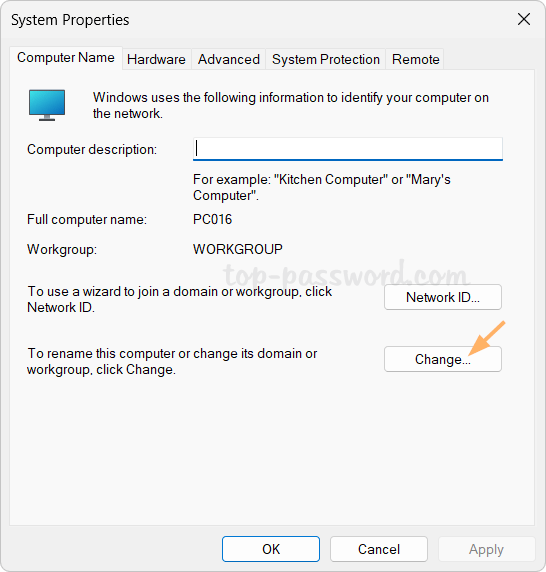
- The System Properties dialog will open up. Just click the Change button.
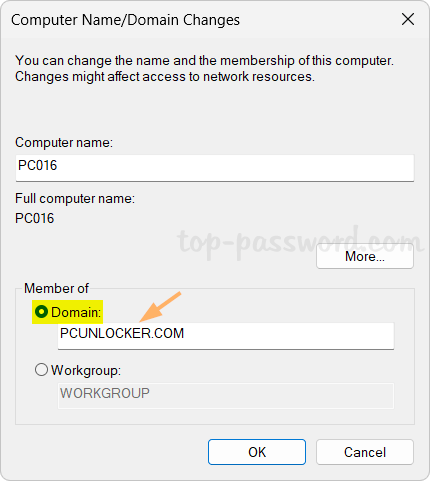
- Under the “Member of” section, click Domain, type the domain name of your Windows Server DC that you wish this computer to join, and then click OK.
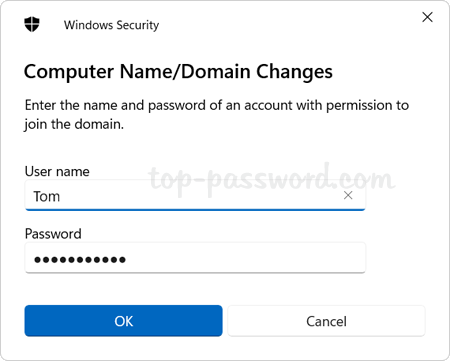
- Type in the username and password of your domain account which has been set up in your Windows Server DC, and click OK.
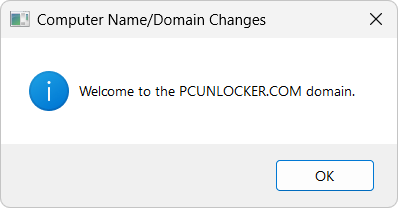
- You’ll receive the welcome information for joining the domain, and a reboot is required for applying the changes.
That’s how you can easily join a Windows 11 computer to Windows Server domain. Whenever you need to remove that computer from domain, the steps are also quite easy.