Quick Actions are a set of buttons which let you quickly access common functions, such as turning Bluetooth on or off, switching to tablet mode, adjusting screen brightness and so on. Just click the chat bubble icon in the notification area or press the Windows logo key + A to open the Action Center panel. From there you can see a list of quick action buttons at the bottom. In this tutorial we’ll show you how to add, remove, customize Quick Actions buttons in Windows 10.
Part 1: Enter into Editing Mode
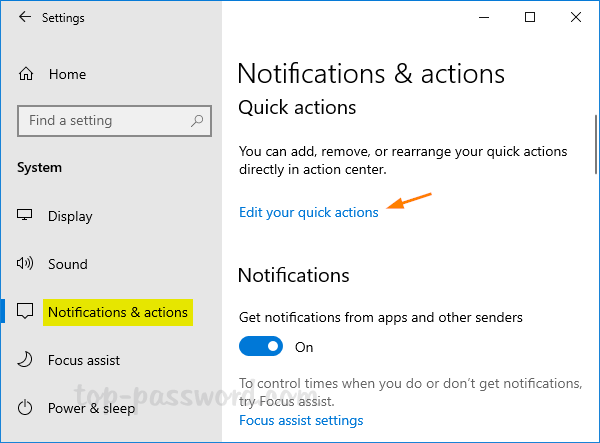
In order to customize Quick Actions, you need to open it in editing mode. Press the Windows logo key + I to open the Settings app, navigate to System -> Notifications & actions. On the right, click the “Edit your quick actions” option. The Quick Actions in the Action Center panel will appear in editable mode.
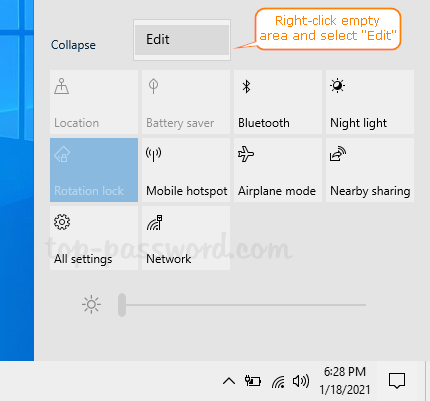
Another quick way to access the editing mode is to right-click any empty space in the Action Center panel and select Edit from the pop-up menu.
Part 2: Remove Quick Actions Buttons
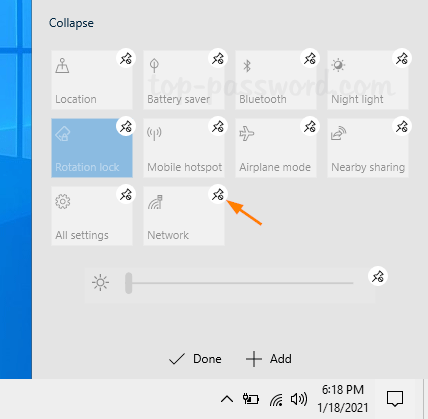
Simply click the unpin icon displayed in the upper-right corner of any Quick Actions button, and you can remove it from the Action Center.
Part 3: Add Quick Actions Buttons
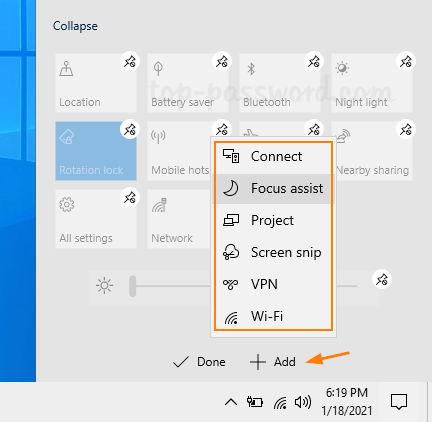
Click the Add button at the bottom and it will display all hidden quick actions. Select your desired quick action and add its button to the Action Center panel immediately.
Part 4: Rearrange Quick Actions Buttons
To rearrange the Quick Actions, you can drag any of the Quick action buttons and drop it to your desired position.
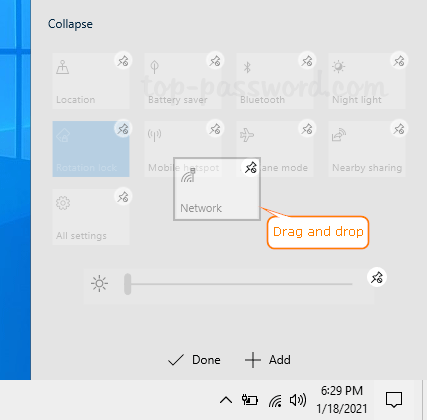
When everything is done, click the Done button at the bottom to save your changes.