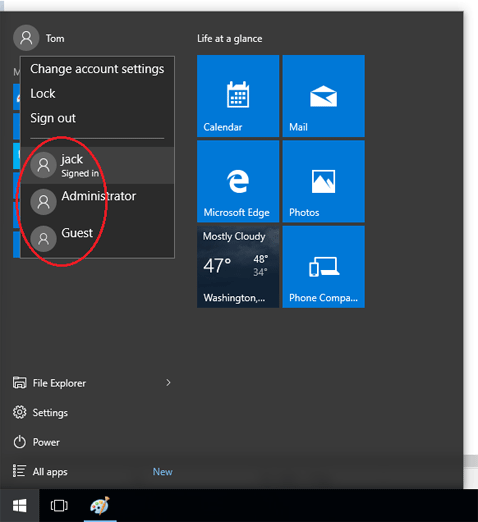
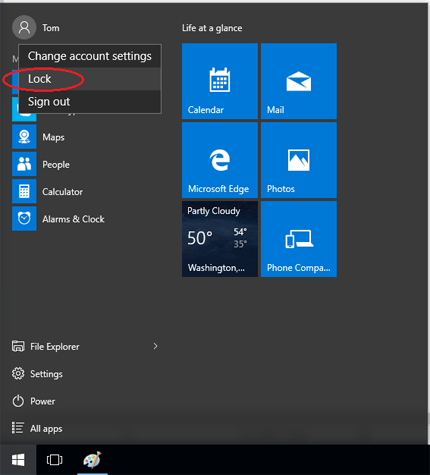
No matter what version of Windows you are running, you can find the lock option in the Start Menu (or Start Screen) that allows you to lock your computer. In this tutorial we’ll show you 2 ways to disable / remove the lock option from Windows 11, 10, 8 and 7 Start menu.
Method 1: Remove the Lock Option with Group Policy
Follow this method and you can remove the lock option from the user tile menu on the Start menu (or Start screen) in Windows 11, 10, 8.1 or 8.
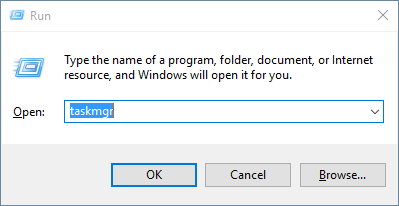
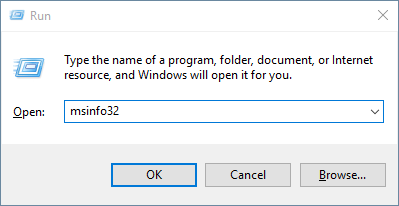
- Press the Windows key + R to open the Run box. Type gpedit.msc and press Enter.
- When the Local Group Policy Editor opens, expand the tree to the following path:
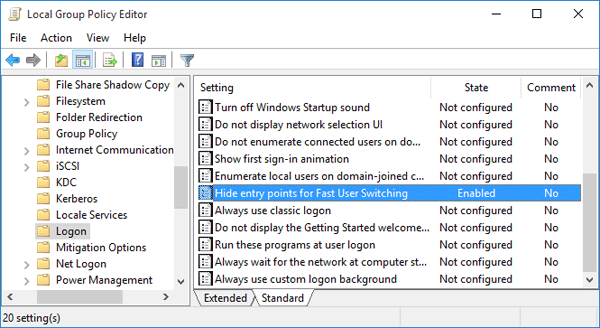
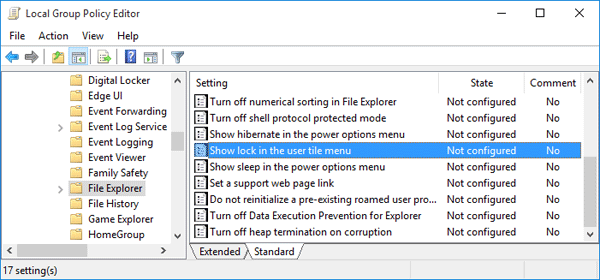
Local Computer Policy\Computer Configuration\Administrative Templates\Windows Components\File Explorer - In the right-hand pane you should now see a variety of settings. Double-click on the “Show lock in the user tile menu” setting and its properties screen will open.
- Set it to Disabled and click OK.
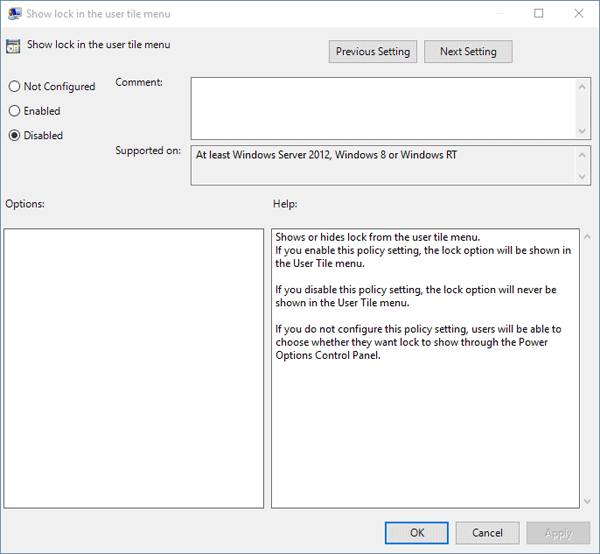
Now close the Local Group Policy Editor window. You’ll see the lock option is disabled or removed from the Start menu.
Method 2: Remove the Lock Option with Registry Hack
If the Group Policy Editor is not available in your computer or you’re running Windows 7, then use this registry hack to disable the lock option from your Windows Start menu.
- Press the Windows key + R to open the Run box. Type regedit and press Enter.
- When the Registry Editor opens, browse down to the following key:
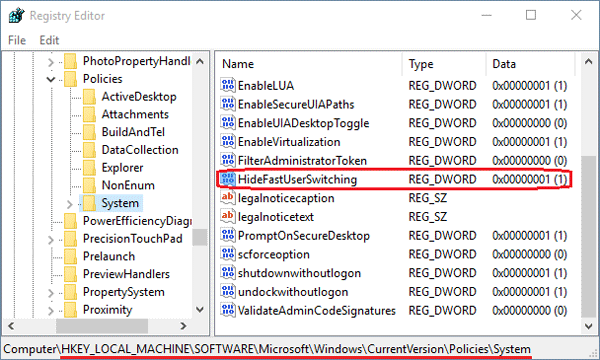
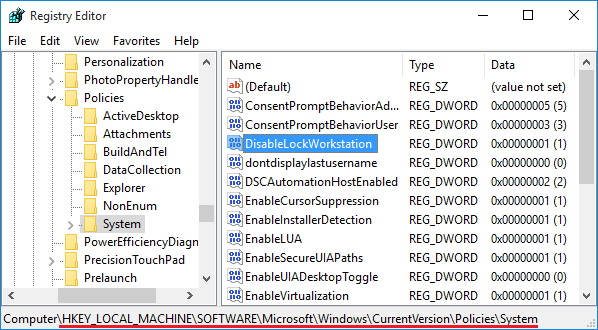
HKEY_LOCAL_MACHINE\SOFTWARE\Microsoft\Windows\CurrentVersion\Policies\System - Right-click on the System key on the left pane and select New -> DWORD (32 bit) Value.
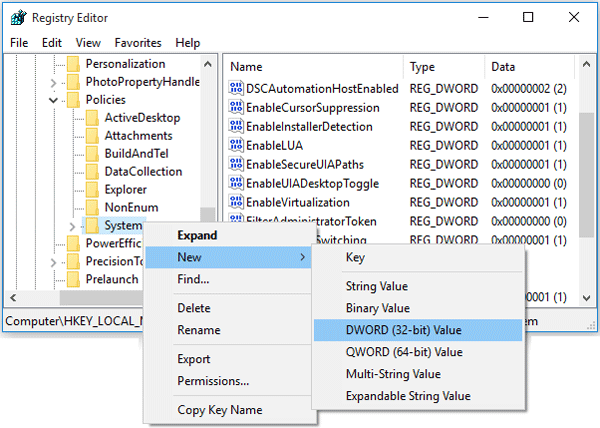
- Name it DisableLockWorkstation and set the value to 1 in order to disable the lock option in the Start menu.
If you want to show / enable the lock option later on, just change the value to 0.
- Close the Registry Editor and you will see the lock option turns gray or disappeared from the Start menu.