The best practice for fixing Windows account issues is to create another account with administrative rights. When the account you used everyday is corrupt or you forgot the password, you can then log in to the alternate admin account for troubleshooting the issues. In this article we’ll show you 3 ways to create a new administrator account in Windows 10.
Method 1: Create Administrator Account from Command Prompt
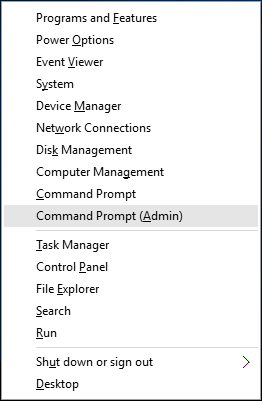
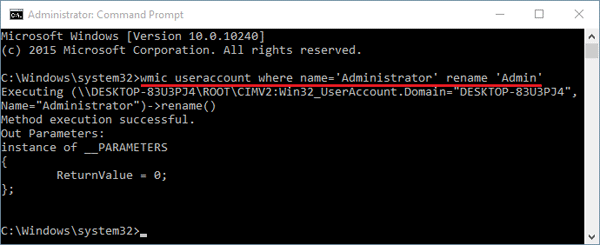
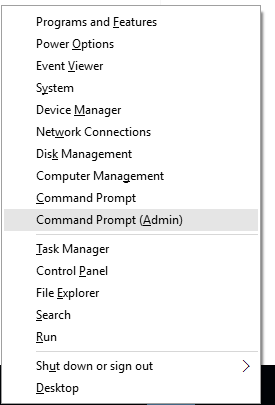
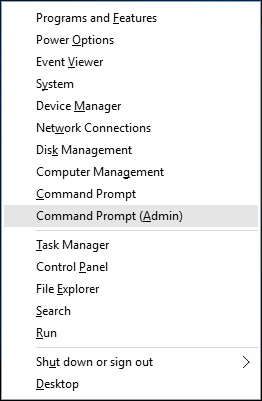
- To get started, you need to open an elevated Command Prompt in Windows 10. Press the Windows key + X to open the Quick Access menu and click Command Prompt (Admin).
- Type the following commands to create a new local account and then join it to the Administrators group. Replace Jack with the name of your new local admin account.
net user jack /add

net localgroup Administrators jack /add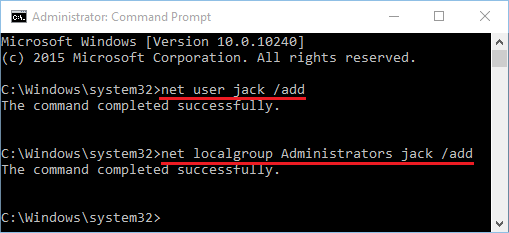
- Now you’ve successfully added a new local administrator account in Windows 10.
Method 2: Create Administrator Account from PC Settings
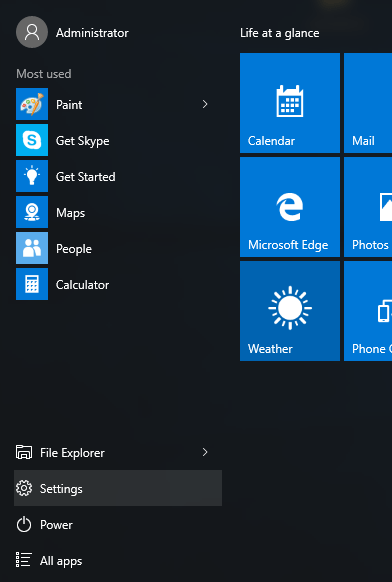
- Click on the Start button to open the Start menu. Select Settings.
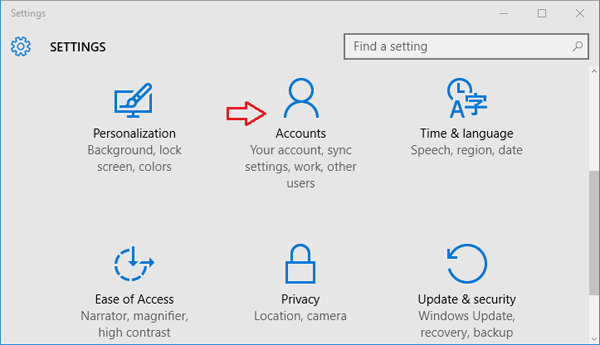
- The PC Settings window should open. Click on Accounts.
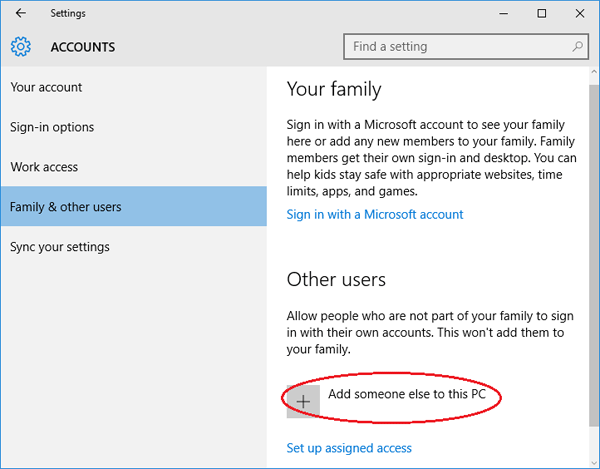
- From the left pane, click on the Family & others tab. Next click on Add someone else to this PC.
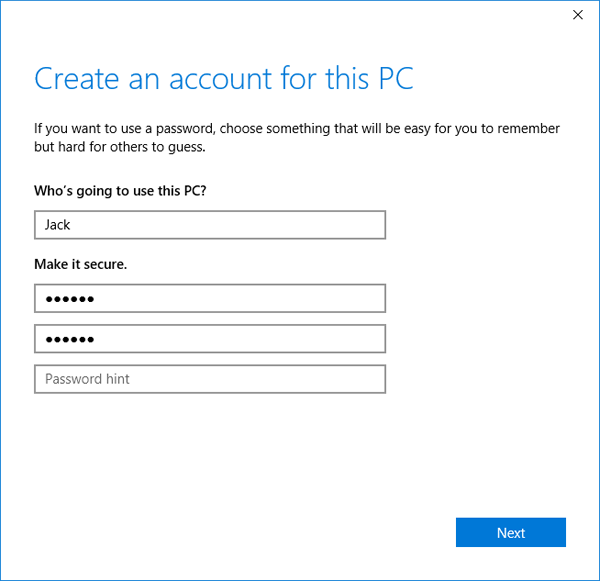
- Enter the name for your new local account, password and password hint. Click Next.
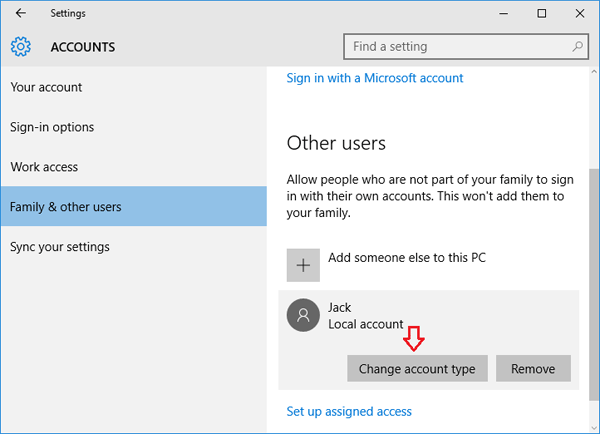
- Once you’ve clicked Next, you’ll be taken back to the Accounts screen and but now you can see the new account. By default, the newly-created account is a standard/limited account. From there click on the new user account you just created and then Change account type.
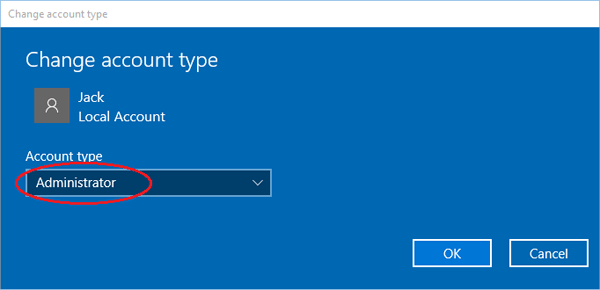
- When the pop-up window appears, change the account type from Standard User to Administrator and click OK.
- So, this was about how to add a new administrator user account in Windows 10 computer.
Method 3: Create Administrator Account from the Local Users and Groups Console
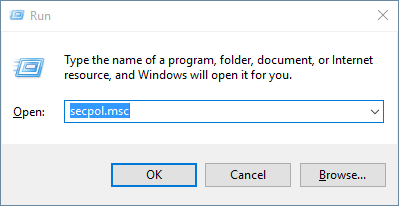
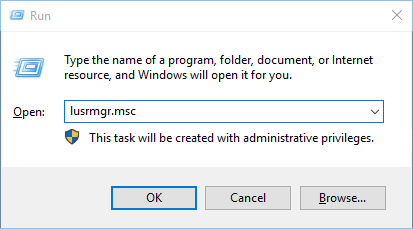
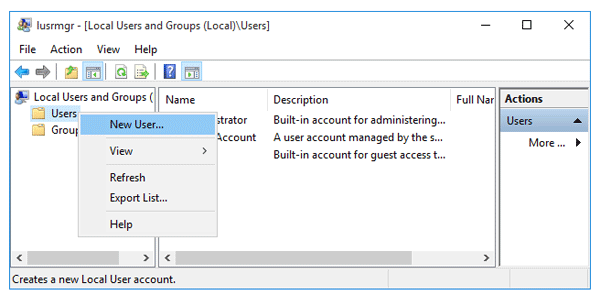
- Press the Windows key + R to open the Run box. Type lusrmgr.msc and press Enter.
- When the Local Users and Groups console opens, right-click on Users on the left pane and select New User….
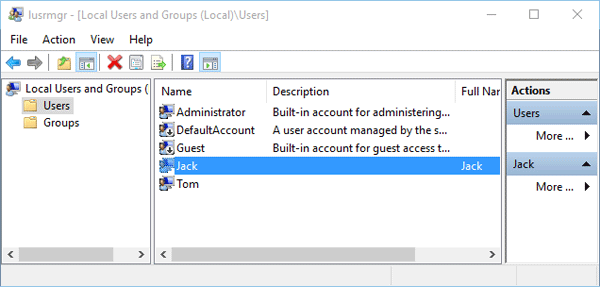
- Type the name for your new local account, password. Uncheck the “User must change password at next logon” option. Click on Create and then Close.

- Now you can see the newly-create account on the right pane. It’s a limited account and we need to add it to the Administrators group. Double-click on the new account.
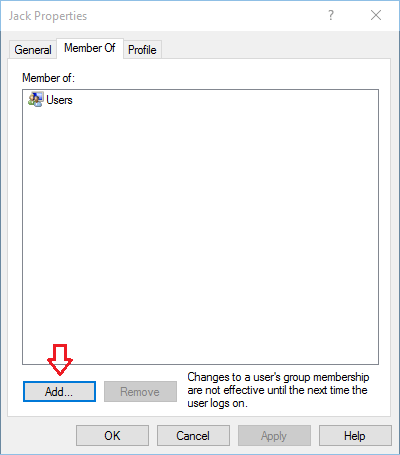
- When the Properties window opens, click on the Add… button.
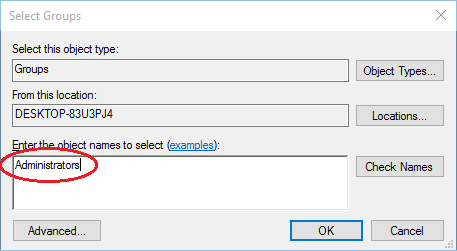
- In the Select Groups window, type Administrators into the object names box. Click OK.
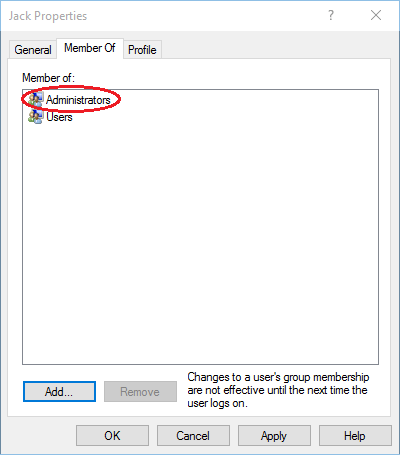
- Now you’ll see your new account is also a member of the Administrators group. Click Apply for the changes to take effect.
- Reboot or log off. You can then sign into your new administrator account and perform admin tasks.