We all have sensitive files we’d like to keep secret from the world. Just like the older versions, Windows 10 also doesn’t come with a native utility specifically designed for password protecting folders. Thankfully, there is a handy folder lock program – Protect My Folders, which can hide and password protect any folders/files with ease. Here’s how to use it to password protect a folder in Windows 10.
How to Password Protect A Folder in Windows 10?
- Download and install Protect My Folders. The first time you launch the program, it will prompt you to set a master password. This is the only password that will be used in this tool to protect your folders, so don’t ever forget it or you will be unable to access protected folders.
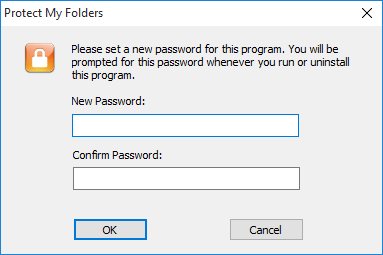
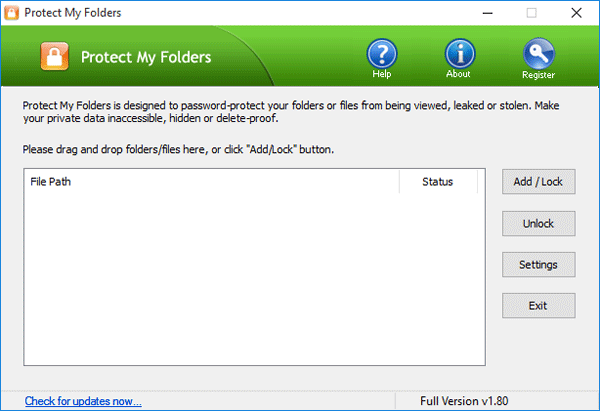
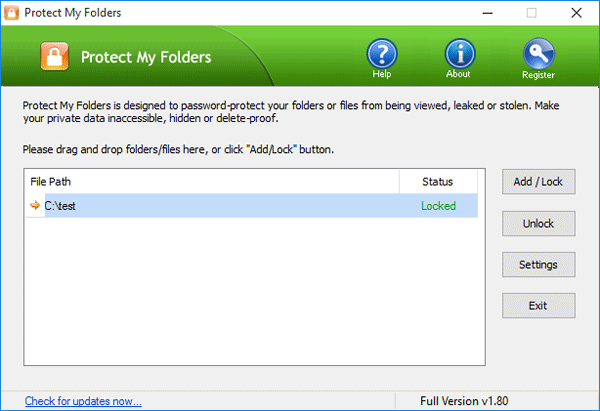
- After you enter the password and click OK, the main interface will open where you can lock or unlock folders or change the lock settings.
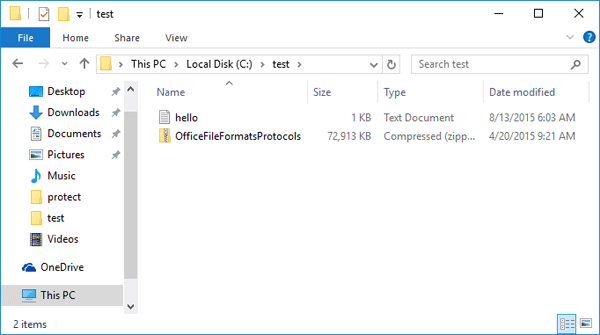
- Open the folder which you want to lock. This folder could have files, subfolders, videos, presentations, or any sorts of data you want to protect.
- To lock the folder you wish to password protect, just drag and drop it from Windows Explorer to the Protect My Folders program. Or click on “Add/Lock” button to select your desired folder. Repeat the same process to add more folders and lock them as well.
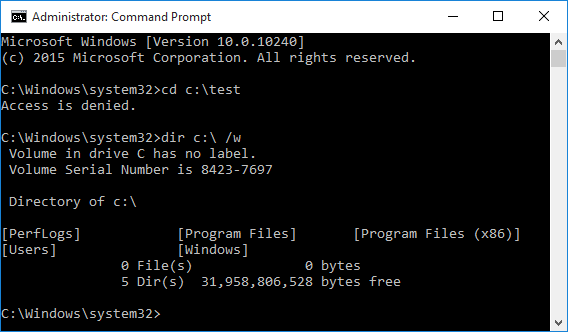
- The protected folder will be vanished immediately! If you try to access the protected folder from Windows Explorer or Command Prompt, you’ll get the error message “Access denied” or “Windows can’t find the folder“. Your protected folders will remain lock even if you’ve closed the Protect My Folders program.
- To unlock a folder, launch the program and enter the master password. Just select the folder you want to unlock, and then click Unlock. Your protected folder will be back and you can open it in Windows Explorer.
- If you just need to lock your folder but keep it visible, click on Settings from within the Protect My Folders program. When the Settings dialog appears, uncheck the Hide option.
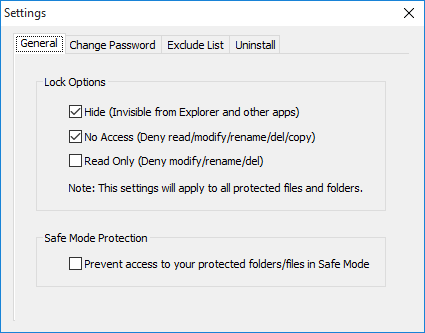
From there you can also change the master password or uninstall the program. After it is uninstalled, all your locked folders are automatically unlocked, thus eliminating the risk of losing your data.