What is single-user mode?
There are certain situations when user may have to start a SQL Server instance in single-user mode. For example, you might need to restore your master database from a backup in the event of a failure or damage, detach the database and kill all the connections. Both actions require starting an instance of SQL Server in single-user maintenance mode.
When a database is started in single-user mode, the following events occur:
- Any current connections to the database are dropped without warning
- Only one user can connect to the database
- The CHECKPOINT process is not started
I’m going to walk you through the process of putting your SQL Server database into single-user mode. This can be either done via SQL Server Configuration Manager by setting the startup parameters or through the Command Prompt.
Method 1: Start SQL Server in single-user mode through SQL Server Configuration Manager
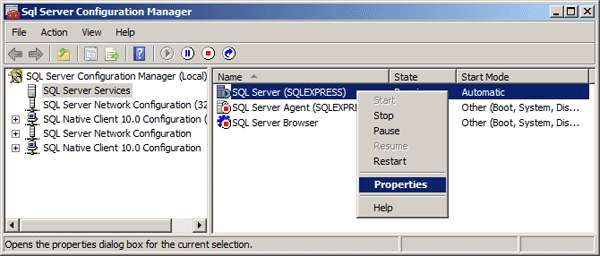
Run SQL Server Configuration Manager. Choose SQL Server Services from the left panel and then right-click on desired SQL Server service that needs to run in single-user mode. Select Properties from the drop-down menu.
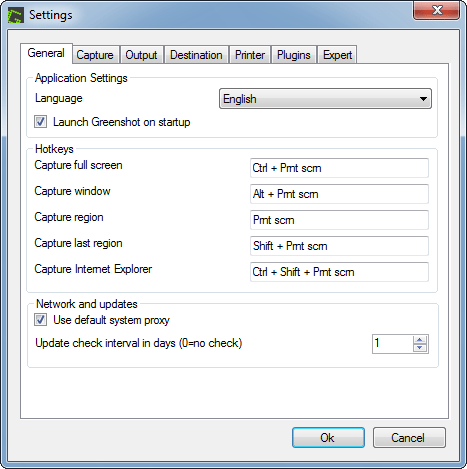
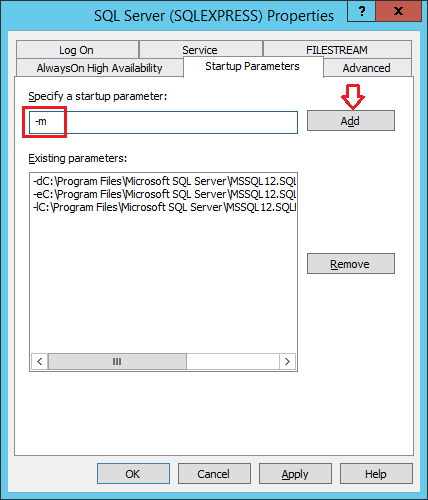
In SQL Server 2014 or 2012, click Startup Parameters tab. Type -m in the Specify a startup parameter box and then click Add.
If you’ve installed SQL Server 2008, 2005 or an earlier version, click Advanced tab. Append the ;-m to the end of the Startup Parameters box.
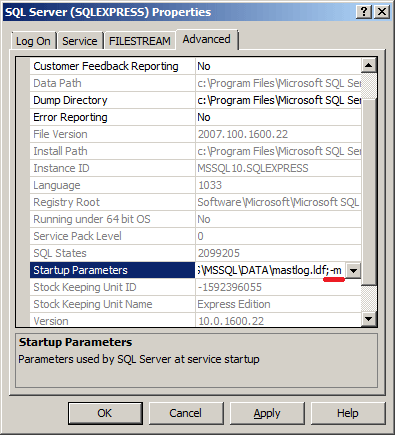
Click Apply to save your changes. Restart your SQL Server instance and it should then run in single-user mode.
Method 2: Start SQL Server in single-user mode through Command Prompt
First of all, you need to figure out the name of your SQL Server instance. Press Windows key + R to bring up the Run box. Type services.msc and press Enter to open the Services window.
Find your desired SQL Server service in the list, double click it. This will open the Properties dialog box for that service. Copy the service name listed there. In my example, the service name is MSSQL$SQLEXPRESS.

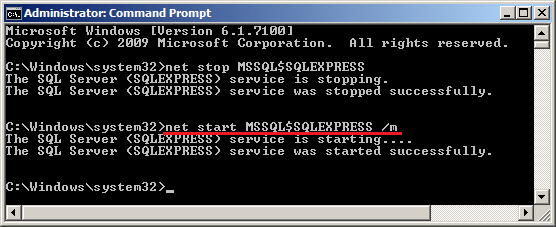
Open up a Command Prompt with administrative privileges and run the following command to stop the SQL Server service.
net stop service_name
The next step is to start the service in single-user mode. This is done by specifying /m parameter with net start command.
How to know if a running SQL Server instance is in single-user mode
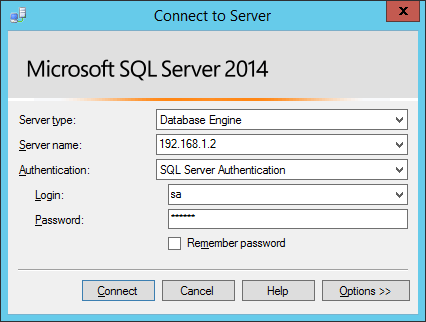
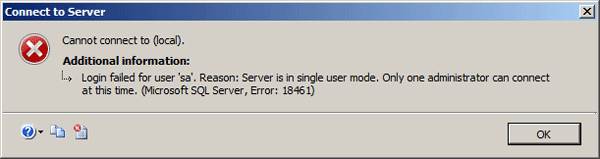
When your SQL Server instance is started in single-user mode, it prevents multiple clients from connecting to the server at the same time. For example, if you’ve already connected to your DB with the SA account, and then try to login again through SQL Server Management Studio (SSMS), you’ll get the following error message:
Login failed for user”. Reason: Server is in single user mode. Only one administrator can connect at this time. (Microsoft SQL Server, Error: 18461)
To fix this issue, you need to remove -m from the startup parameters and restart your SQL Server instance, which will bring the database back to multi-user mode.