When you try to send or to receive email in Outlook 2010 or 2013, you may receive one of these error messages:
0x8004010F: Outlook data file cannot be accessed.
or
0x8004010F: The operation failed. An object could not be found.
This proved to be a profile issue with Outlook application, which can be resolved by re-creating your Outlook profile and re-configuring the email accounts. However, some of you might have multiple accounts and the thought of re-creating each one is just far too much. Here is an easier trick to fix this issue.
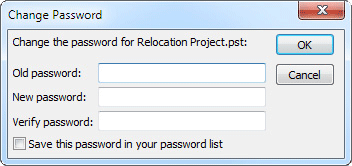
Tips: If you forgot your PST file password, or need to retrieve email account passwords that are stored locally, the Outlook Password Recovery program can be of help!
How to Fix the Error: Outlook data file cannot be accessed?
A missing or corrupt Outlook data file (also known as PST file, Personal Folders File) can also result in the 0x8004010F error when attempting to send and receive emails. Simply set your problematic email account to use a new PST file for storing emails and this would fix your issue. Here are step-by-step instructions:
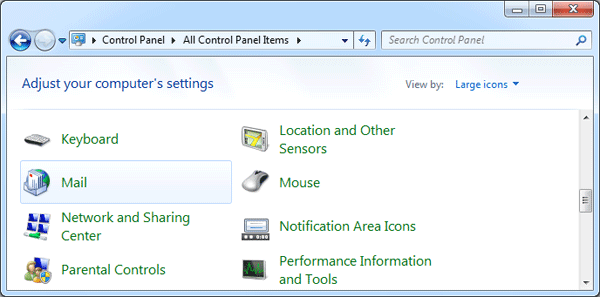
Go to the Control Panel and clicking on Mail.
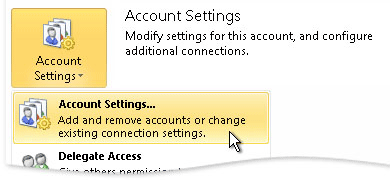
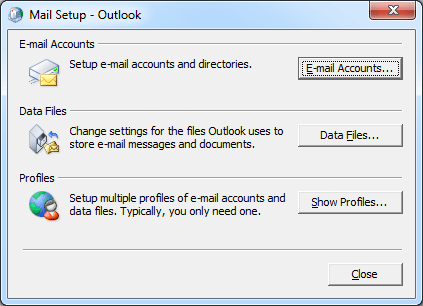
In the Mail Setup window, click on E-mail Accounts to open the Account Settings dialog box.
If you have multiple accounts in Outlook, you may notice several email accounts listed. In the E-mail tab, select your problematic email account and click on Change Folder button at the bottom.
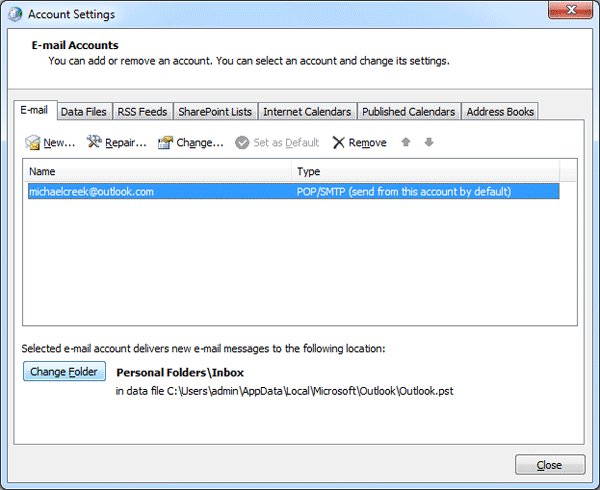
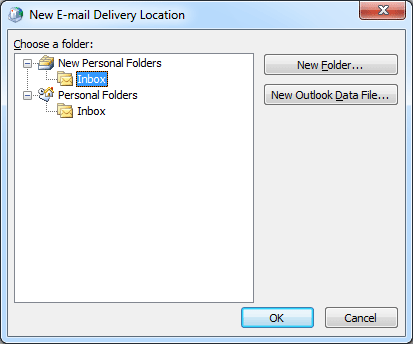
Select the Inbox folder under a different personal folders (PST) file. If there is only one PST file out there, click on New Outlook Data File button to create a new one. Then select the Inbox folder in the newly created PST file. Click OK.
Close the Account Settings window and attempt to “Send/Receive All Folders”, it should be working now! Hope this trick helps whoever gets this issue in the future.