Can’t get past the login screen because you’ve forgotten Windows 7 administrator password? You just need to get back into your Sony Vaio laptop so you can get on with your day? Well, this problem can be solved with a bootable utility called PCUnlocker. Rather than cracking a Windows password, PCUnlocker bypasses it and lets you log into the computer without typing a password.
PCUnlocker can run from either a bootable CD or a USB drive. In this tutorial we’ll show you how to reset Sony Vaio Windows 7 password with a USB drive.
How to Reset Sony Vaio Windows 7 Password with USB Drive?
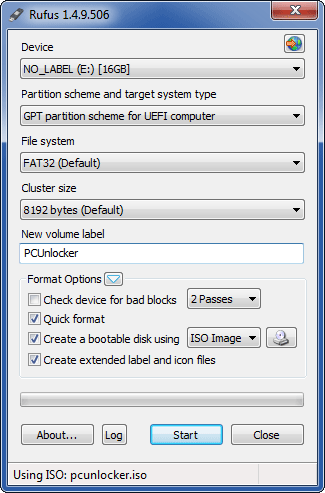
First of all, use a spare computer to download the ISO image of PCUnlocker. Burn the ISO to your USB drive with ISO2Disc, a tool for creating bootable USB drives.

When the bootable USB drive is ready, close the ISO2Disc program and unplug the USB drive. Later insert the USB drive into your affected Sony Vaio laptop.
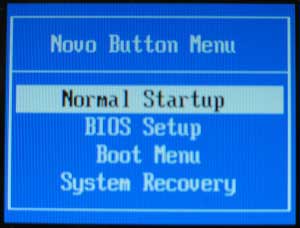
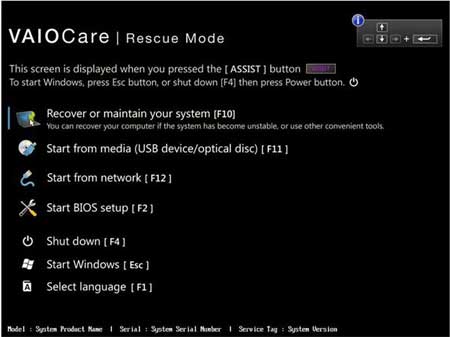
Now you need to change the boot order in your computer’s BIOS. While turning on the machine, press and hold the F2 or F3 key to enter into BIOS Setup. If your model has the physical Assist button, press the Assist button while your computer is turned off. This will bring up the VAIOCare Rescue Mode menu and you can then press F2 to start BIOS Setup.
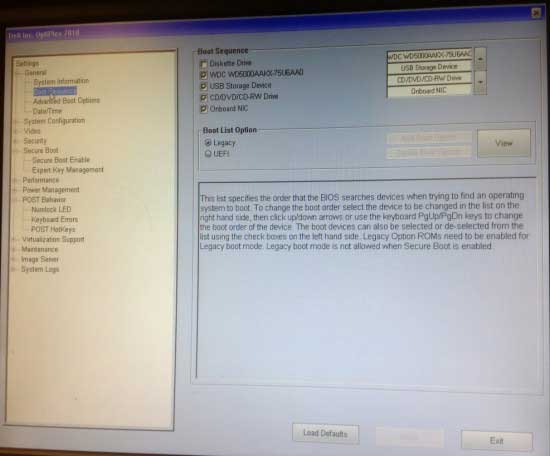
In the BIOS Setup, go to the Boot tab, make sure that External Device Boot is Enabled under Boot Configuration, and then change boot priority to boot from USB first. Save your changes and exit BIOS. The laptop will automatically boot from your created USB drive.
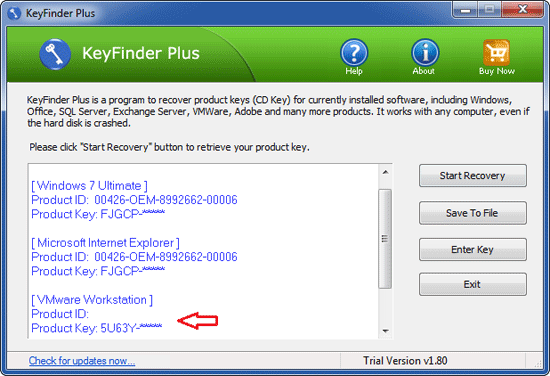
After the WinPE operating system is loaded into memory, the computer will start the PCUnlocker utility. It displays a list of Windows local accounts existing in your Windows 7 installation.

Choose an account and click on Reset Password button. The application will unlock / reset your forgotten Windows 7 user password immediately. Restart your computer and disconnect the USB drive, you can then boot into Windows 7 without being required to enter a password!