Forgot Windows 8 login password on your ThinkPad Helix tablet? How to obtain admin access to your tablet without restoring it to factory settings? ThinkPad Helix is preloaded with UEFI firmware instead of traditional BIOS. Legacy-based boot media will not boot successfully on UEFI based computer. So here I’m going to show you how to create UEFI bootable USB media and then use it to reset forgotten Windows 8 password on ThinkPad Helix tablet.
Part 1: Create A UEFI Bootable USB Media
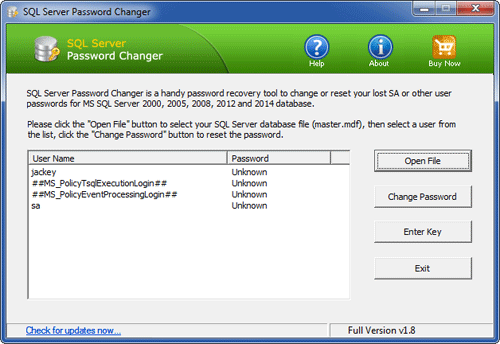
- Before resetting ThinkPad Helix tablet password, you need to use another computer to make a bootable PCUnlocker USB drive. Simply download the trial version of PCUnlocker Enterprise, unzip the downloaded file and you’ll get an ISO image file called pcunlocker.iso.
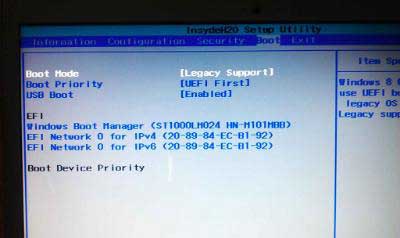
- Next download and install the freeware ISO2Disc. Run the ISO2Disc program, click on Browse button to select the PCUnlocker ISO image, then choose your USB drive and select GPT partition style. Click on Burn.

- A UEFI bootable USB media will be created in minutes.
Part 2: Reset Windows 8 Password on ThinkPad Helix Tablet
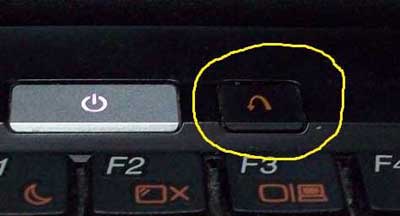
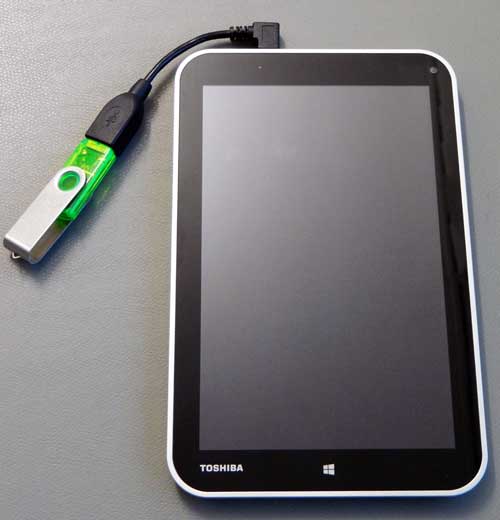
- Insert the USB boot media into your ThinkPad Helix tablet.
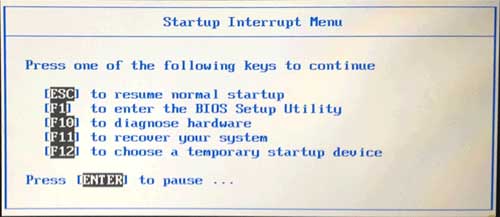
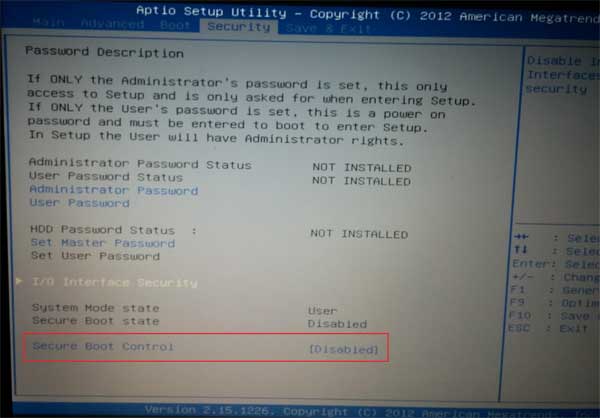
- Turn on the tablet. While the “To interrupt normal startup, press Enter or tap here” message is displayed at the logo screen, press the F12 key or tap the message string to launch the Startup Interrupt Menu, then tap F12 to enter the startup selection menu.
- Select to boot from USB drive. The tablet will then boot from USB media. After a while, you’ll see the PCUnlocker program and it shows you a list of local accounts existing on your ThinkPad Helix tablet.

- Choose a local account and then click Reset Password button, it will reset your forgotten password immediately. If you’re using a Microsoft Account with your ThinkPad Helix tablet, choose the local account associated to your Microsoft account and then reset its password.
If the touchscreen doesn’t respond correctly, you’ll need to install the tablet into the keyboard dock or attach an external keyboard to the tablet. Using the keyboard to perform the password recovery steps conveniently.
 UEFI (Unified Extensible Firmware Interface) is a standard firmware interface for PCs, designed to replace legacy BIOS (basic input/output system). Many new computers are shipping with UEFI firmware instead of standard BIOS. Most of UEFI-based computers come with 64-bit UEFI but there are also some Windows 8 tablets that use 32-bit UEFI, such as Dell Venue 8/11 Pro, Toshiba Encore, Acer Iconia W3/W4, Lenovo MIIX 2, Lenovo ThinkPad Tablet 2 and ASUS Transformer Book T100/T300.