How to change Windows password after you’ve forgotten your password? You can easily change the password of any user account from the Control Panel with admin privileges. However, if you’re locked out of your computer, you need to use a boot CD to change the account password offline.
Trinity Rescue Kit (TRK) is a free live Linux CD that aims specifically at recovery and repair operations on Windows machines. It has integrated the chntpw tool which allows you to edit / change a Windows user password offline. In this tutorial we’ll show you how to change Windows password offline with Trinity Rescue Kit.
Note: TRK is a command-line utility which doesn’t come with a GUI interface. If you’re not a Linux geek, I would recommend you to use the PCUnlocker Live CD which is a Windows PE bootdisk with graphical interface.
Offline Change Windows Password with Trinity Rescue Kit
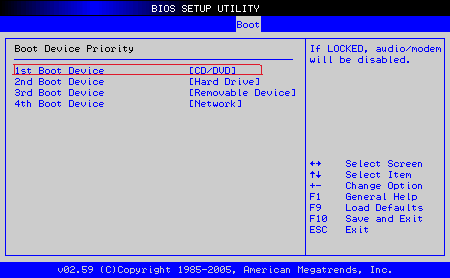
- Download the ISO image of Trinity Rescue Kit and burn it to your CD. After you have burned a disc, place it in the CD/DVD drive of your locked computer and get the machine to boot from Trinity Rescue CD.
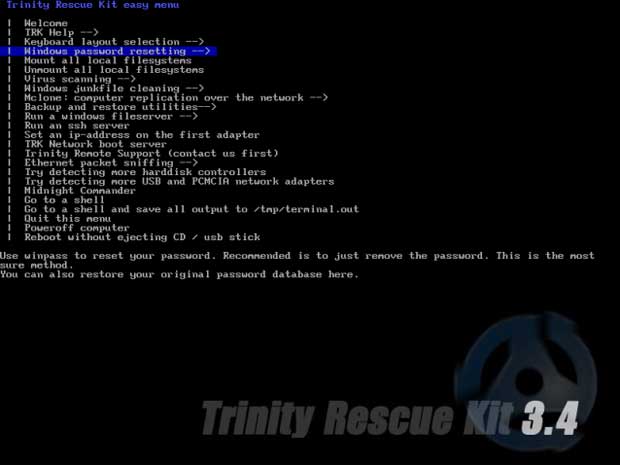
- When TRK loads you get a list of tasks TRK can perform. Navigate down to the 4th option (Windows Password Resetting) using the arrow keys and press Enter once it is highlighted.
- Once you select that option, you get a list of ways you can select to reset your lost password. Here we select the Winpass prompts for username first option (Winpass is actually just an automated script for the chntpw tool). TRK will ask you the username whose password you want to reset.
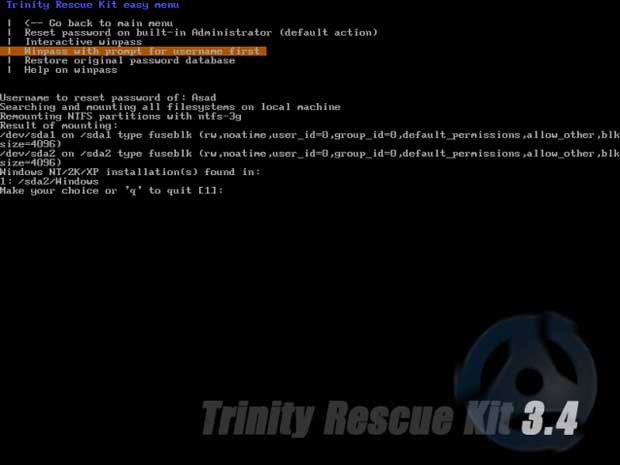
- At this point, TRK will search your hard drive for all currently Windows installations and list them. You’ll need to select the relevant installation here. If you have only one OS installed, then merely press 1 and hit Enter.
- Now, at the final stage, you will get yet another list of options. Here, choose the “Edit (set new) user password” option. Press 2 to change your Windows password offline.

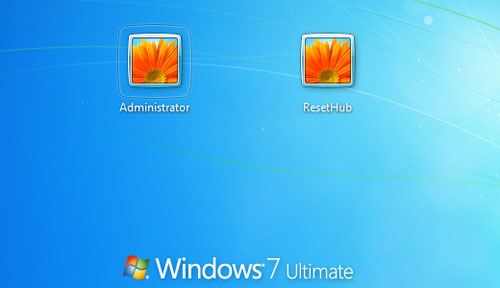
- Now reject the TRK CD and restart the computer. You can log on to Windows with your new password!