If your PC has been infected by a virus or has become slow to the point of being unusable, reinstalling Windows may be the best and quickest solution. But I always forget something like backing up product keys and email accounts. So, you are probably wondering what files you really need to backup before reinstalling Windows. Here’s a checklist of the things you should do before you make a clean install of Windows. Well, let’s take a look.

Stored Logins and Passwords
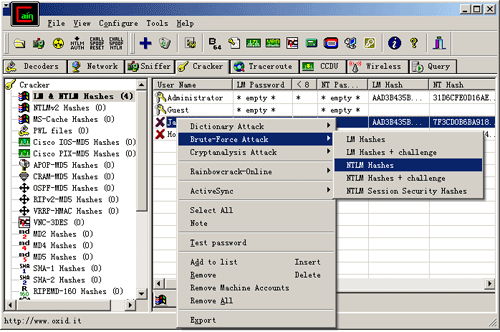
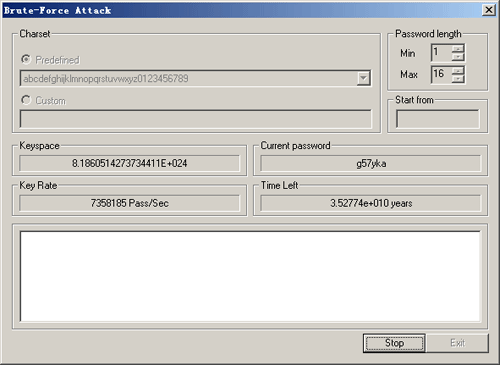
If you are using your browser to store the passwords for Web sites, you will be in for a rude awakening after reinstalling Windows – they will be gone. Your browser is a poor place to keep your website logins and passwords. Besides backing up website passwords, you might also need to export your email account settings (POP3, SMTP and passwords), and passwords stored in your FTP software, instant messengers and other applications.
If you can’t remember your passwords, you can take use of the Password Recovery Bundle program. This program can help you retrieve stored passwords from all popular instant messengers, email clients, web browsers, FTP clients and many other applications. After recovering, write down and back up them in a safe place because you need them after you reinstall Windows.
A List of Programs and License Keys
Reinstallation of Windows means that you are putting a new copy of the operating system on your hard drive, which will essentially delete all of the programs you installed. In order to restore your original settings and to know what programs you need to reinstall later, you might want to create a list of all the programs on the computer before reinstalling Windows.
Some of your core apps or drivers may be on DVD, CD, or comes as an ISO image. Pull out your media and set it in a stack ready for reinstallation later. It’s also important to keep track of valuable license keys for your Windows, Office or other programs installed on the local machine. While you can do this manually by typing the license keys up in a text document, there is a very easy way to do this, especially if you have KeyFinder Plus installed on your computer. All you need is to open KeyFinder Plus, click on the “Start Recovery” button then click “Save To File” and choose where you want to save it. From here, you can then back up all your license keys in a single file.
Emails, Address Book and Bookmarks
If you store your emails and your email address book on your PC via an email client, then you will want to back up your e-mail and address book before reinstalling Windows. This applies to you if you use a program like Outlook, Lotus, or Thunderbird. If you use a web-based email client like Gmail or Yahoo Mail, then you won’t have to worry about this. Also, if you would like to keep the bookmarks for your favorite Web sites, then you should back these up as well.
Important Documents, Video Files and Photos
Most people don’t want to lose their important photos, videos, or documents when reinstalling Windows. Before reinstalling Windows, make sure you backup all the important video and audio files as well as pictures to your storage media (DVD, USB drive or external hard drive) where they cannot be tampered with. By default, Windows will store these in sub-folders under the “My Documents” or “Documents” folder.
Conclusion
The above list is just about what you need to backup before installing Windows. However, you can also take an image of your whole hard drive using Norton Ghost so you won’t lose anything.
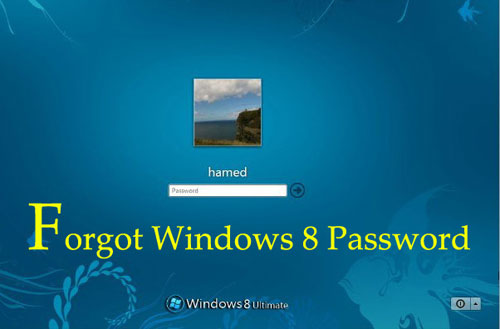
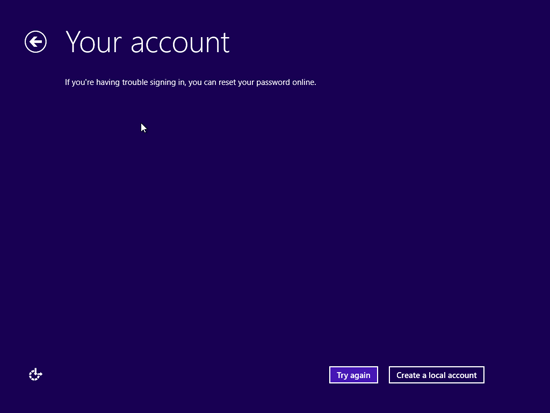
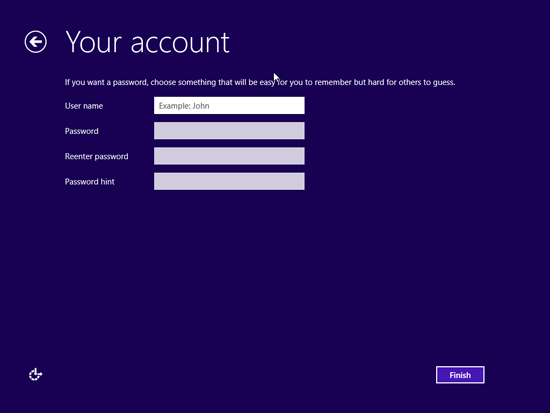
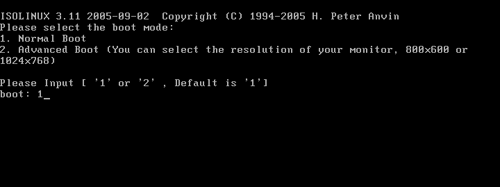
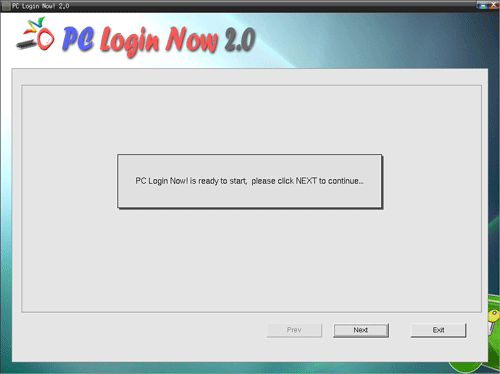
 Forgot Windows 8 password for your Samsung ATIV tablet? Just set up the administrator account on a newly purchased laptop but you couldn’t remember the password now? Well, there is an easy way to remove Windows 8 password without knowing the original one. Just boot PCUnlocker Live CD on the Windows 8 PC that needed the password reset on. After you have booted into PCUnlocker, you can