Author Archive

How to Reset Local Administrator Password in Windows

October 16th, 2012 by Admin

Forgot Windows local administrator password? People often find themselves locked out of their Windows operating systems as a result of a lost password for the administrator account. Usually people consider the system a lost cause and start rebuilding it. However, you can use the following tip to work around this problem.

In this tutorial I’ll show you how to reset local administrator password in all versions of Windows, in case you forgot the admin password or you are locked out of your computer.
How to Reset Local Administrator Password in Windows?

Before resetting forgotten local administrator password, you need to find an alternative computer with internet access to download and create a password reset CD or USB stick. Boot your target computer from the CD or USB stick, you are allowed to reset the forgotten local administrator password easily! Here are the complete instructions:

  1. Download the Reset Windows Password utility, which comes as an ISO image. Unzip the download file, you’ll find the ResetWindowsPwd.iso file.
  2. Burn the ISO image file to a blank CD or USB stick using any CD-recording freeware: ISO2Disc or BurnCDCC.
  3. Insert the password reset CD or USB stick into the target computer whose local administrator you want to reset.
  4. Set the computer to boot from the CD/USB. To do this you need to set CD or removal device as the first boot device in computer BIOS.
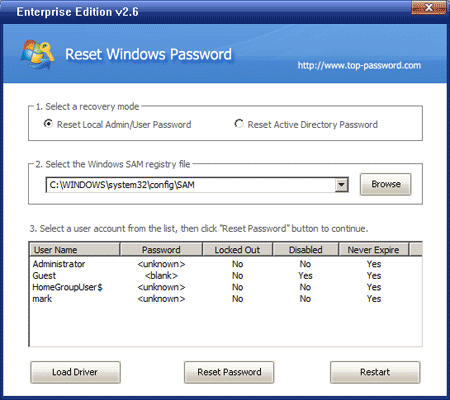
  5. After booting from the password reset CD/USB, it will launch the Reset Windows Password program.

  6. Click on the Reset Local Admin/User Password option, the program will display a list of Windows local user accounts inside the SAM database.
  7. Select the local administrator account and then click on the Reset Password button, it will remove your forgotten local admin password immediately.

With the created password reset CD/USB, you can reset local administrator password on Windows 8/7/Vista/XP/2000 and Windows Server 2008/2003/2000, including 64-bit operating system.

How to Access the Directory Services Restore Mode on a Remote DC

October 15th, 2012 by Admin

When Active Directory (AD) isn’t working, the steps you’d typically follow would be to boot into Directory Services Restore Mode (DSRM) for repairing or recovering Active Directory. To access Directory Services Restore Mode, you typically press F8 prior to the machine booting into Windows, then select the Directory Services Restore Mode option from the menu that appears.

Tips: If you forgot DSRM password or domain admin password, you can reset the forgotten password easily with Reset Windows Password utility.

But sometimes you need to fix a problematic DC in a remote location, but nobody is close enough to troubleshot. Obviously, you can’t boot the domain controller into DSRM as usual. In this tutorial we’ll show you how to access Directory Services Restore Mode on a remote DC.

How to Access Directory Services Restore Mode on a Remote DC?

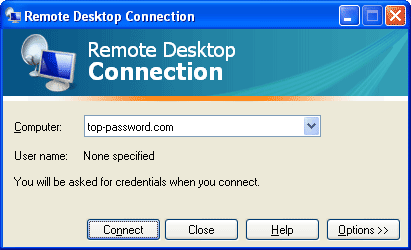
  1. On your machine, select Run from the Start menu, type Mstsc /console, and click OK.
  2. Type the IP address of the remote domain controller you want to connect to.
  3. Log on to the server using the Active Directory account.
  4. On the DC, right-click My Computer, click Properties, and then click the Advanced tab.
  5. Click Settings for startup and recovery.
  6. Click the Edit button to edit the startup options file.
  7. Modify the default entry to include the /SAFEBOOT:DSREPAIR switch, as shown in the following example:multi(0)disk(0)rdisk(0)partition(2)\WINNT="W2K DC \\ your server name " /fastdetect /SAFEBOOT:DSREPAIR
  8. Save the modified Boot.ini file, and then close Notepad.
  9. Restart the domain controller.
  10. After waiting a few minutes, perform steps 1 and 2 again.
  11. When you reconnect, the server should state that it’s in Directory Services Restore Mode. Log on using the Local Administrator account (not the Active Directory account).

Once you have restarted the server in Directory Services Restore Mode, you are ready to begin the repairing or recovery process.

Install Windows 8 on a Windows 7 or XP Tablet

October 14th, 2012 by Admin

Microsoft’s public release of the Windows 8 operating system is coming, and tech-savvy users are eager to try it out. If you have a tablet running the Windows 7 or XP operating system, then you might be interested in trying out the more tablet-oriented Windows 8 system. In this post, we will provide you with a guide for installing Windows 8 on a Windows 7 or XP tablet.

How to Install Windows 8 on a Windows 7 or XP Tablet?

1). Download the edition of Windows 8 Release Preview you want (32-bit or 64-bit) from the links below.

Download 32-Bit US-EN Windows 8 Release Preview Here (ISO)

Download 64-Bit US-EN Windows 8 Release Preview Here (ISO)

(Product Key: TK8TP-9JN6P-7X7WW-RFFTV-B7QPF)

2). Create a bootable Windows 8 USB flash drive. To do this, you can refer the step 1 of the How To Install Windows 8 from USB Flash Drive guide.

3). After making a bootable Windows 8 USB flash drive, connect it with your tablet and boot your tablet selecting the option of “boot from USB”. Boot from USB can only be done from your BIOS settings. Your tablet will start showing Windows 8 installation screen, follow the on screen instructions and your Windows 8 is installed.

After installing Windows 8 successfully, you will need to install your essential drivers manually. To install drivers visit your manufacturer’s official website.

How to Locate and Encrypt PST File in Outlook 2010

October 12th, 2012 by Admin

Microsoft Outlook 2010 stores your email in a .pst file. The PST file format is also be known as a Personal Folder File. Outlook uses this file format to store your data including emails, contacts, calendars, email account settings, etc. When you install Outlook 2010 and set up an email account, Outlook creates the .pst file for that account in a specific folder on your computer’s hard drive. In this tutorial we’re going to show you how to locate and encrypt .pst file with a password in Microsoft Outlook 2010.

The Quickest Way to Locate PST File in Outlook 2010:

  1. Launch Microsoft Outlook 2010.
  2. Right-click on the Data Store for your email account on the left panel in Outlook 2010 and select Open File Location.
  3. It will quickly locate the .pst file in Windows Explorer.

How to Encrypt PST File in Outlook 2010?

  1. Launch Microsoft Outlook 2010.
  2. Right-click on the Data Store for your email account on the left panel in Outlook 2010 and select Data File Properties.
  3. This will bring up the Properties window. Click on the Advanced button.
  4. Click on the Change Password button on the Outlook Data File window.
  5. Set a new password for your .pst file. If the .pst file is already protected with a password, you also need to enter the old password. Click OK.

After setting up a password to encrypt the .pst file, you need to enter the password to access all your data in Outlook every time you launch Microsoft Outlook application. MS Outlook users often encrypt PST file to ensure their confidential data are not accessed by unauthorized users. But sometimes when you lost your pst file password then you need to use Outlook Password Recovery program to recover lost password.

How to Reset Lost 2008 Active Directory Admin Password

October 11th, 2012 by Admin

We have a few customers, who have forgot their AD Administrator password on their Windows 2008 server. Is there really any way to recover it? I know it’s possible to reset your Windows 7, XP and Vista password. But is it possible to get the AD administrator password on a 2008 server? I hope we can avoid a re-install. Cheers.

Lost or forgot the administrator password on Active Directory 2008? There isn’t any efficient way to recover the password as Active Directory encrypts the password using some very strong encryption algorithms. But you can reset or replace the forgotten password easily. Today’s tutorial will be covering a technique that will allow you to reset your lost 2008 Active Directory Administrator Password.

How to Reset Lost 2008 Active Directory Admin Password?

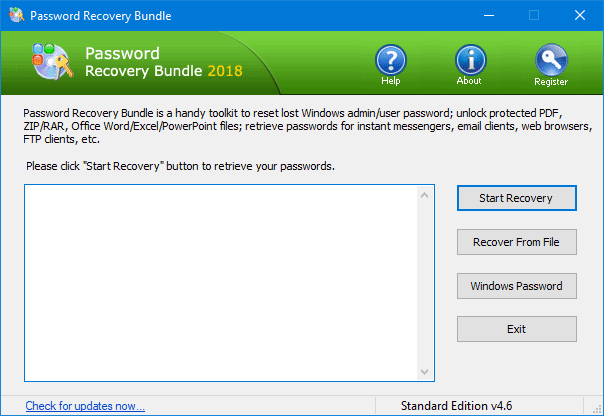
  1. Download and install Password Recovery Bundle on another computer that you can log in.
  2. Prepare a blank CD and insert it into the computer.
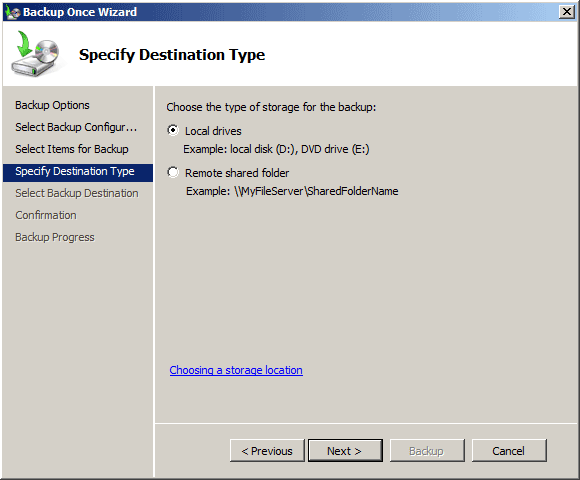
  3. Launch Password Recovery Bundle and click on Windows Password button, it will display the ISO burning dialog.

  4. Choose your CD you’ve plugged in and then click on Start Burn button to create a Live CD.
  5. After you have the Live CD, put it into the CD drive of your Active Directory server whose password you want to reset.
  6. Turn on the Active Directory server and have it boot from the Live CD. You may need to go into BIOS and set CD/DVD as the first boot device.
  7. After booting from the Live CD, it will load the Windows PE operating system inside the Live CD and start the Reset Windows Password program.

  8. Choose the Active Directory NTDS.dit database, it will display a list of domain user accounts inside the NTDS.dit database.
  9. Choose the administrator account from the list, then click on Reset Password button, the program will replace the forgotten/unknown administrator password with a new password: Password123.

Take out the Live CD and reboot the Windows 2008 server, you can then log in to your domain administrator account with your new password. With the Live CD you can also reset lost admin password on Windows 8, 7, Vista, XP.

How to Install Windows 8 on a Virtual Hard Drive for Dual Booting

October 8th, 2012 by Admin

In my previous blog post, Dual-boot Windows 7 and Windows 8, I showed you how to configure your Windows 7/Vista system to dual-boot Windows 8 from a new partition on your existing Windows 7 hard disk. Here I’ll show you how to install Windows 8 on a virtual hard drive (VHD) for dual booting. No need to shrink your existing partition or repartition your hard drive.

How to Install Windows 8 on A Virtual Hard Drive for Dual Booting?

The first step is to create a virtual hard drive on your Windows 7 system. Microsoft recommends a minimum of 20 GB for Windows 8 64-bit. I suggest setting the VHD disk size to at least 30 GB so you have disk space for apps. If you don’t know how to create one, please refer to this step-by-step guide: How to Create a Virtual Hard Drive (VHD) in Windows 8/7.

Next, reboot your computer and boot up with a Windows 8 DVD or USB flash drive. After a few minutes, you’ll see the Windows Setup screen. Specify your language settings before clicking Next.

You’ll see the Windows Setup screen shown as follow. Click the Install Now button.

When you see the next Windows Setup screen, you will immediately press Shift +F10 to open the Command Prompt.

The virtual hard drive that you created earlier needs to be attached so you can select the VHD as the install destination. Once the command prompt is open, run the following:
diskpart
select vdisk file=c:\VHDs\Windows8RP.vhd
attach vdisk

Replace c:\VHDs\Windows8RP.vhd with the full path to the VHD file you created. The drive letter may be different from what you see in Windows 7. You can use the dir command to confirm the VHD file path.

Once you are done, you can type exit to leave the Diskpart environment and then click the Close button the close the Administrator Command Prompt window. When you return to the Windows Setup screen, you select the Custom option.

Windows Setup will prompt you to choose the location to which you want to install Windows 8 and you can now select your VHD. Keep in mind that when you select the VHD, you’ll see a warning message that says that Windows cannot be installed to this disk. Just ignore it as the procedure does indeed function correctly.

As soon as you click Next, the installation will begin. When the installation is complete, Windows Setup will reboot your system and you will then see the new Windows 8 style dual boot screen. Done!