By default, Windows Server allows only a single Remote Desktop session. When the limit is reached, you should get one of the following warnings:
“The number of connections to this computer is limited and all connections are in use right now. Try connecting later or contact your system administrator.”
or
“Another user is signed in. If you continue, they’ll be disconnected. Do you want to sign in anyway?”

Sometimes you may need to increase the number of simultaneous remote connections so that multiple users are allowed to connect via RDP at the same time. In this tutorial we’ll show you how to enable multiple Remote Desktop connections in Windows Server 2019 / 2016 / 2012.
How to Enable Multiple Remote Desktop Connections?
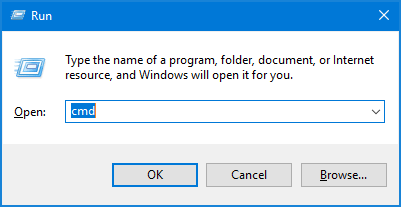
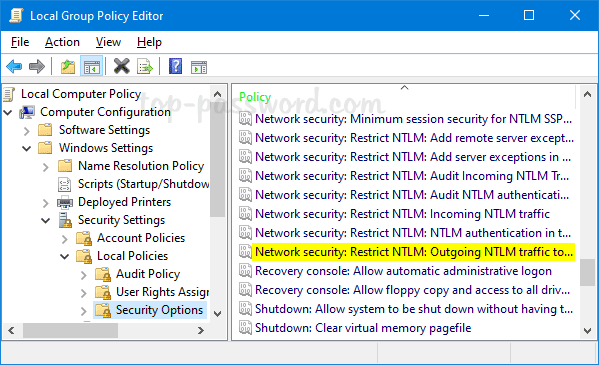
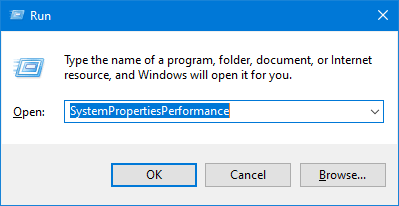
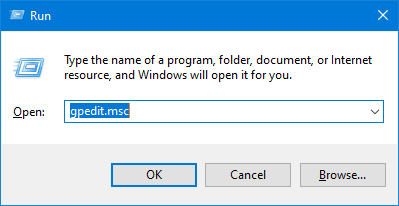
- Press the Windows key + R together to open the Run box, type gpedit.msc and hit Enter to launch the Local Group Policy Editor.
- In the left pane, navigate to:
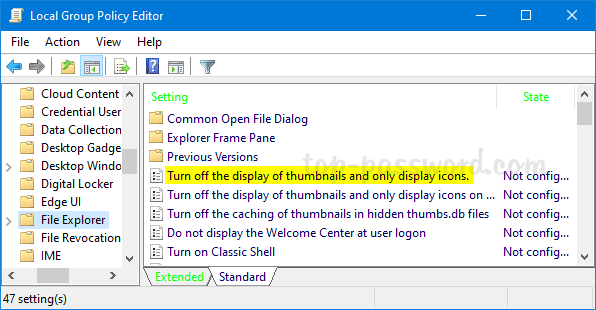
Computer Configuration -> Administrative Templates -> Windows Components -> Remote Desktop Services -> Remote Desktop Session Host -> Connections. On the right, double-click on the “Restrict Remote Desktop Services users to a single Remote Desktop Services session” policy.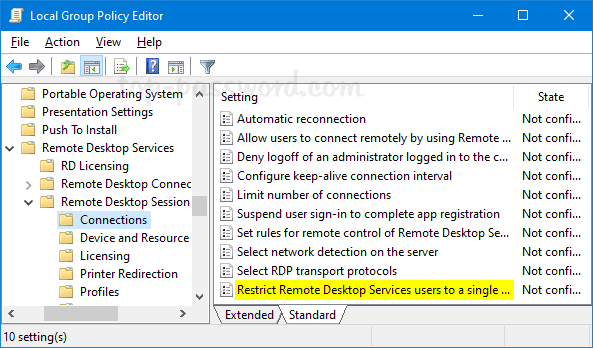
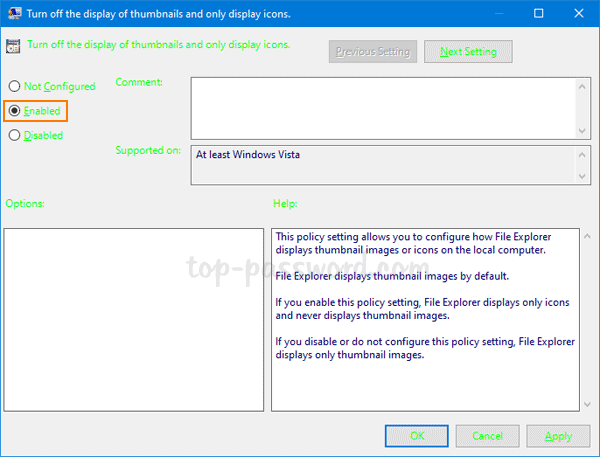
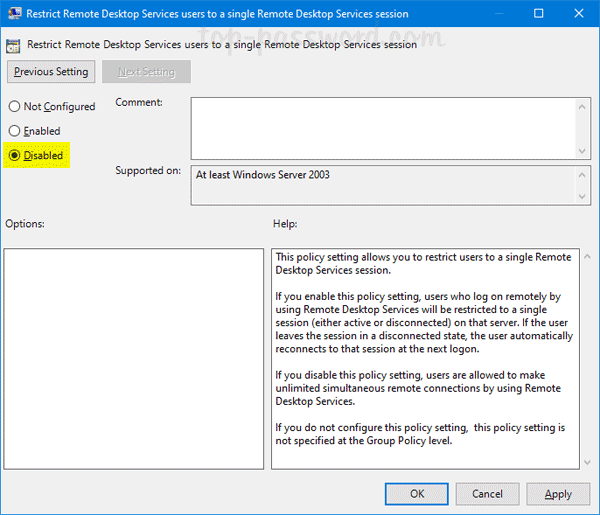
- Select the Disabled option and click OK.
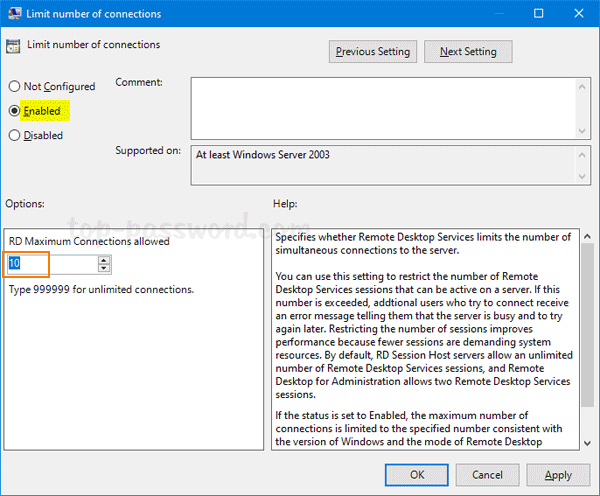
- Next, double-click on the “Limit number of connections” policy to modify.
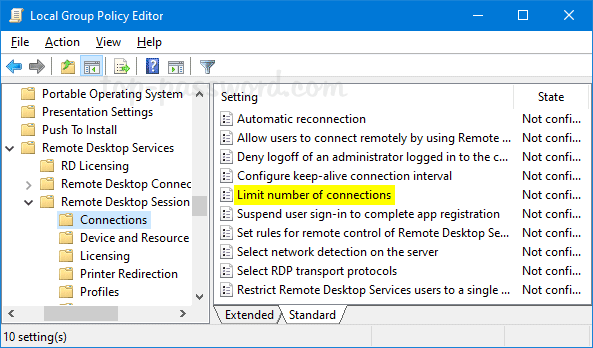
- Choose the Enabled option and you can increase the “RD Maximum Connections allowed“.
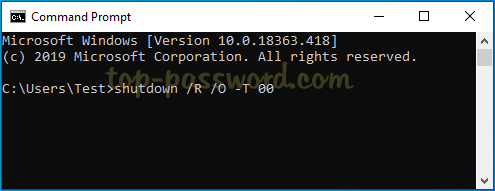
- Once it’s done, reboot the server and the group policy changes will automatically apply. Now your server should allow multiple users to connect via RDP at the same time.