Outlook indexing not complete or suspended? Can’t search the mailbox using the Instant Search feature any longer? To fix such issue, you just need to rebuild the search index and you can get Outlook search working again.
How to Rebuild Index When Outlook Instant Search isn’t Working
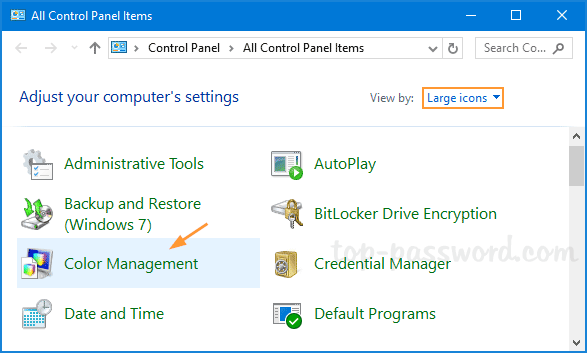
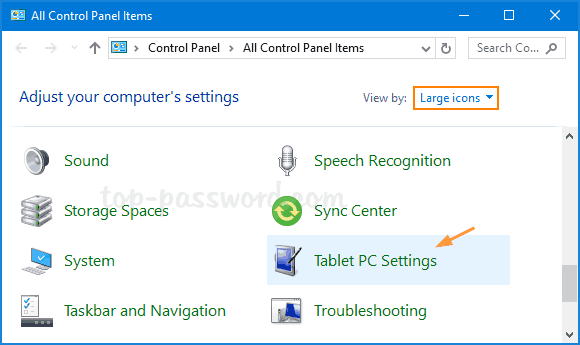
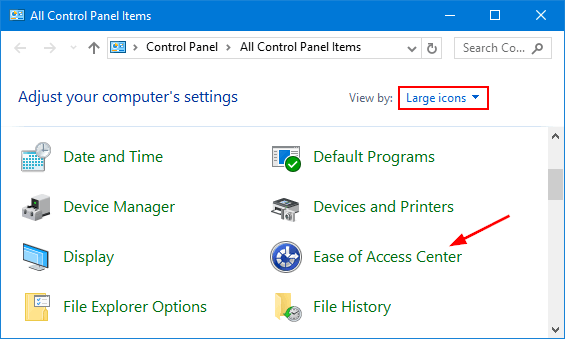
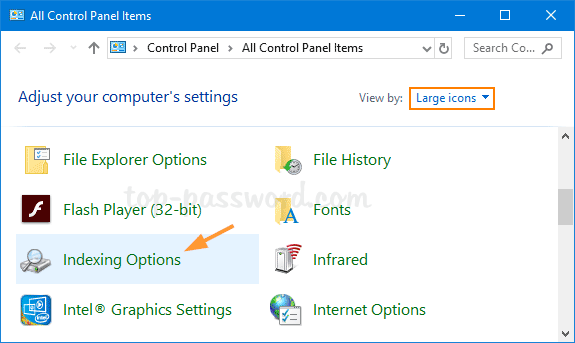
- Open the Control Panel with Large icons view and click on Indexing Options.
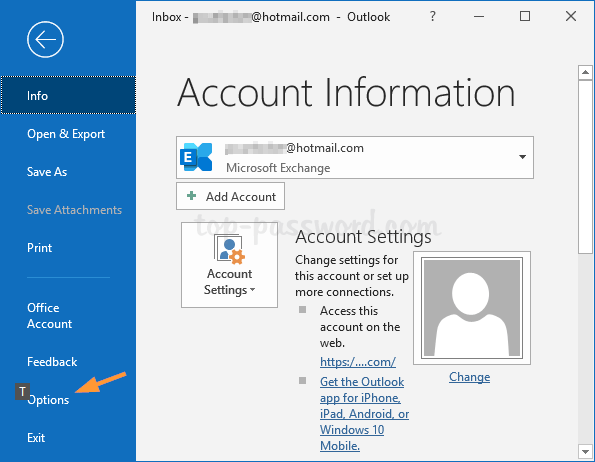
For Outlook 2013 / 2016 / 2019, you can also access the Indexing Options from within the Outlook application. Follow these steps:
- Click the File tab in Outlook, and then select Options.
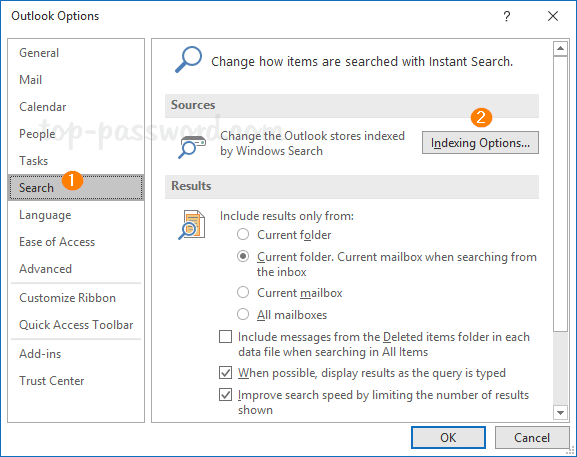
- Next, choose the Search tab from the left column, and click on Indexing Options.
- Click the File tab in Outlook, and then select Options.
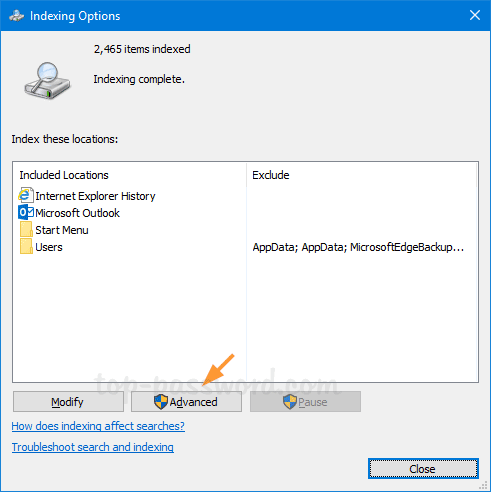
- When the Indexing Options window appears, click on the Advanced button.
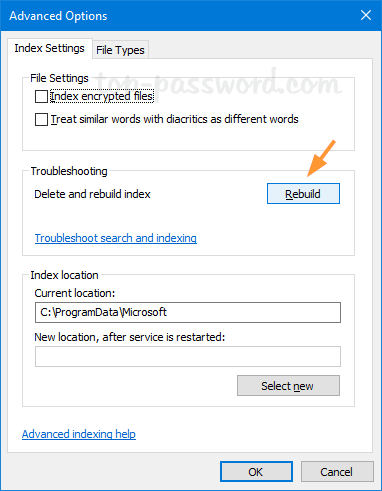
- Under the Index Settings tab, click on Rebuild.
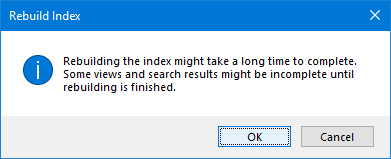
- Outlook will prompt with a warning that rebuilding the index may take a long time to complete. Click OK to rebuild the entire search index.
- You can continue to use Outlook when it’s building the index in the background. Just open the Indexing Options window again and you can view the index status. After Outlook has finished indexing all of your items, make sure to restart Windows.