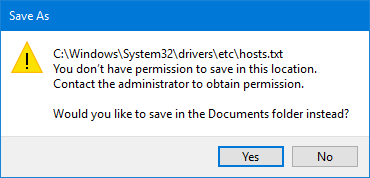
When you open a system file with Notepad, make few changes and try saving it, you may get the following error message:
“You don’t have permission to save in this location. Contact the administrator to obtain permission”
To fix this permission issue, you have to run Notepad as an administrator. In this tutorial we’ll show you 3 ways to open Notepad as administrator in Windows 10.
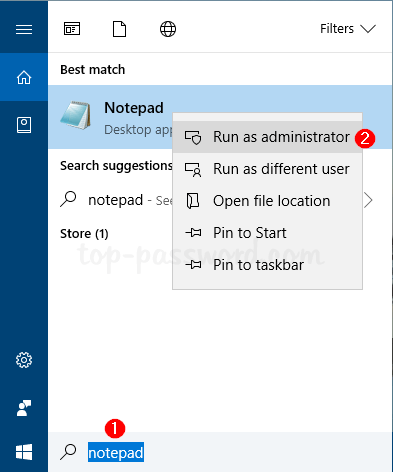
Method 1: Open Notepad as Administrator via Cortana Search
- Type “notepad” in the Cortana search box on the taskbar. Right-click on the program that appears in the search results, and select “Run as administrator“.
- When the User Account Control dialog appears, click Yes. It will launch Notepad as administrator rights.
Method 2: Create a Desktop Shortcut to Always Open Notepad as Administrator
- Right-click on the empty space on the desktop, and select New -> Shortcut.
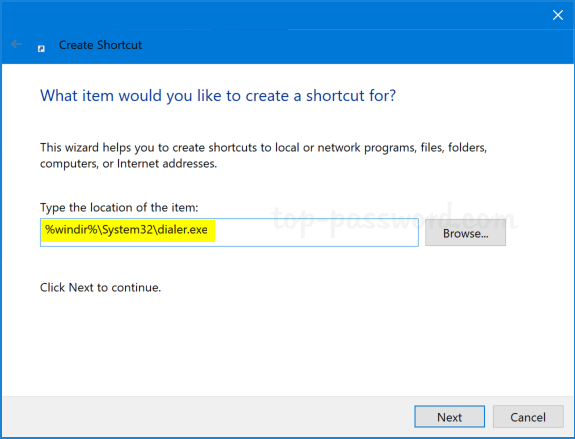
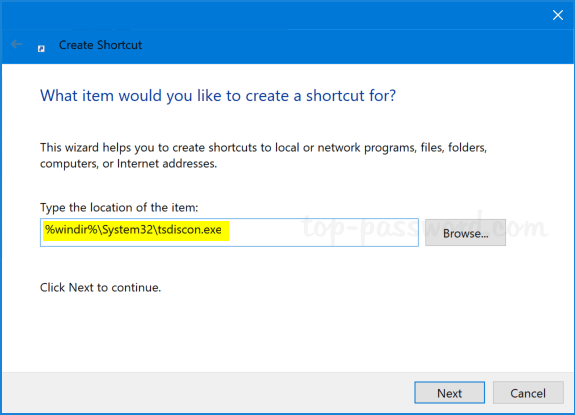
- In the Create Shortcut wizard, type in the full path of the Notepad executable file, and click Next.
%windir%\system32\notepad.exe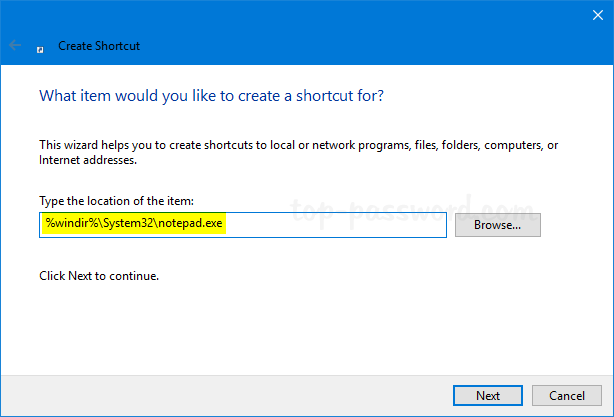
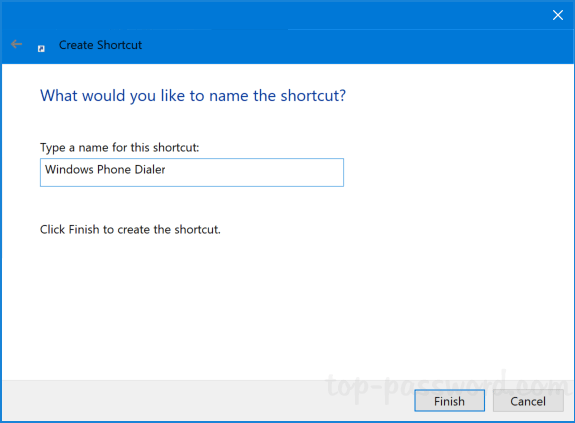
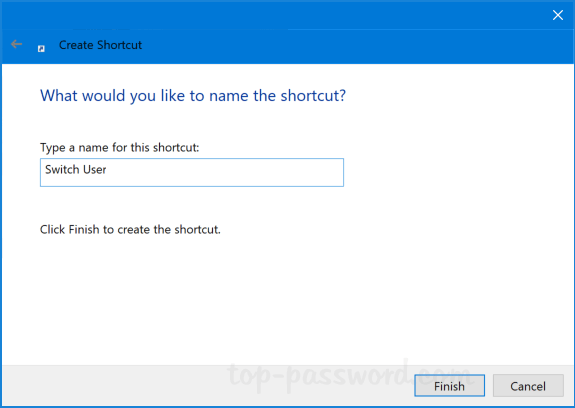
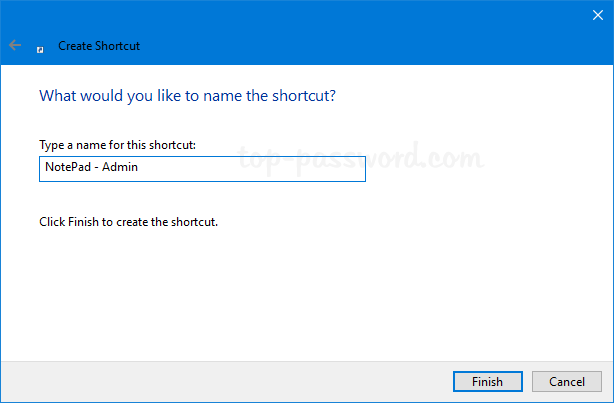
- Give a descriptive name for the new shortcut and click Finish.
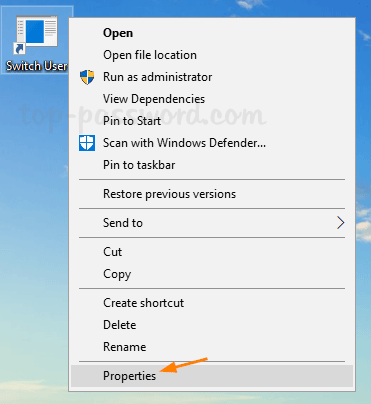
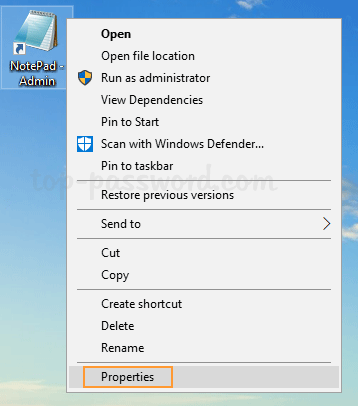
- Right-click the newly created shortcut on the desktop and select Properties.
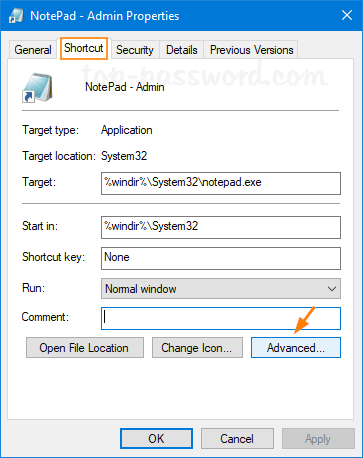
- In the Shortcut tab, click Advanced.
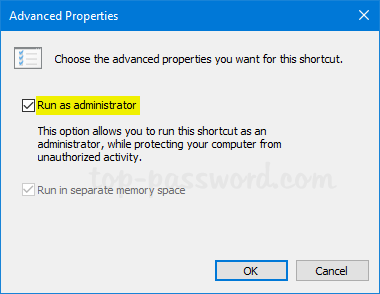
- Check the “Run as administrator” box and click OK.
- Just double-click the Notepad desktop shortcut and it will open it always as administrator.
Method 3: Add “Open Notepad as Admin” to Right-click Context Menu
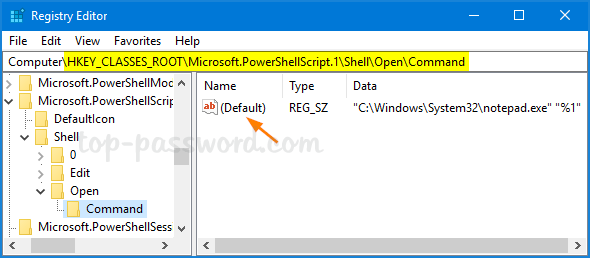
- Open Registry Editor and navigate to the following location:
HKEY_CLASSES_ROOT\*\shell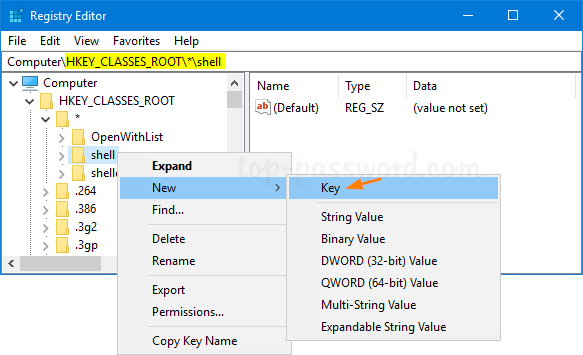
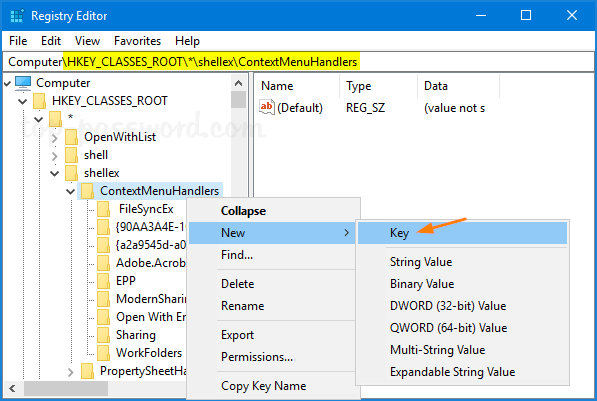
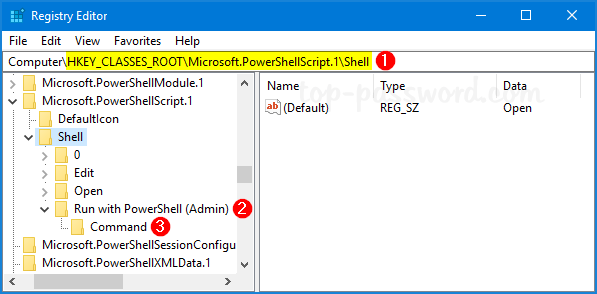
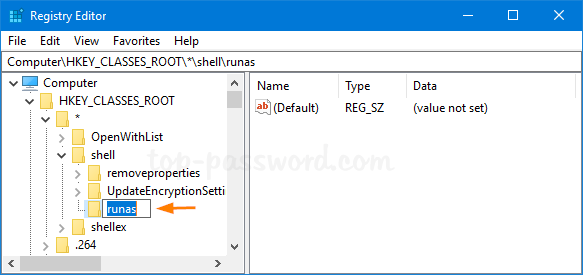
Right-click on the shell key in the left pane, and select New -> Key from the pop-up menu.
- Name the new key runas.
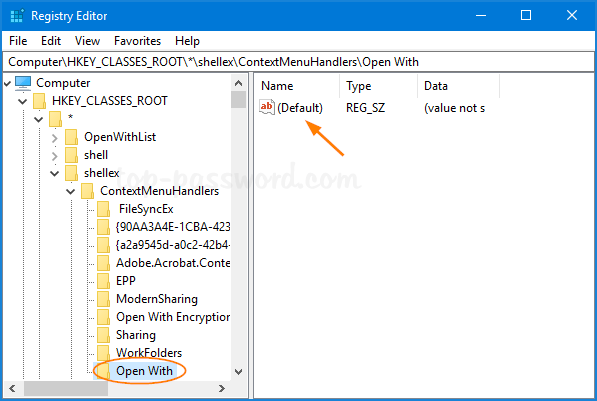
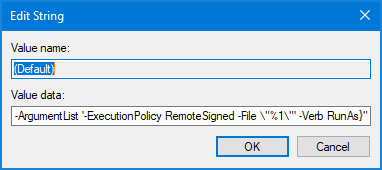
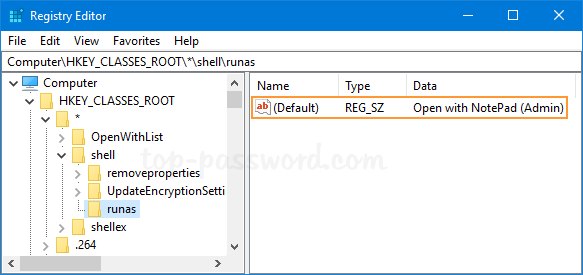
- Select the runas key, and then double-click on “(Default)” in the right pane and change its value to “Open with NotePad (Admin)“.
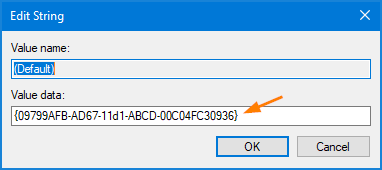
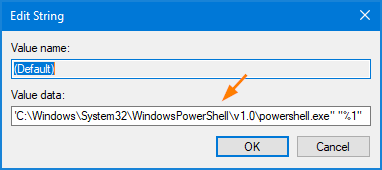
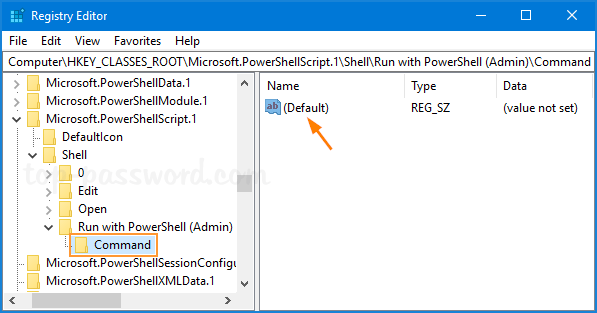
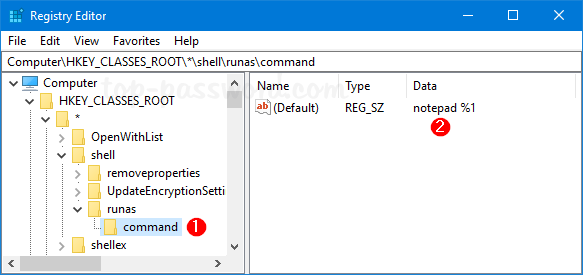
- Right-click on the runas key and create a new subkey named command. Next, double-click on “(Default)” in the right pane and set it to “notepad %1“.
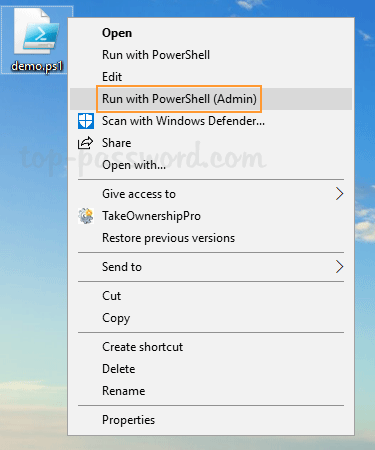
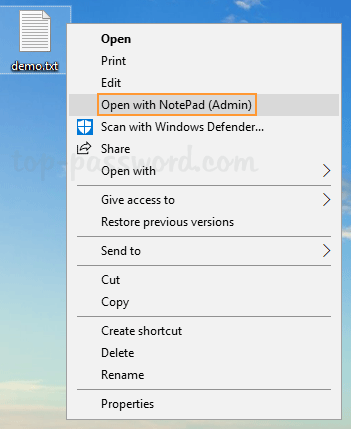
- Close Registry Editor. When you right-click any file in Windows Explorer, you’ll see a new option to open Notepad as admin from the context menu.
That’s it!