After upgrading to Windows 10 Fall Creators Update, you may noticed a weird folder under This PC of File Explorer. It’s called 3D Objects. By default, that folder is empty and any creations you make in Paint 3D or 3D Builder application are saved into it.
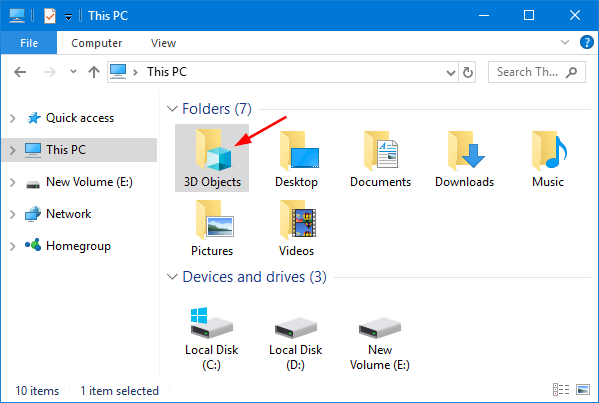
If you’re not interested in 3D printing, you can remove the “3D Objects” folder from ‘This PC’ in File Explorer. Here’s a simple way to remove or restore “3D Objects” folder on Windows 10.
Part 1: Remove “3D Objects” Folder on Windows 10
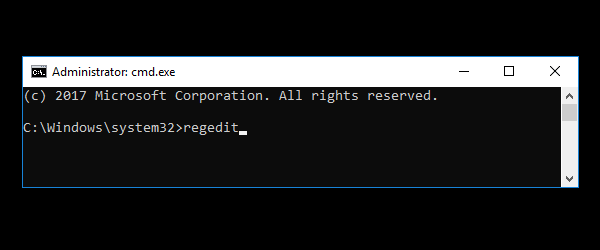
- Open the Command Prompt in Windows 10.
- Copy and paste the following command in the Command Prompt, and press Enter.
reg delete HKEY_LOCAL_MACHINE\SOFTWARE\Microsoft\Windows\CurrentVersion\Explorer\MyComputer\NameSpace\{0DB7E03F-FC29-4DC6-9020-FF41B59E513A} /f
- You’re now done. Close File Explorer and open it again, the “3D Objects” folder should be gone from ‘This PC’ on Windows 10.
Part 2: Restore “3D Objects” Folder on Windows 10
If you want to restore the “3D Objects” folder back to ‘This PC’ in File Explorer, just run the following command at the Command Prompt:
reg add HKEY_LOCAL_MACHINE\SOFTWARE\Microsoft\Windows\CurrentVersion\Explorer\MyComputer\NameSpace\{0DB7E03F-FC29-4DC6-9020-FF41B59E513A}
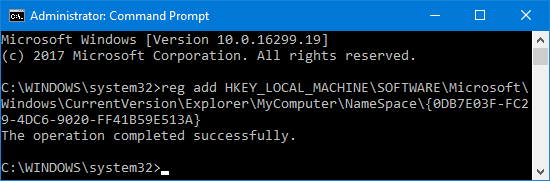
When it’s done, open File Explorer again and you’ll see the ‘3D Objects’ folder reappear in ‘This PC’.