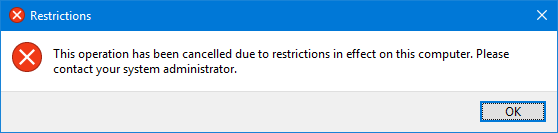
When you try to sign in to Windows 10 account, you may receive a blue dialogue box saying:
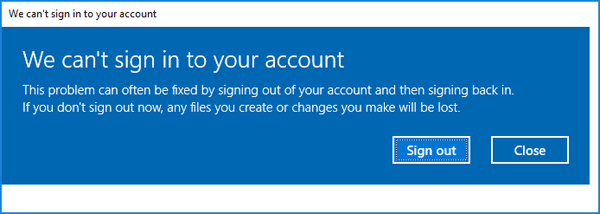
“We can’t sign into your account.This problem can often be fixed by signing out of your account and then signing back in. If you don’t sign out now, any files you create or changes you make will be lost.”
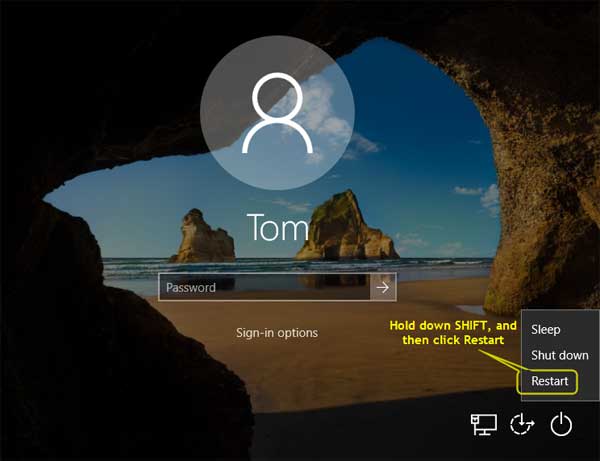
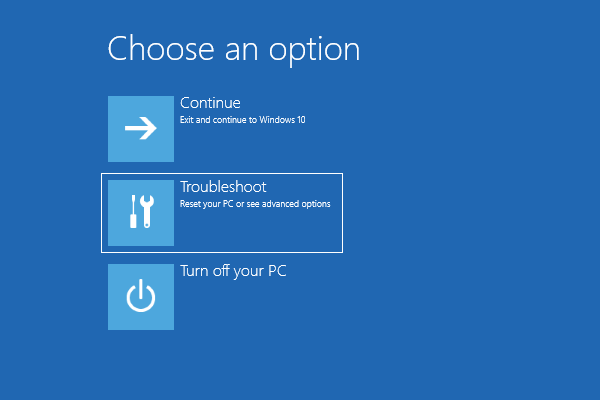
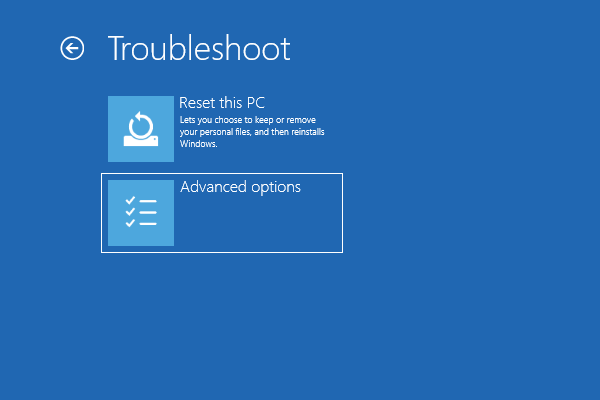
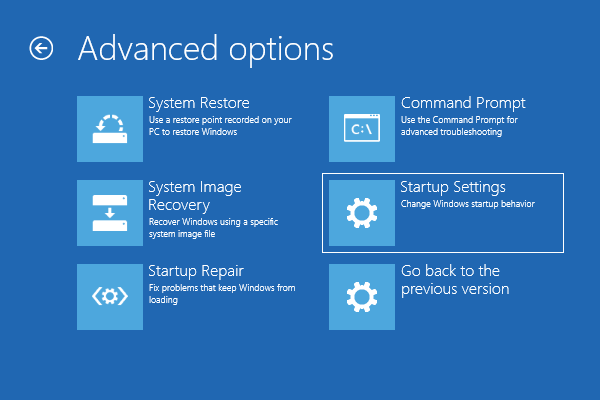
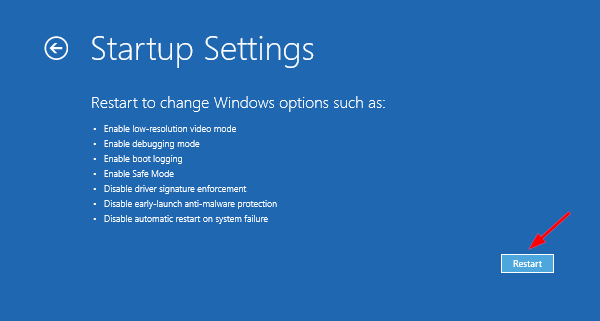
This happens when some parts of your user profile get messed up. Try to restart your computer in Safe Mode and see if the problem resolves itself. If that doesn’t help, follow this tutorial to fix the “We can’t sign into your account” error by rebuilding your Windows 10 user profile.
Note: If you can’t sign into your account because you’ve forgotten Windows 10 password, please check out this tutorial: 6 Ways to Reset Forgotten Windows 10 Password.
Part 1: Backup Your Old User Profile
When you got the error “We can’t sign into your account“, there is a big chance that your old user profile couldn’t be loaded and you’re logged in with a temporary profile. Open File Explorer and browse to C:\Users, you should see that a new temporary profile (for example, C:\Users\TEMP) was created.
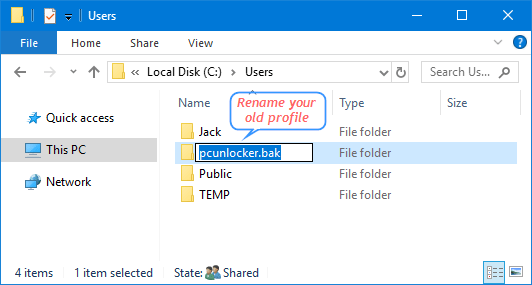
Now, you just need to rename your old profile to something else, so you can restore the data later after a new profile is created.
Part 2: Rebuild User Profile
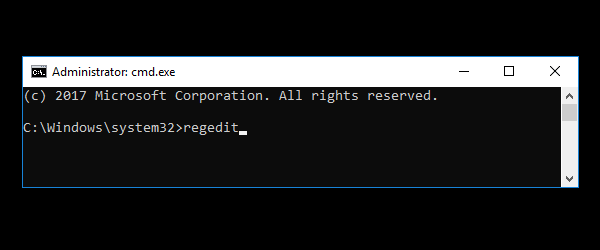
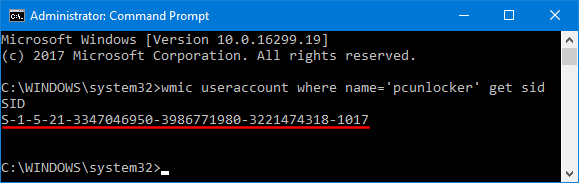
Before get started, we need to find the SID of your problematic account. Open the Command Prompt as administrator and type the following command.
wmic useraccount where name='user_name' get sid
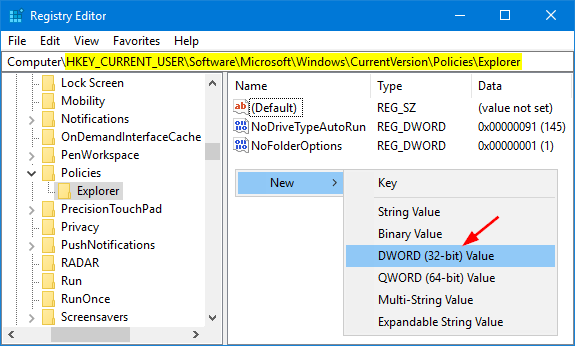
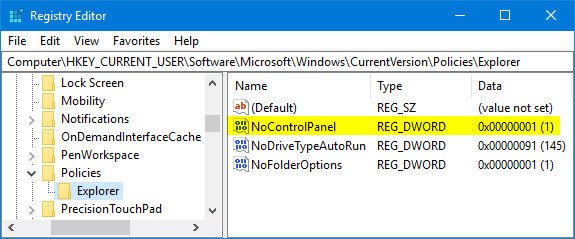
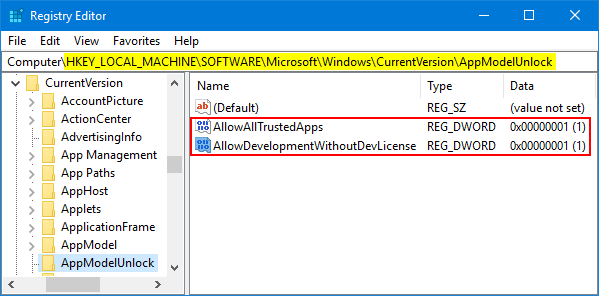
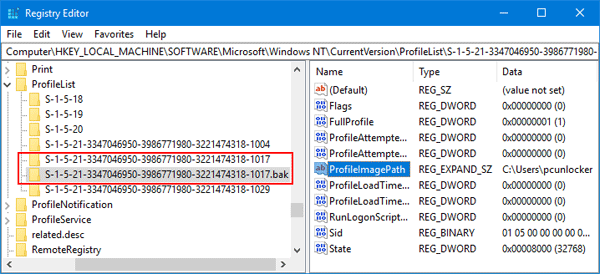
After we know the user’s SID, open Registry Editor and browse to the following key:
HKEY_LOCAL_MACHINE\SOFTWARE\Microsoft\Windows NT\CurrentVersion\ProfileList
Expand the ProfileList key and delete all subkeys that are named with the SID we found above. There should be two SID registry keys. The SID.bak subkey should contain a ProfileImagePath entry that points to your old profile, while the other subkey points to a temporary profile.
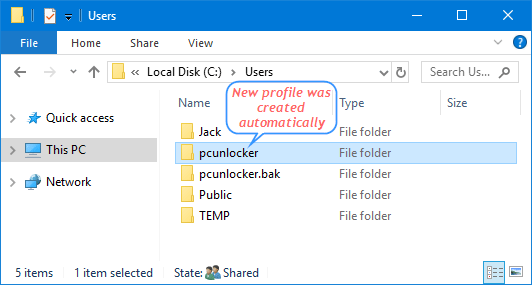
Close Registry Editor and restart your computer. After you log on to Windows 10, a new local profile is re-created automatically.
Then you can move your data back from the old profile folder to your new profile folder.
Wrapping up
We are sure that rebuilding user profile will help you to fix the error “We can’t sign into your account“. If you are a computer novice or not familiar with registry editor, you can use System Restore to restore Windows 10 to a prior good point and see if that helps.