Using the Run command in Windows, you can run quick commands and programs, open folders or files, etc. In previous post we’ve covered all kinds of ways to open the Run command box, here we’re going to show you how to create a Run shortcut on Windows 10 desktop.
How to Create a Run Shortcut on Windows 10 Desktop?
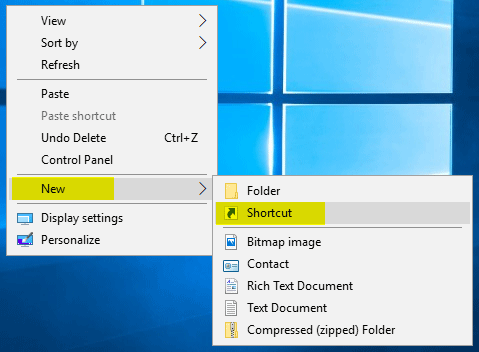
- Right-click any empty area on the desktop and select New > Shortcut.
- This will open the Create Shortcut wizard. Copy and paste the location below into the location area, and then click Next.
explorer.exe shell:::{2559a1f3-21d7-11d4-bdaf-00c04f60b9f0}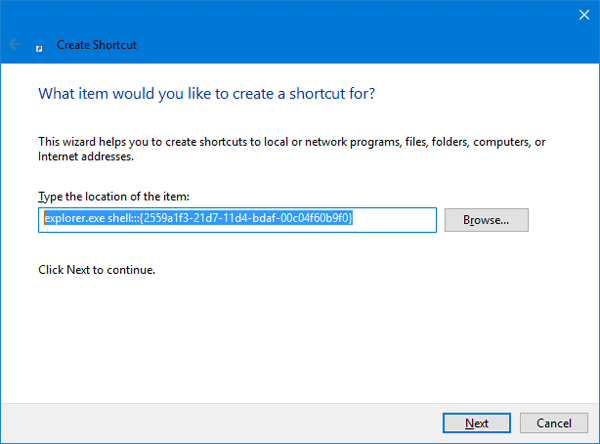
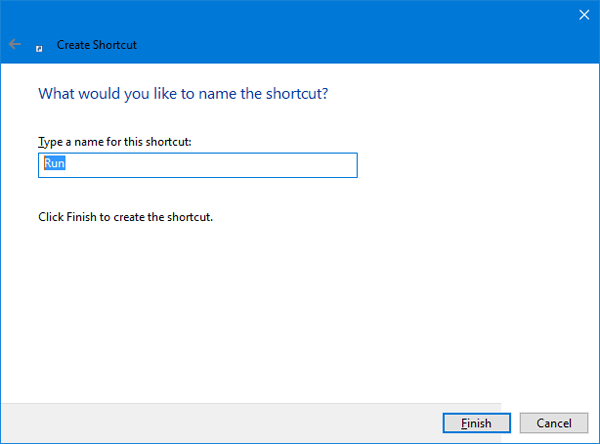
- Name the shortcut as ‘Run‘ and click Finish.
- The default icon for your newly created shortcut is a folder icon. To change the icon, right-click on the new Run shortcut on the desktop, and then select Properties from the context menu.
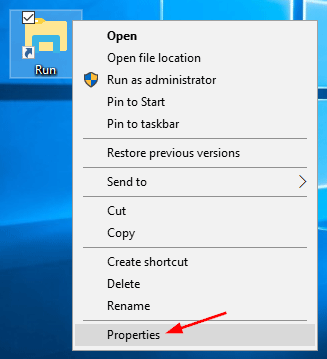
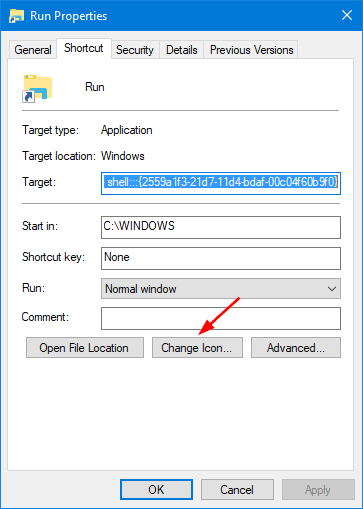
- Under the Shortcut tab, click the Change icon button.
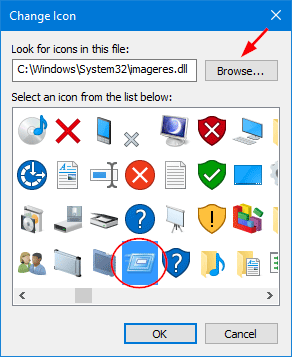
- In the Change Icon window, browse to select the file C:\Windows\System32\imageres.dll. Next choose the Run command icon and click OK.
- Now, the Run shortcut should now show up on the desktop with the original Run command icon. You can double-click on it to open Run command box for quick access.