Microphone doesn’t work after Windows 10 upgrade? How can I re-enable the built-in microphone? In this tutorial we’ll show you 3 ways to enable / turn on microphone in Windows 10.
Method 1: Turn On Windows 10 Microphone Using Device Manager
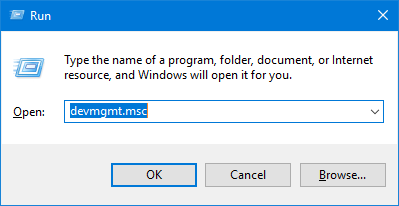
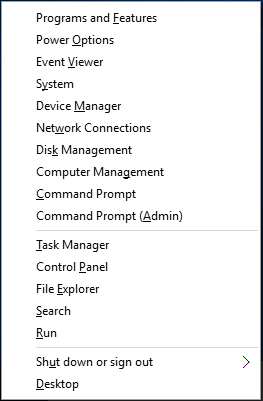
- Press the Windows key + X shortcut to open the WinX menu, and then select Device Manager.
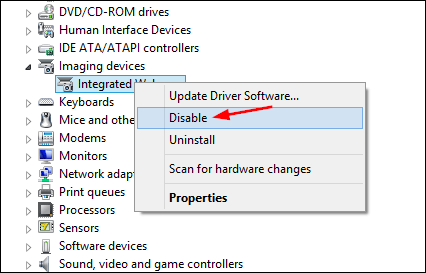
- Double-click on Sound, video and game controllers to expand that section. Locate your audio driver (for example, Realtek High Definition Audio) and right-click on it. Click on Enable. Restart your computer.
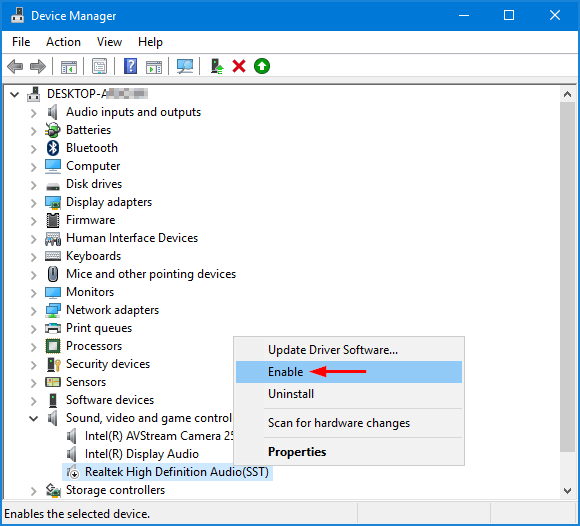
Note: If there is a yellow mark (most probably an exclamation mark or a question mark) next to your microphone device, there is problem with the driver. Then you need to reinstall or update the audio driver.
Method 2: Turn On Windows 10 Microphone from Sound Settings
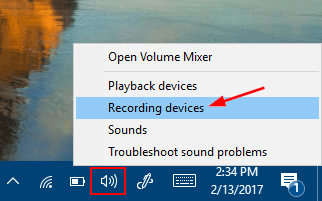
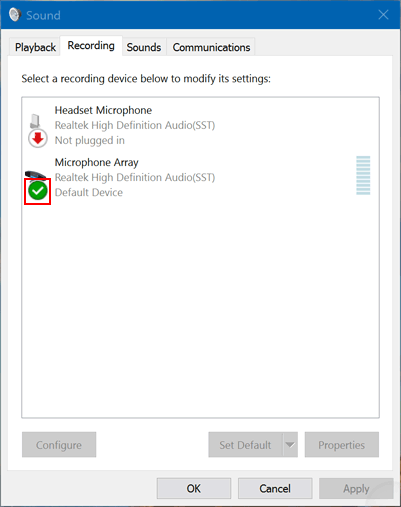
- Right-click on the Volume icon in the system tray and click on Recording devices.
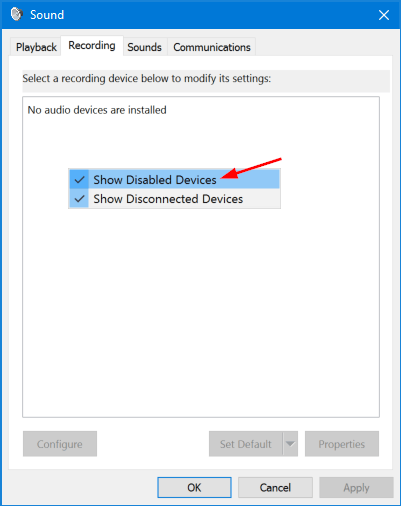
- Click on the Recording tab, and then right-click in the space under the last recording device and click “Show Disabled Devices“.
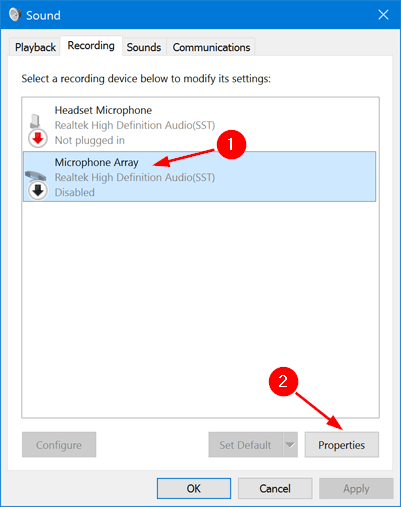
- Select your Microphone from the list, and then click on Properties.
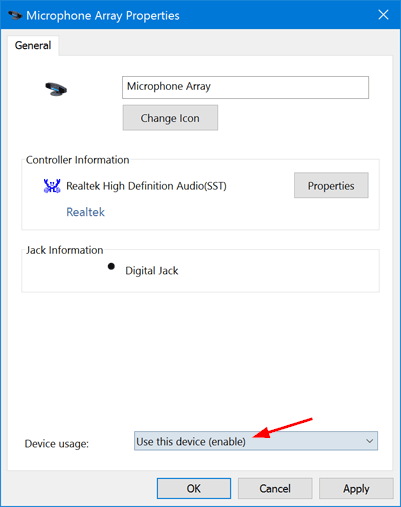
- Choose the “Use this device (enable)” option under the Device usage drop-down list, click Apply and then OK.
- You may also check if the microphone that you are using is set as default. Note: Current default device is indicated by a green check mark.
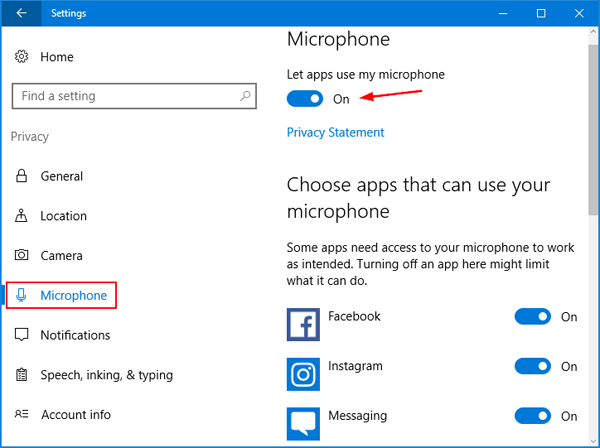
Method 3: Turn On Windows 10 Microphone from PC Settings
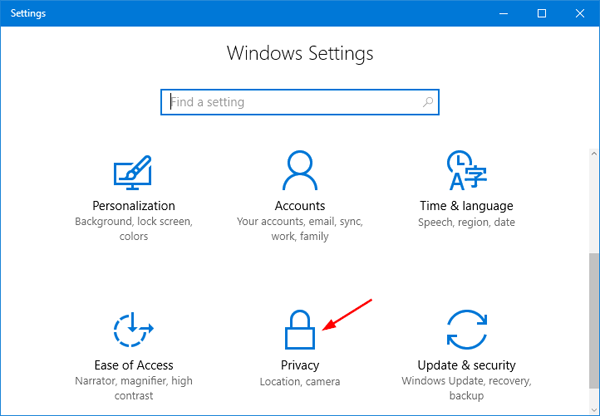
- Press the Windows key + I shortcut to open the Settings app. Click Privacy.
- Choose Microphone in the left pane. You’ll see an option that says “Let apps use my microphone“. Slide the toggle to On and select which of the apps underneath can use your microphone.