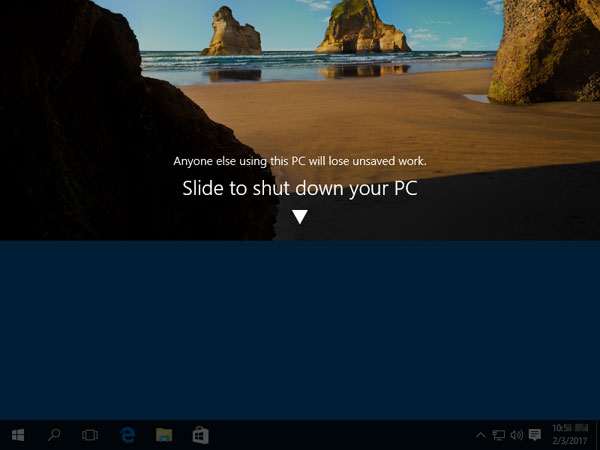
The “Slide to shut down your PC” feature is the easiest & funny way to shut down a Windows 10/8 tablet. Just hold the Power button for a few seconds to slide to power off. Actually this feature also works with non-touch screen devices. In this tutorial we’ll show you how to slide to shut down Windows 10 laptop/desktop like a tablet.
Part 1: Add the “Slide to shut down” Shortcut in Windows 10
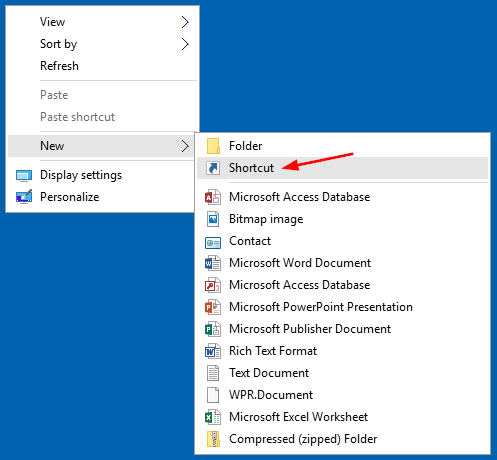
Right-click on the empty space on the desktop, then select New -> Shortcut.
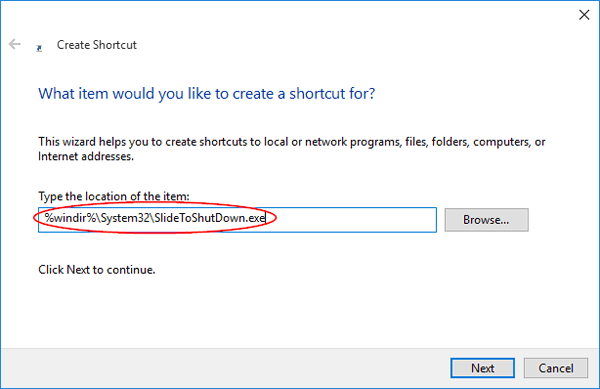
When the Create Shortcut wizard opens, copy and paste the following path in the shortcut location box, and click Next.
%windir%\System32\SlideToShutDown.exe
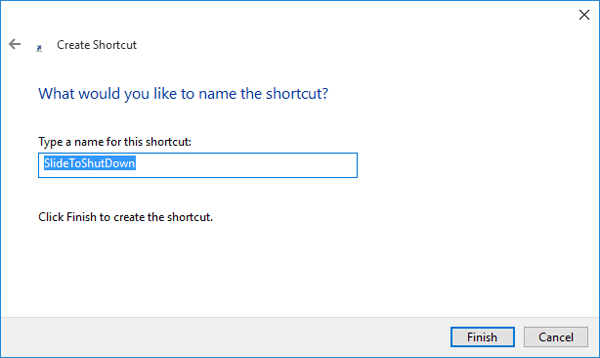
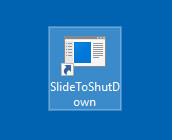
Enter a descriptive name for the shortcut (e.g., SlideToShutdown). Click Finish.
Part 2: Slide to Shut Down Windows 10 Laptop / Desktop Computers
Now, you can drag the new shortcut icon to the taskbar if you want, or you can leave it on the desktop.
When you want to shut down, just double-click the shortcut icon, and the slide to shutdown screen will open from the top. Use your mouse to slide down or press the Enter key, and your computer will power off.