All your desktop icons were missing after restarting your computer? How can I get those icons showing up again? It’s a known issue in Windows 10 that all of a sudden the icons on your desktop might disappear without warning. In this tutorial we’ll show you 3 methods to restore missing / disappeared desktop icons (including This PC, Network, Control Panel and Recycle Bin) in Windows 10.
Method 1: Make sure Show Desktop icons is enabled
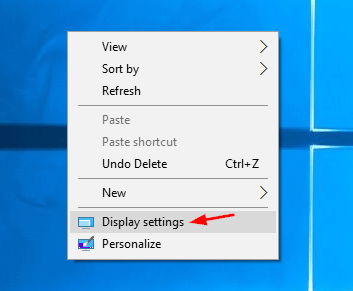
Right-click on any empty space on your desktop. From the context menu, select View and then check for the Show desktop icons at the bottom. You should be able to see all of your desktop icons.
![]()
Method 2: Turn off tablet mode
If you’ve accidentally enabled tablet mode, Windows 10 will display the Start Screen instead of the desktop every time you sign into your account, so you will see no desktop icons showing up on your screen. Switching back and forth between Desktop mode and Tablet mode would fix your problem.
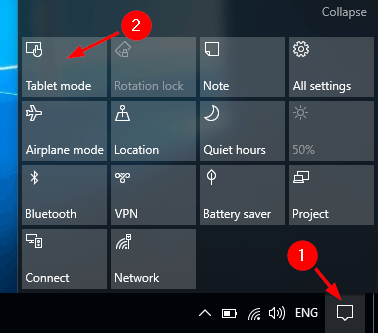
To disable Tablet mode, click the Action Center icon (looks like a speech balloon) on the taskbar, and then click on the Tablet mode button. Your system will then change back to desktop mode. Hopefully all your desktop icons are restoring back.
Method 3: Restore Most Common Desktop icons
If your default desktop icons (like This PC, Control Panel etc.) are missing, you can make them visible from the Settings app. To get started, press the Windows key + I hotkey to open the Settings window. Click Personalization. Next select Themes tab on the left, click the Desktop icon settings link on the right. From the popup window, you can check all desktop icons and click OK.
![]()
Now Windows 10 should display the common desktop icons on the screen. That’s about it, I hope this article helped you to get your desktop icons back. If you have any comments, or questions, just reach for the comments below.