Is there a way to bypass group policy? Group policy settings are messed up? You might be restricted from modifying certain system settings or you’re denied to log on to Windows. In this tutorial we’ll show you a simple way to reset local group policy settings to default, even if you couldn’t log into Windows.
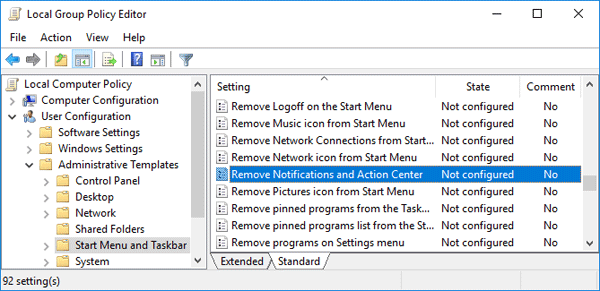
Where Group Policy Settings are Stored
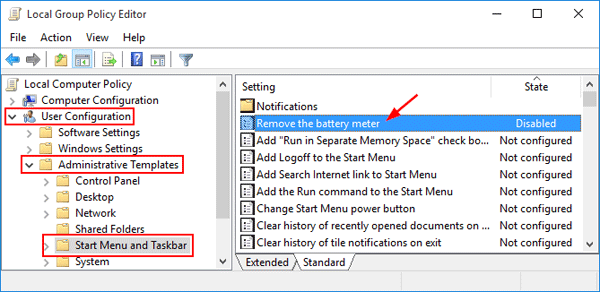
A local Group Policy object exists on every Windows-based computer, including Windows Home edition. The Local Group Policy is divided into two broad categories – Computer Configuration and User Configuration. All system-wide policies are stored under Computer Configuration, while user-specific settings are stored under User Configuration.
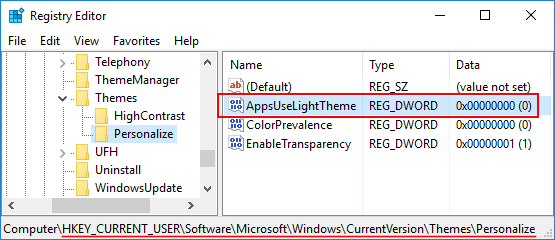
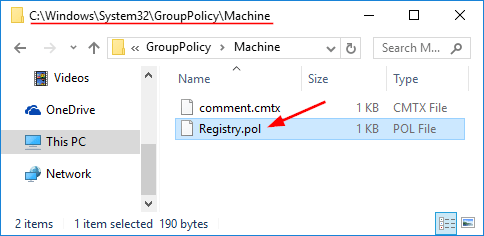
The group policy settings are stored in a file named Registry.pol under your system drive.
- Computer-wide settings (Computer Configuration) – %SystemRoot%\System32\ GroupPolicy\Machine\registry.pol
- User-specific settings (User Configuration) – %SystemRoot%\System32\ GroupPolicy\User\registry.pol
Now that we know where the group policy settings are stored, we can reset them to default easily. No need to reinstall Windows when your group policy is messed up.
Method 1: Reset Local Group Policy Settings to Default After Login
- Open an elevated Command Prompt in Windows.
- At the Command Prompt, type the following commands one by one, press Enter after each.
RD /S /Q "C:\Windows\System32\GroupPolicy"

RD /S /Q "C:\Windows\System32\GroupPolicyUsers"
This will delete all your group policy settings (Registry.pol) stored on your computer.
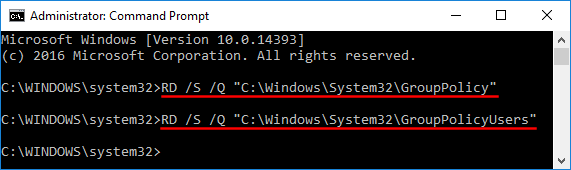
- Now you’ve reset the group policy objects to default. Restart your computer for the changes to take effect.
Method 2: Reset Local Group Policy Settings to Default without Login
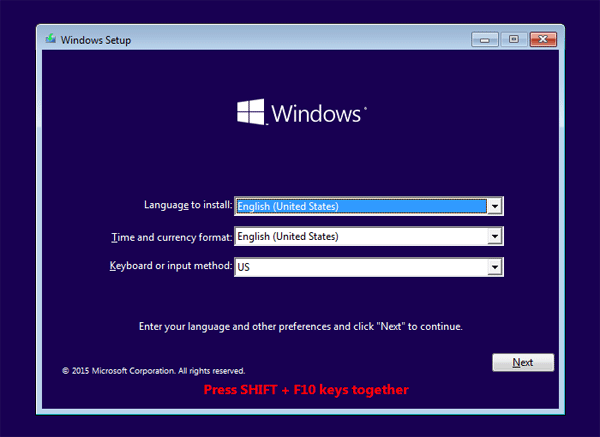
When you’re unable to boot or log into Windows any longer, or you have insufficient privileges to open up Command Prompt, just boot your PC from Windows installation disc and you can reset local group policy to default from outside Windows.
- Boot your PC with Windows installation DVD. When you comes to the Windows Setup screen, press SHIFT + F10 keys to open the Command Prompt.
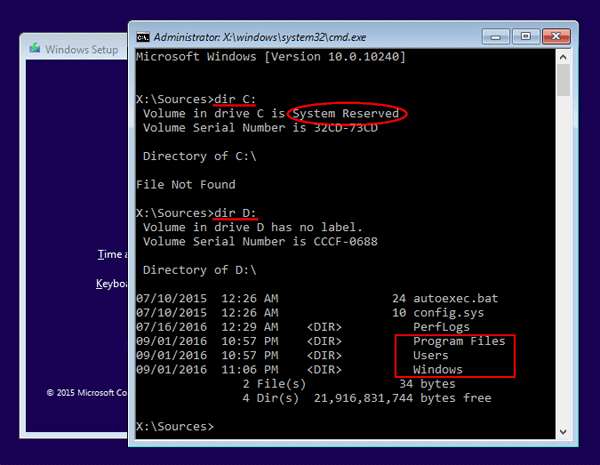
- At the Command Prompt, use the dir command to find the drive where your Windows is installed.
- Run the following commands one by one. Replace D:\ with the drive letter of your Windows partition.
RD /S /Q "D:\Windows\System32\GroupPolicy"

RD /S /Q "D:\Windows\System32\GroupPolicyUsers"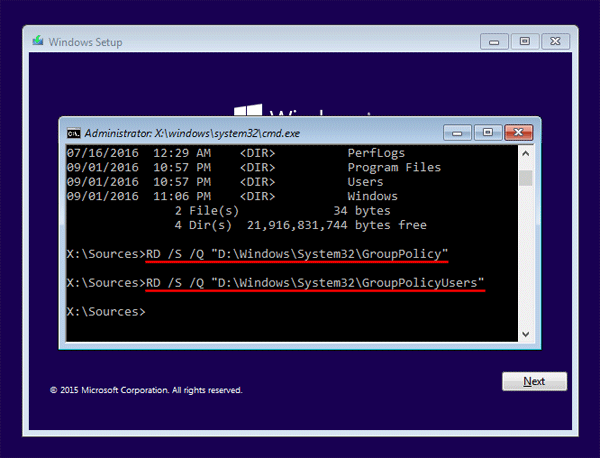
- When it’s done, quit Windows Setup and take out the DVD, reboot your computer and the local group policies should have been reset to default. When you later make changes with the group policy, Windows will create a new Registry.pol file to store your settings.