The lock screen appears as a background image that is displayed when a user locks the PC. You need to tap any key or click the lock screen before you reach the login prompt.
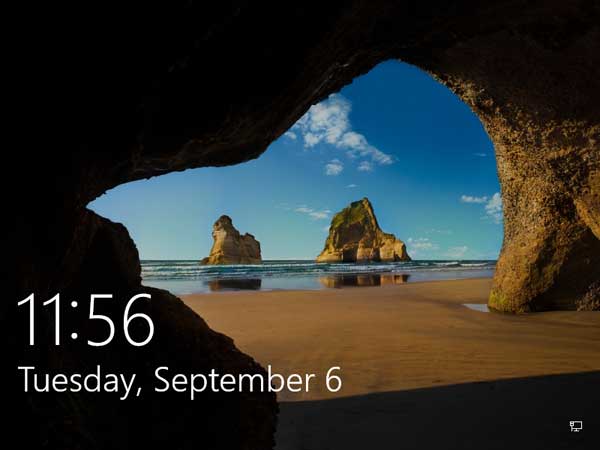
By default, the lock screen will automatically turn off the display after one minute of idle time. You might want to increase the idle time to make the lock screen stay longer, or set your PC to never turn off monitor. In this tutorial we’ll show you how to change the lock screen timeout in Windows 10 / 8.
Part 1: Add Lock Screen Timeout Setting to Power Options
To add the lock screen timeout setting to Power Options, you need to change the registry setting. Follow these steps:
- Press the Windows key + R to open the Run box. Type regedit and hit Enter.
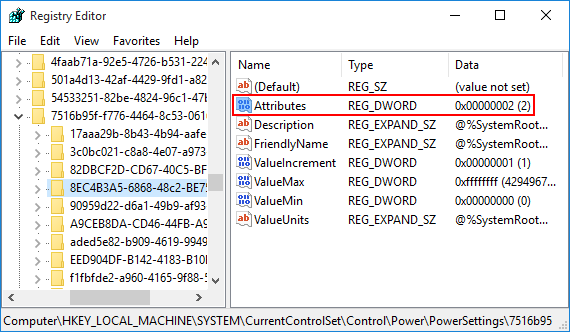
- After the Registry Editor opens, navigate to the following key:
HKEY_LOCAL_MACHINE\SYSTEM\CurrentControlSet\Control\Power\PowerSettings\7516b95f-f776-4464-8c53-06167f40cc99\8EC4B3A5-6868-48c2-BE75-4F3044BE88A7 - In the right-hand pane, double-click the Attributes entry and change its value from 1 to 2 (Or set it back to 1 if you want to hide the lock screen timeout settings later).
- Immediately after editing the registry, you will see a new option (Console lock display off timeout) to adjust in the advanced power settings for your power plan.
If you want to quickly make the registry changes without opening Registry Editor, simply open Notepad and copy / paste the following lines, save as any name with .reg extension.
Windows Registry Editor Version 5.00

[HKEY_LOCAL_MACHINE\SYSTEM\CurrentControlSet\Control\Power\PowerSettings\7516b95f-f776-4464-8c53-06167f40cc99\8EC4B3A5-6868-48c2-BE75-4F3044BE88A7]

"Attributes"=dword:00000002
Then right-click on the .reg file and select “Open with” -> “Registry Editor” from the context menu. This will import your registry settings immediately.
Part 2: Change Lock Screen Timeout in Power Options
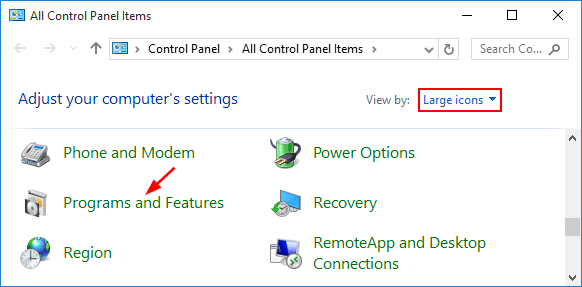
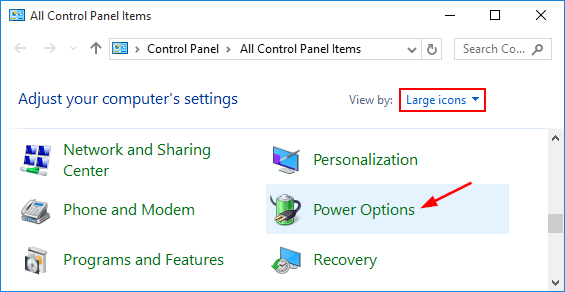
- Open Control Panel in large or small icons view. Click on Power Options.
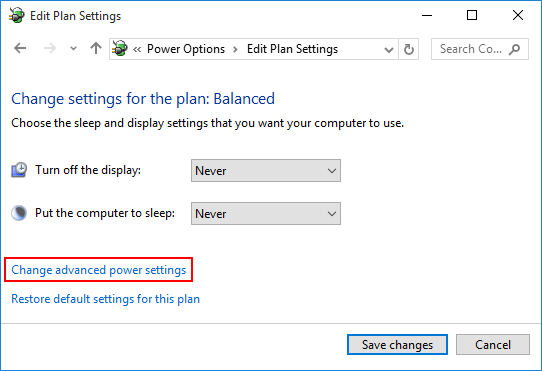
- From the settings on the left-hand side, select Choose when to turn off the display.

- Click Change advanced power settings.
- Now, scroll down to Display, and expand it. You’ll see the new setting “Console lock display off timeout” that is only available after we’ve made the registry change above. As you can see, the lock screen timeout is set to 1 minute by default.

- You can adjust the timeout for however many minutes you want, or set it to 0 so the lock screen will never time out and turn off the monitor.
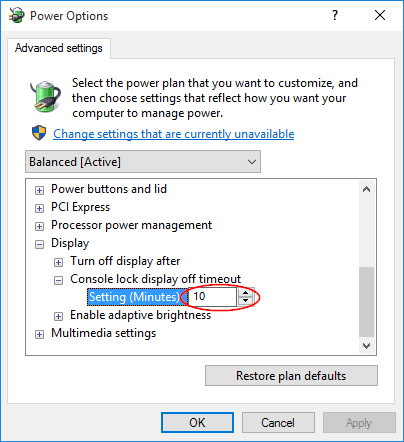
Click Apply and then OK. Now you’ve successfully changed the lock screen timeout settings in Windows 10/8.