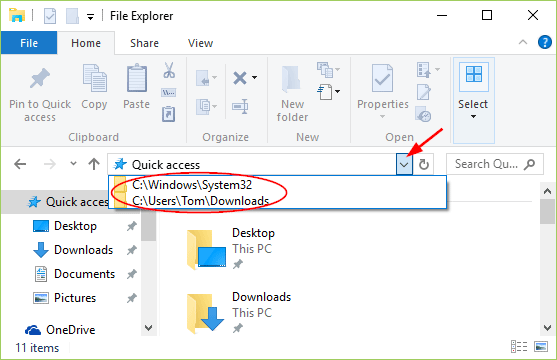
While typing a path in the address bar of File Explorer, Windows will display a history of all previous locations you’ve typed. You can also view the address bar history by clicking the down arrow icon placed on the right end of the address bar.
In this tutorial we’ll show you 2 ways to delete File Explorer address bar history in Windows 11, 10, 8 and 7.
Method 1: Delete Address Bar History by Right-clicking Address Bar
After opening File Explorer (or Windows Explorer), right-click on the address bar and select the “Delete history” option.
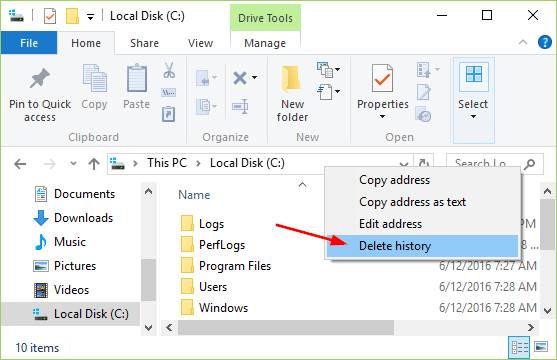
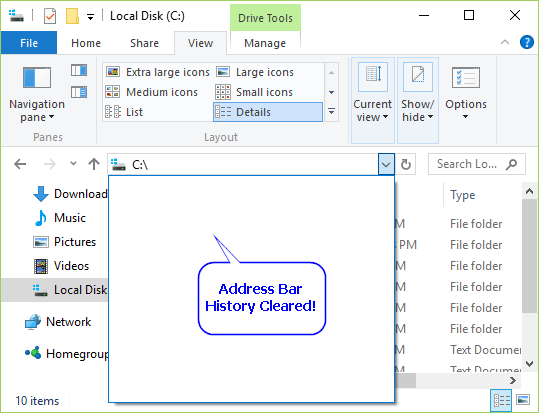
This will clear all address bar history from File Explorer. Now, if you click the down arrow button in the address bar, you’ll see all history has been cleared.
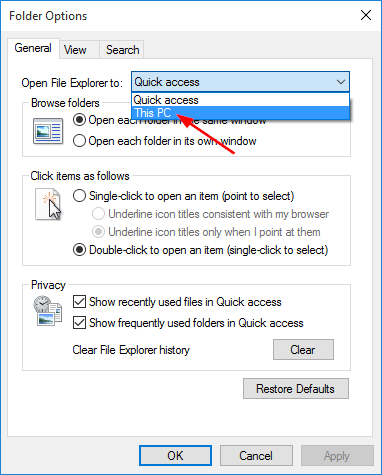
Method 2: Delete Address Bar History from Folder Options
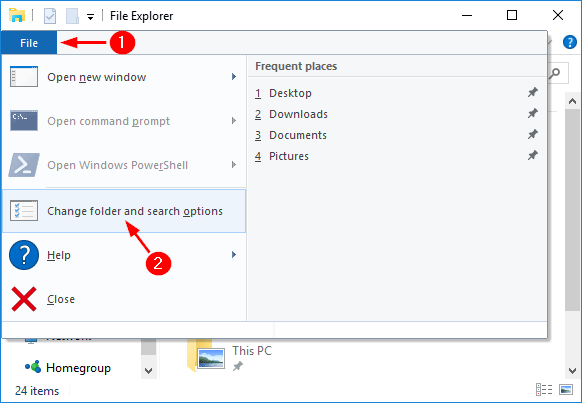
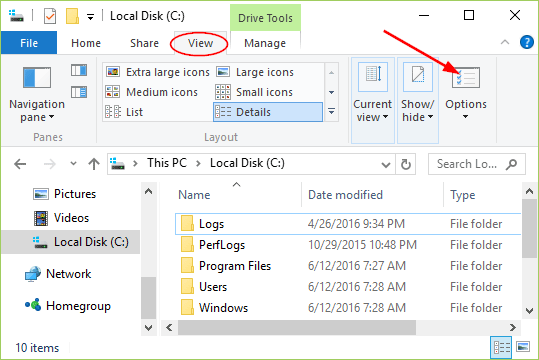
From File Explorer (or Windows Explorer), select the View tab and then click on Options.
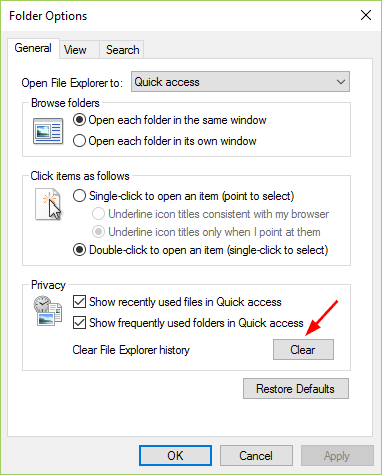
Once the Folder Options window has been opened, click the Clear button to delete all the File Explorer history. This action clears the File Explorer address bar history and the recent files and folders in quick access.