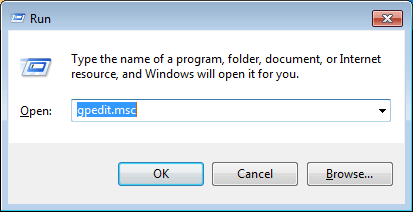
Forgot Windows 10 user password? The first thing a normal user tries to do a fresh re-installation of Windows or take the PC to a repair shop. There’s lots of softwares to reset a forgotten password, but here we’ll show you a simple hack to reset forgotten Windows 10 password using the sticky keys method.
How Does This Hacking Method Work?
Sticky Keys is part of Windows Ease of Access features that allows a user to tap the Shift, Ctrl, Alt or Windows key once to achieve the same effect as holding the key down. If you press the SHIFT key 5 times in a row at Windows login screen, the Sticky Keys application (sethc.exe) will launch and ask if you want to enable sticky keys feature.

This hacking method works by replacing the sethc.exe file with cmd.exe. When you boots to Windows login screen, pressing the SHIFT keys 5 times will launch an elevated Command Prompt. From the Command Prompt, you have sufficient privileges to reset a lost password without knowing your current password. This method works flawlessly with all versions of Windows XP, Vista, 7, 8, 8.1 and 10.
Part 1: Replace Sticky Keys application with Command Prompt
When you’re locked out of Windows 10 or lose admin access to your computer, it’s impossible to replace the sethc.exe file from within Windows. To achieve this, you have to boot from a WinPE or Linux-based disc. Here we’ll use a Windows 10 installation DVD to demonstrate how to replace sethc.exe with cmd.exe. Follow these steps:
- Boot your locked computer using your Windows 10 installation DVD. If your computer doesn’t boot from it, you might need to change the boot order and disable UEFI secure boot.

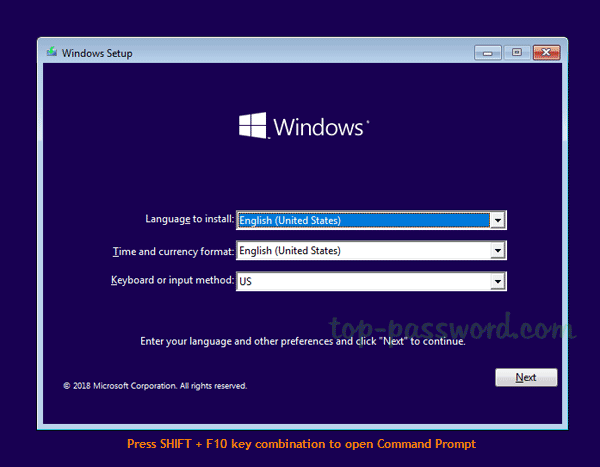
- After loading the installation files from the DVD, you’ll be shown the language setup screen. Just press SHIFT + F10 key combinations to launch the Command Prompt.
- Use the dir command to find the drive where your Windows was installed. Note that the drive letter for your Windows partition could be D:\ or other as C:\ might be assigned to the System Reserved partition after booting into a Live CD.

- Enter the following two commands one by one, press Enter after each. Replace c:\ with the correct drive letter if Windows is not mounted on c:.
copy c:\windows\system32\sethc.exe c:\

copy /y c:\windows\system32\cmd.exe c:\windows\system32\sethc.exe
The first command backs up the sethc.exe file, and the second replaces it with the cmd.exe.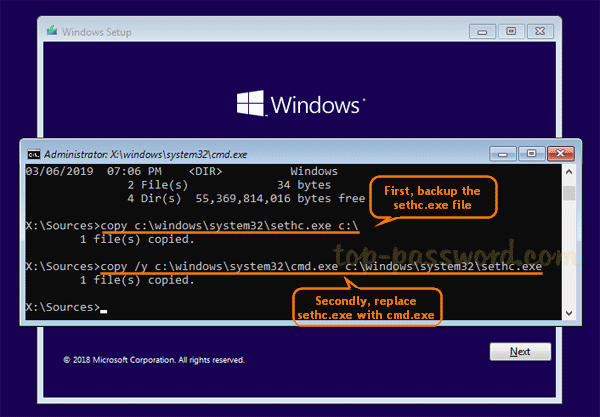
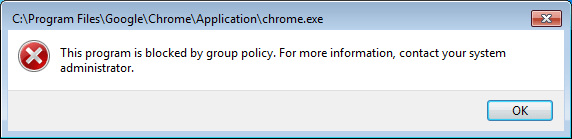
- Next, run the following commands to disable Windows Defender as it may detect the sticky keys trick as a security alert called “Win32/AccessibilityEscalation“.
reg load HKLM\temp-hive c:\windows\system32\config\SOFTWARE

reg add "HKLM\temp-hive\Policies\Microsoft\Windows Defender" /v DisableAntiSpyware /t REG_DWORD /d 1 /f

reg unload HKLM\temp-hive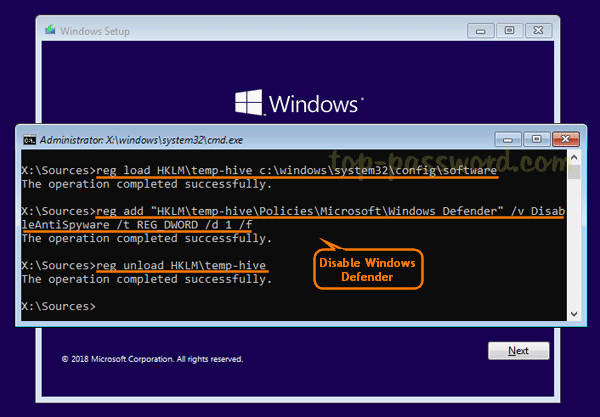
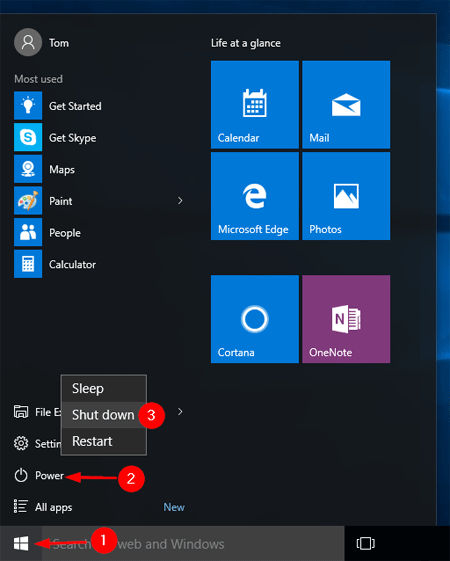
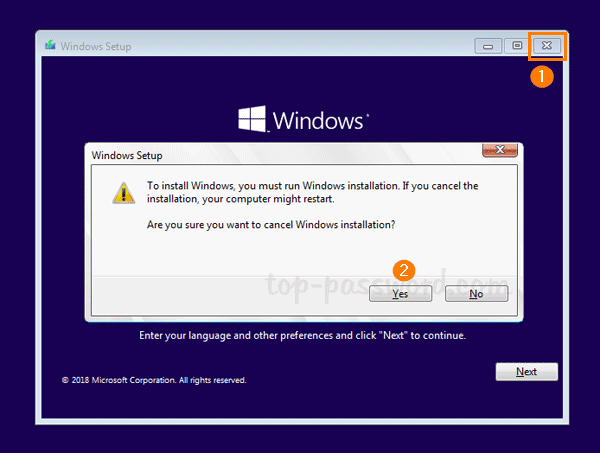
- Now close everything and cancel Windows Setup. Remove the installation disc and reboot.
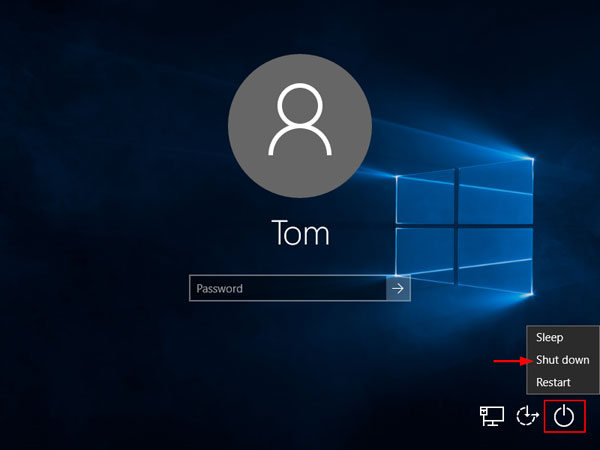
Part 2: Reset Windows 10 Password from Login Screen
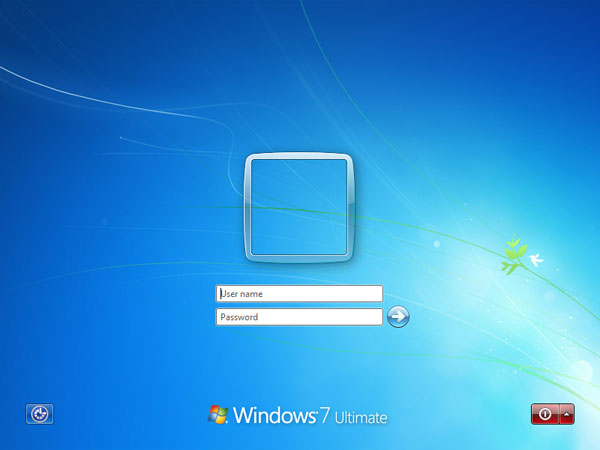
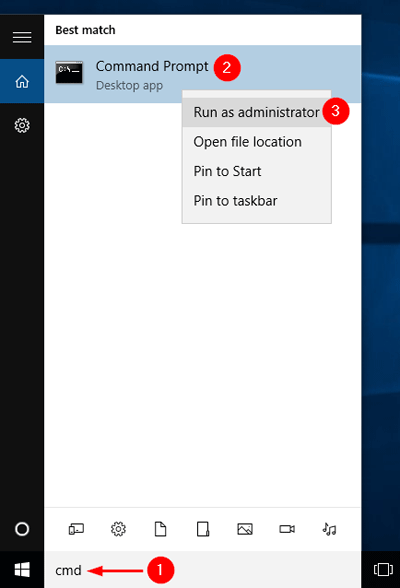
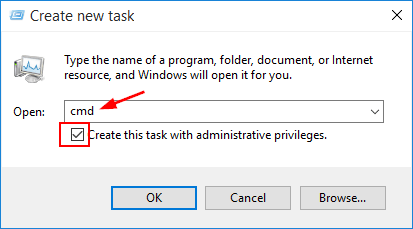
- Once you get back to Windows 10 login screen, press the SHIFT key 5 times in a row, it will open the Command Prompt in administrator mode.

- Enter the following command to reset your lost Windows 10 password. Substitute the name of the account to reset and a new password as appropriate. If you don’t know your account name, just type net user to list the available user names.
net user user_name new_password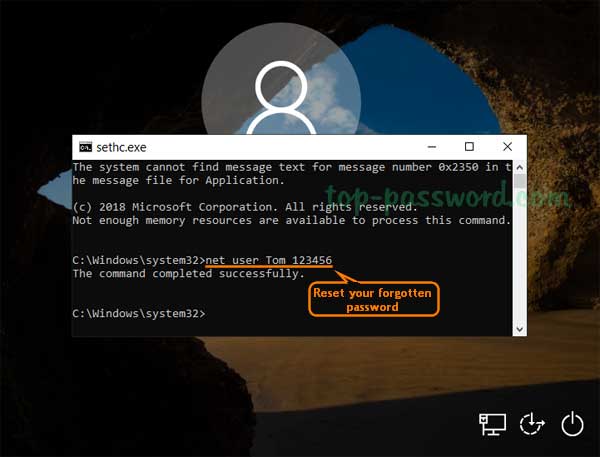
- Close the Command Prompt and you can now login with your new password. After logging in, remember to restore the sethc.exe file we overwrote in step 4, and turn on Windows Defender real-time protection. Enjoy!
Conclusion
This sticky keys method is quite well known and could be used to break into any Windows-based computer as long as you have physical access. So you might ask how can I prevent someone from hacking my Windows password? Just set a BIOS password to lock the boot sequence so others can’t boot from CD/USB.
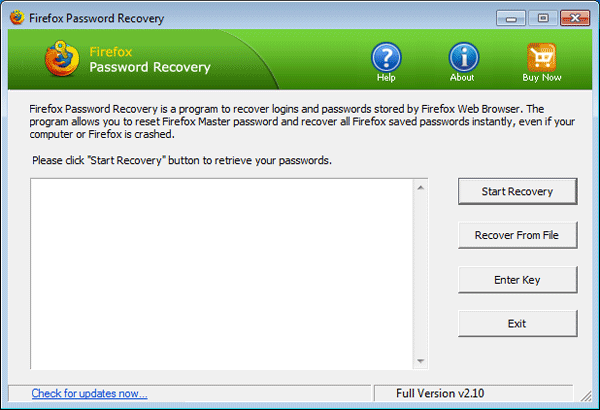
To make password recovery easier than even before, we’ve developed a software for both beginners and advanced users – PCUnlocker, which allows you to reset a forgotten Windows password or create a new admin account to access your locked PC.