Whether you’re sharing a computer with other family members or friends at home, or securing computers in a corporate environment, there may be some situations where you need to block a user account from running a certain application.
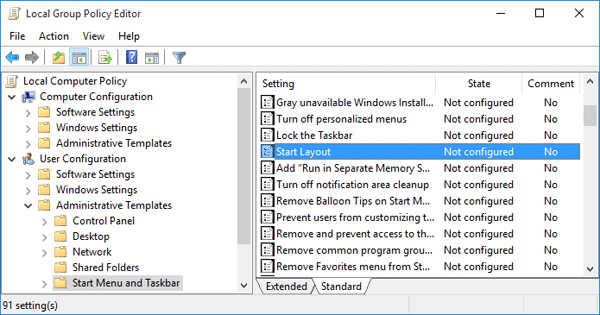
In previous post we’ve explained a way to prevent a program from running using Group Policy. Here’s another way to block a certain application from running in Windows 10, by using a registry hack. This method works with all editions of Windows 10, 8 and 7.
How to Block An Application from Running in Windows 10?
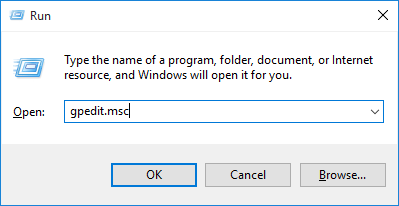
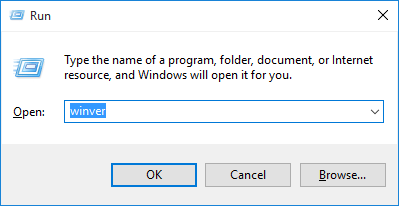
- Hold down the Windows Key and press R to bring up the Run dialog box. Type regedit and press Enter.
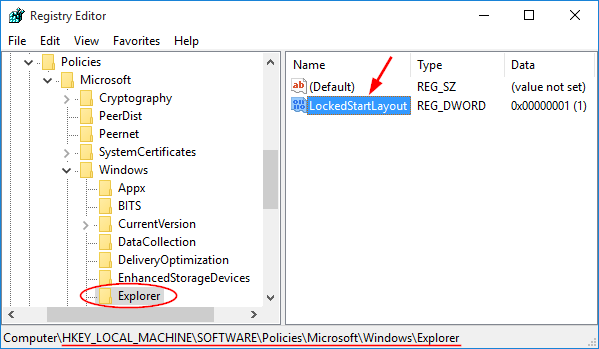
- In the Registry Editor, navigate to the following key:
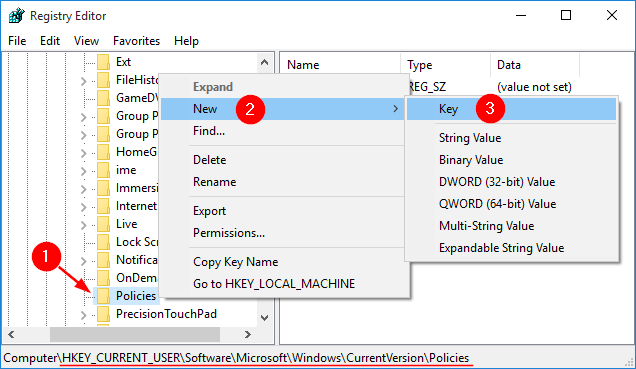
HKEY_CURRENT_USER\Software\Microsoft\Windows\CurrentVersion\Policies - In the left pane, right-click on Policies, and then select New -> Key, type in Explorer and press Enter. If the Explorer key already exists, just skip this step.
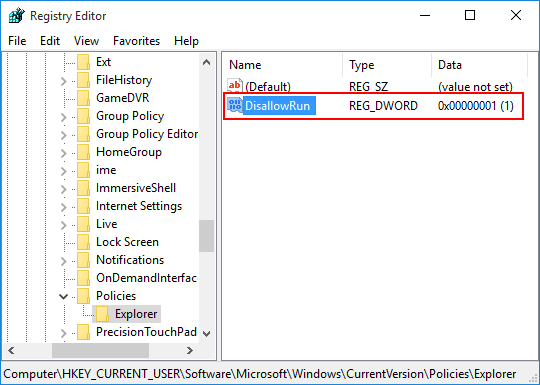
- Select the Explorer key on the left pane. Right-click a blank area on the right side, select New -> DWORD (32-bit) Value.
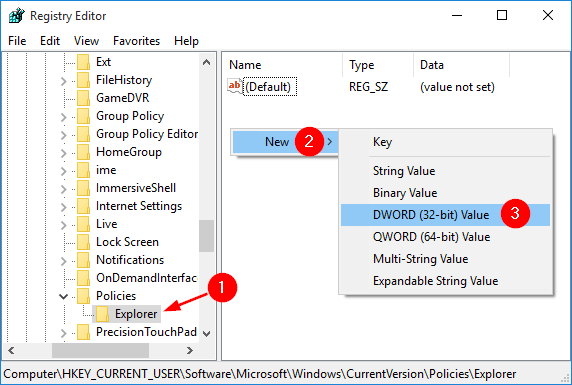
- Rename the newly-created entry to DisallowRun, and set its value to 1.
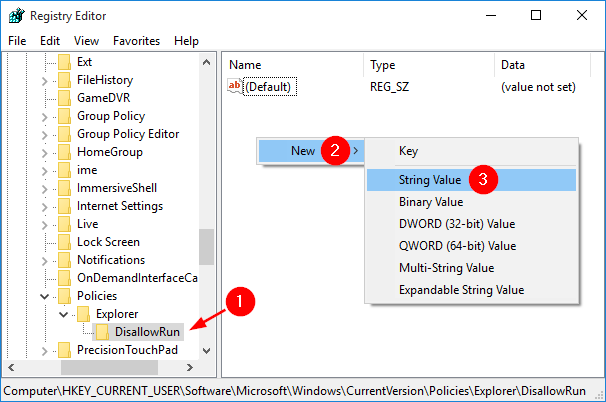
- Right-click on the Explorer key on the left pane, and then select New -> Key, type in DisallowRun and press Enter.

- Select the DisallowRun key on the left pane. Right-click on an empty space and select New -> String Value.
-
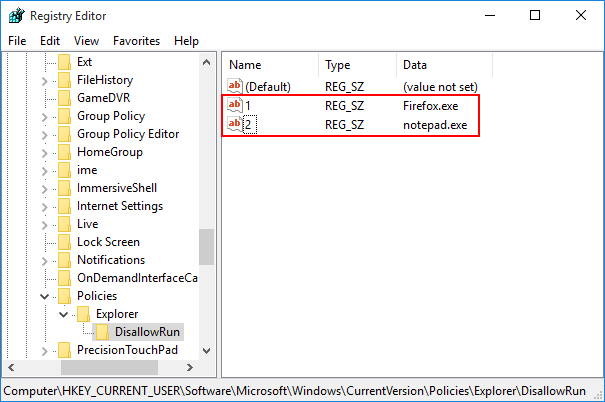
Name the new entry with the number 1 and set its value to the name of the application(.exe) that you want to block. If you want to restrict more programs, simply create more String entries with names 2, 3 and so on and set their values to the program’s exe file.
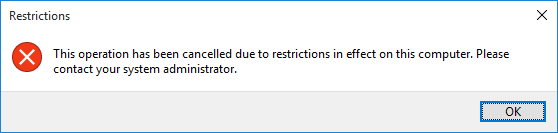
- Restart your computer and try to run the blocked applications and you’ll get the error message “This operation has been cancelled due to restrictions in effect on this computer. Please contact your system administrator.”
I should mention that if the user is smart enough to rename the program file, they will be able to run the program again. If this method does not meet your needs, you can use the Protect My Folders to deny access (read/modify/run/rename/copy/delete) to any application in Windows 10.