Local Group Policy Editor lets you control all kinds of Windows settings via a simple user interface, without playing with the Registry. In this article we’ll show you 6 simple ways to open Local Group Policy Editor in Windows 10.
Option 1: Open Local Group Policy Editor from Command Prompt
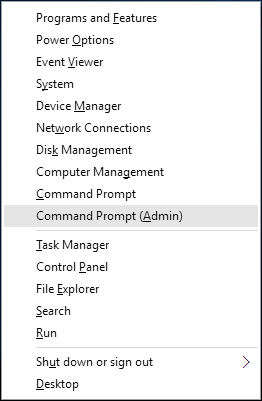
- Press the Windows key + X to open the Quick Access menu. Click on Command Prompt (Admin).
- Type gpedit at the Command Prompt and press Enter.
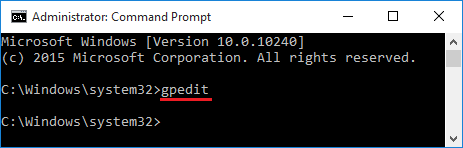
- This will open the Local Group Policy Editor in Windows 10.
Option 2: Open Local Group Policy Editor Using Run
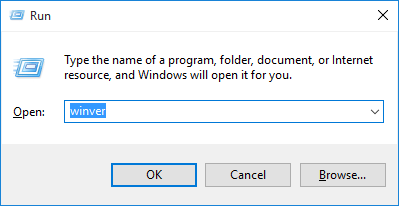
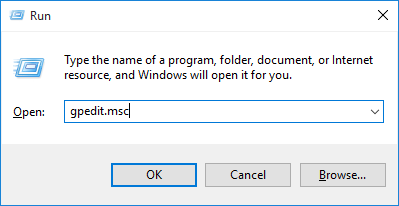
- Press the Windows key + R to open the Run box.
- Type gpedit.msc and press Enter.
- If prompted by UAC, click on Yes. This should be the easiest and quickest way to launch the Local Group Policy Editor.
Option 3: Open Local Group Policy Editor from Control Panel
- To access the Control Panel, press the Windows key + R to open the Quick Access menu and then click on Control Panel.

- You’ll see a search box in the top right-hand corner of the Control Panel window. Type group policy and press Enter.
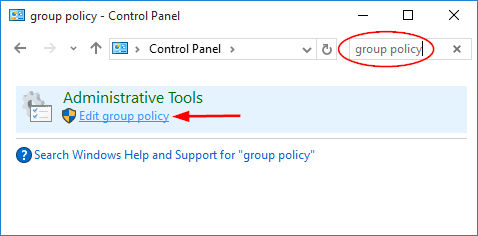
- Click the Edit group policy link from the search result.
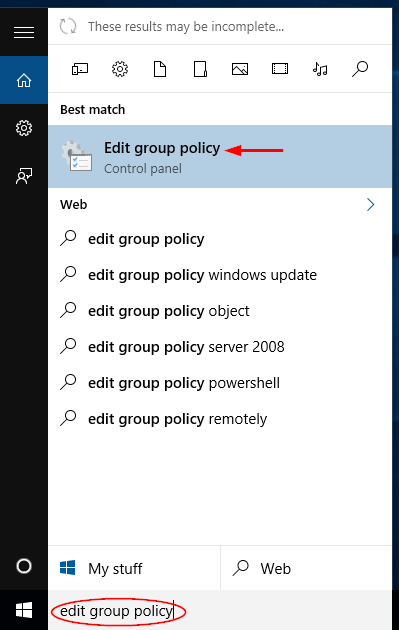
Option 4: Open Local Group Policy Editor via Windows 10 Search
- Click the Cortana search box from the taskbar. If the search box is hidden, press the Windows key + X to open the Quick Access menu, then click on Search.
- Type edit group policy in the Search box. Once the search results are shown, click on Edit group policy.
Option 5: Open Local Group Policy Editor from Settings Charm
- Press the Windows key + I to open the Settings charm. Or click Settings from Windows 10 Start Menu.
- Once the Settings app is displayed, click the Search box in the upper right corner and type group policy.
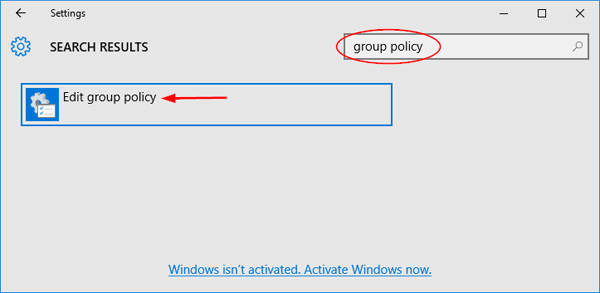
- Click the Edit group policy link from the search result.
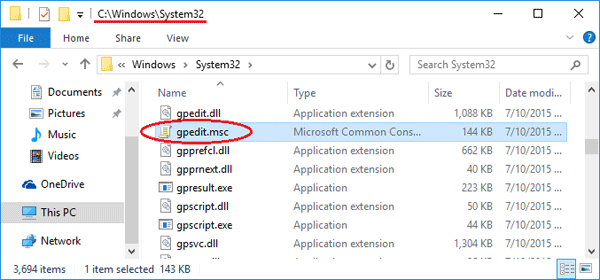
Option 6: Create A Shortcut to Open Local Group Policy Editor
If you need to access the Local Group Policy Editor frequently, you can create a desktop shortcut by following these steps:
- Open Windows Explorer, and then navigate to the directory: C:\Windows\System32.
- Right-click on the gpedit.msc file and choosing for Send To -> Desktop (create shortcut).
- This will create a shortcut on your desktop. Just double-click on the shortcut and you can access the Local Group Policy Editor with ease.