When you encrypts a folder or file with EFS, Windows will create a EFS certificate and store it locally, so you can transparently access encrypted files without being prompted for certificate / password. In the event of a system failure or your EFS certificate is corrupted or lost, you’ll be unable to access EFS encrypted files any more. So it is very important to backup or export EFS certificate in Windows 10 / 8 / 7.
Method 1: Backup or Export EFS Certificate Using Certificates Manager
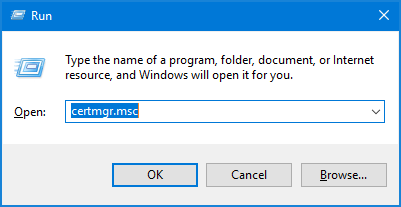
- Press the Windows key + R together to open the Run box. Type certmgr.msc and click OK to open Certificates Manager.
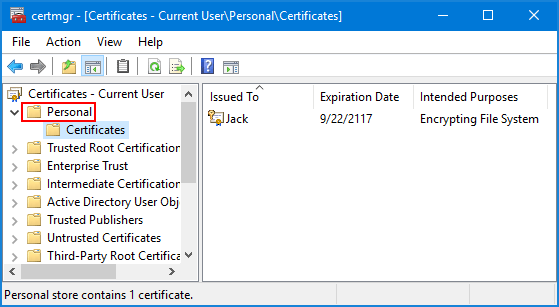
- In the left pane of the Certificates console, expand the Personal node and then click on Certificates.
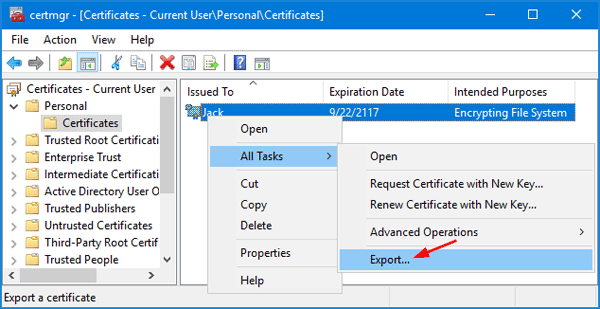
- In the right pane, right-click the certificate that lists Encrypting File System under Intended Purposes, and then select All Tasks -> Export.
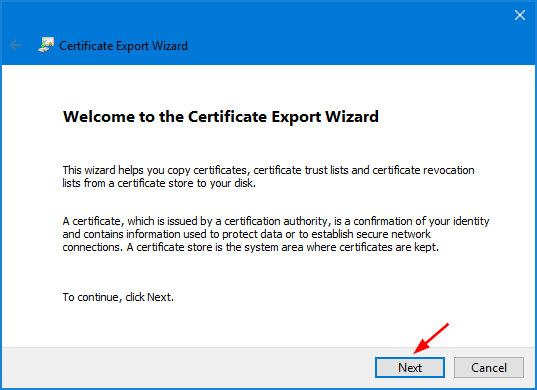
- When the Certificate Export Wizard opens, click Next.
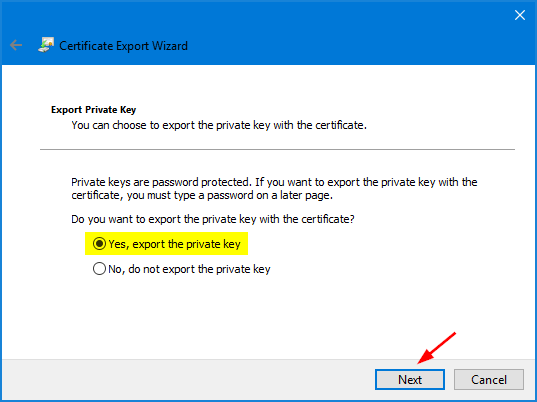
- Choose “Yes, export the private key” and click Next.
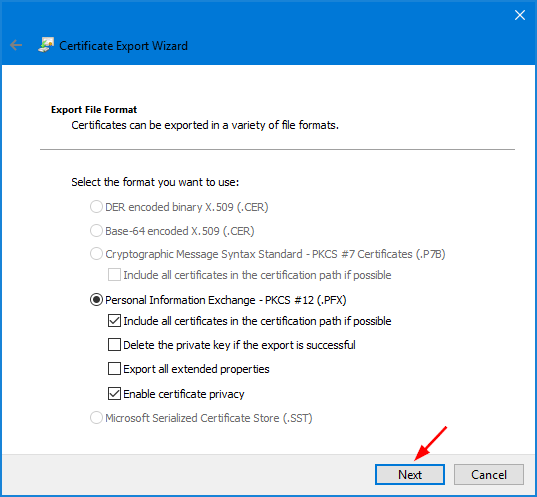
- Click the checkbox next to “Include all certificates in the certification path if possible” and click Next.
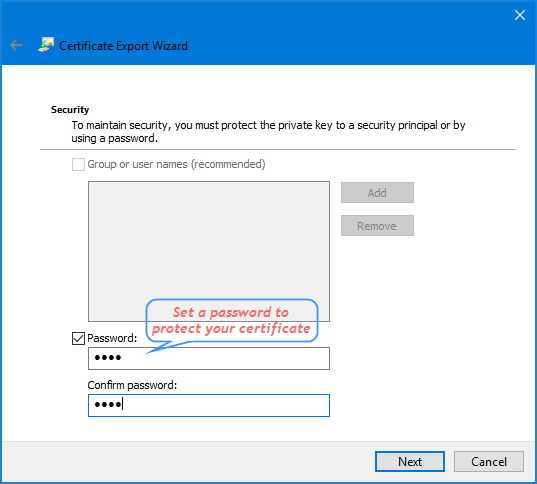
- Enter a password that will be used to protect your exported EFS certificate. Confirm it and click Next.
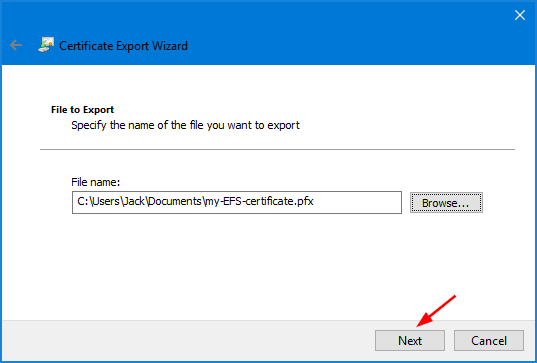
- Click the Browse button to find a location to save your exported EFS certificate (.pfx). Type in a name such as “my-EFS-certificate.pfx” and then click Next.
- Click Finish.
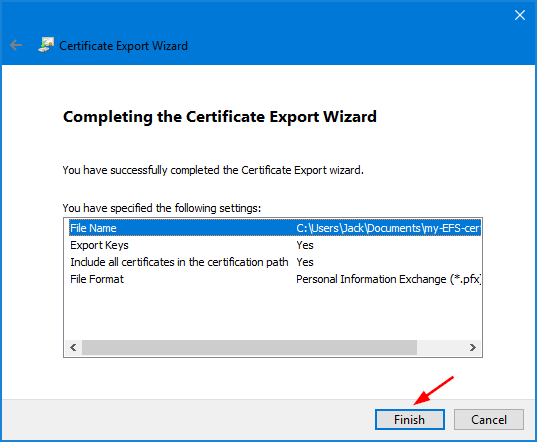
You can then backup the exported EFS certificate in a safe place!
Method 2: Backup or Export EFS Certificate Using Command Prompt
- Open the Command Prompt as administrator.
- In order to export EFS certificate stored in Certificates Manager, type the following command:
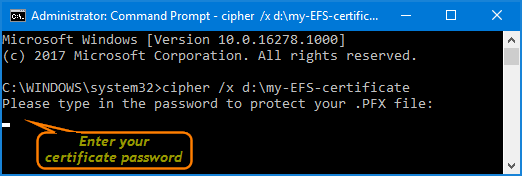
cipher /x d:\my-EFS-certificate
- Once you press Enter, you’ll be prompted to confirm backing up EFS certificate. Click OK to continue.
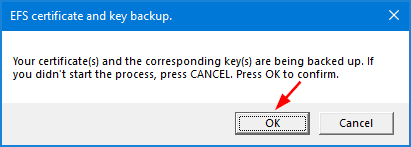
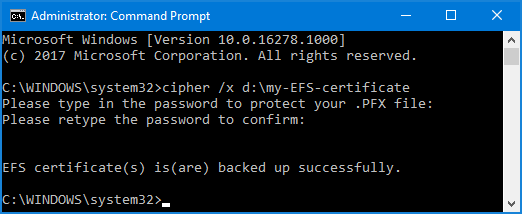
- Type a password used for protecting your EFS certificate, then confirm the password.
- The .pfx file containing the EFS private key certificate is now saved to the location d:\my-EFS-certificate.
That’s it!