Windows XP is an old yet one of the most preferred operating systems. Recently I got an email from one of our customers who wanted some help in installing Windows XP from USB flash drive. If your computer doesn’t come with a CD drive or the CD drive is not in a working condition, the only alternative to install Windows XP is by using a USB flash drive. In this tutorial we’ll walk you through how to install Windows XP from USB flash drive.
How to Install Windows XP from USB Flash Drive?
This procedure allows you to create a bootable USB flash drive which acts exactly same with the XP installation CD. After a bootable Windows XP installation USB drive is ready, you can plug it into any computer and start the installation of Windows XP immediately.
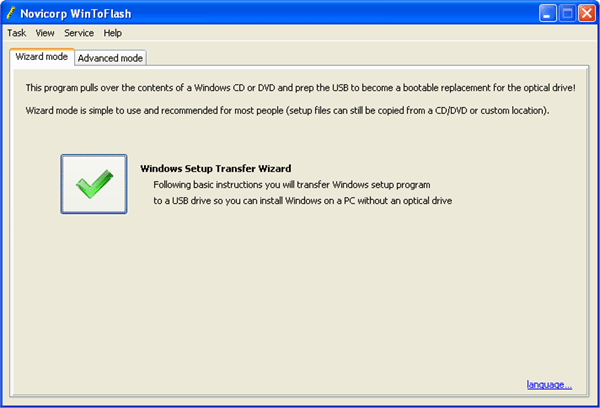
1. Firstly, download the software Win to Flash from here. Just double-click the setup file to install it. During installation, when asked for licence key, press ‘exit’ to use this tool for free.
2. After installing, run this tool and select ‘Windows Setup Transfer Wizard’, then click Next.
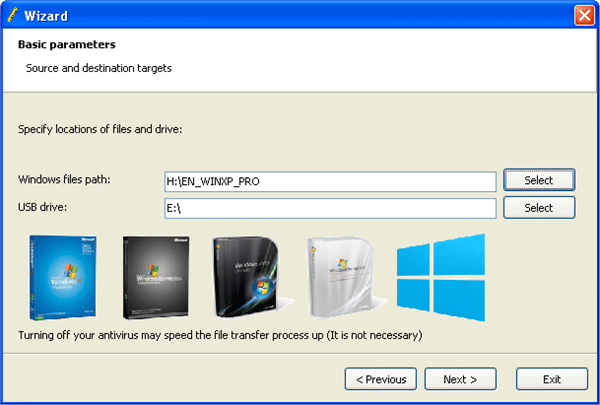
3. In this step, you have to select the source of Windows XP installation disk and the destination USB flash drive that you want to use for installing Windows XP. If you have only a Windows XP ISO image, you could uncompress the ISO image and then specify the output folder as the Windows files path. Click Next.
4. The tool will then start formatting your USB drive and transfer your Windows XP installation files into the USB flash drive. After the process gets completed, your USB flash drive is ready to install Windows XP!
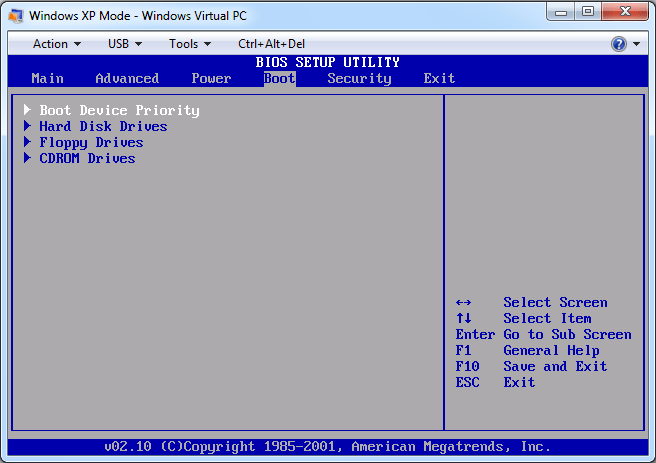
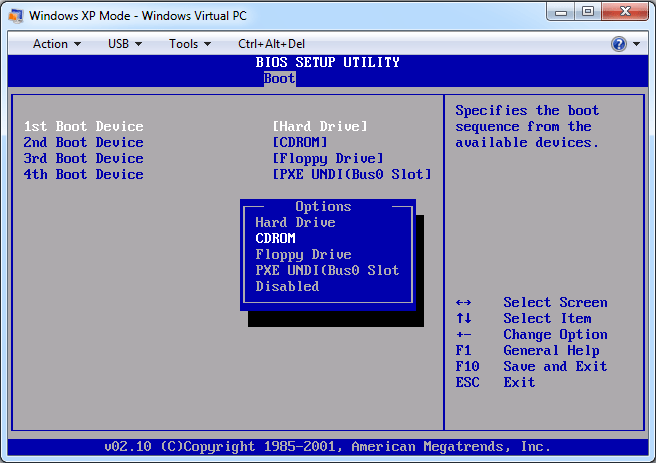
5. Now bring the USB flash drive to the computer that you want to do a clean install of Windows XP on. Turn on the computer and get it to boot from your USB flash drive. If you don’t know how to do this, please refer to this article: How to Set Your Computer to Boot from CD or USB Drive.
6. Once the system boots from the USB flash drive, you’ll see a list of boot options: one is Text mode setup, while another is GUI mode setup + 1st start of windows. Here, you must select the first option. During the installation process, the computer will restart itself and then, you have to select the second option as the booting medium.
7. Follow the on-screen instructions to complete the installation. Install Windows XP from that USB flash drive same as you install from an optical CD drive.