I get many questions from our customers about how to recover a lost Windows password. Sometimes busy day makes you forget a few things such as your windows password. What to do if you forget your password? And the password hint is not helping your brain to remember the password. You have to recover Windows password in order to log back on your computer.
There are several ways to recover a lost windows password. Hidden administrator account method and third party software are some of the methods you can try.
Hidden Administrator Account Method
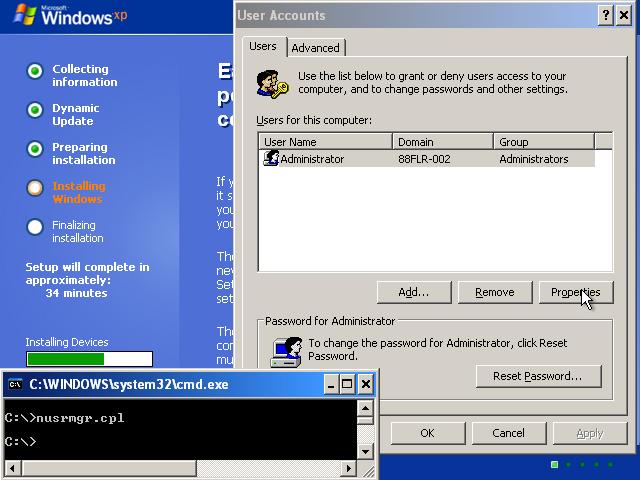
In Windows 8/7/Vista/XP, there is a built-in administrator account that is hidden from the Windows logon screen. By default, this user account is not password protected. If you haven’t created a password for the hidden administrator account, you can use it to log on your computer and then reset any user account password easily!
There are two options to access the hidden administrator account: one is to start up the machine in the Windows welcome screen and pull up the classic login dialog. Press Ctrl+Alt+Del twice in order to do this. The classic log on dialog will display an editable user name and password field. In the User name field, type in Administrator, leave the Password field empty, and log into Windows. The second option is to boot the machine into safe mode by tapping the F8 key as the computer first started, then logged in as Administrator with a blank/empty password.
Recover Lost Windows Password with Password Recovery Bundle
Recovering lost Windows password is not as difficult as imagined. All you really need is just a bootable password recovery CD/USB drive. Password Recovery Bundle allows you to create a Windows password recovery CD or USB flash drive which could be used to boot your locked computer and recover the lost password easily. Follow these steps:
Step 1:
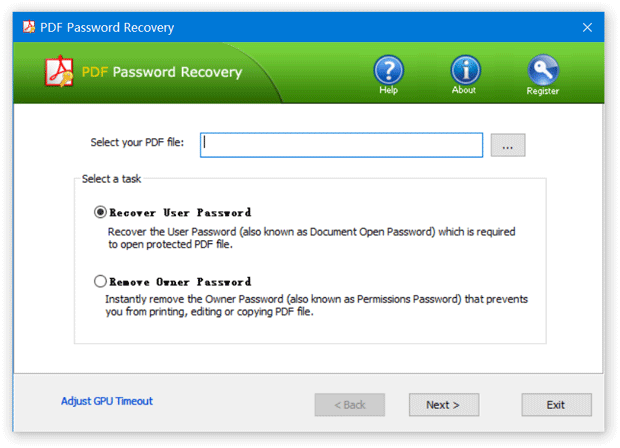
First, download Password Recovery Bundle on another PC in order to make a bootable Windows password recovery CD/USB drive. After the download is complete, install it. Launch Password Recovery Bundle and click on Windows Password button, a new dialog will appear which enables you to create a bootable recovery disc.
Step 2:
After the recovery disc is created, move to the locked computer with a Windows password you want to recover, either insert the CD/DVD or the USB flash drive what you opted for and select it as the first boot device in computer BIOS.
Step 3:
Once you have booted into it you will see that the computer is loading the Windows PE operating system inside the CD/USB drive. After one or two minutes, the Reset Windows Password program will open up and automatically detect the SAM registry files for all your Windows installations.
Step 4:
Choose the SAM registry file for your Windows installation, it will show you all the user accounts that are associated with your Windows system. Select the user account you forgot password of, and then click on “Reset Password” button. It will remove/reset your lost Windows password instantly!
Step 5:
After you are completed with all the above steps successfully, remove the Windows password recovery CD/USB drive and restart the computer. you can then immediately log back into Windows without a password.
It’s so easy to recover a lost Windows password! It’s illegal to recover others’ Windows passwords without permission. This tutorial is designed to recover only Windows password on your own computer when necessary. If you worry about others using it to recover your password, make sure you are the only person who have physical access to your machine, or go to BIOS > change the boot sequence > HDD first > and then set a BIOS password, so others are unable to boot your computer from a CD/USB drive.