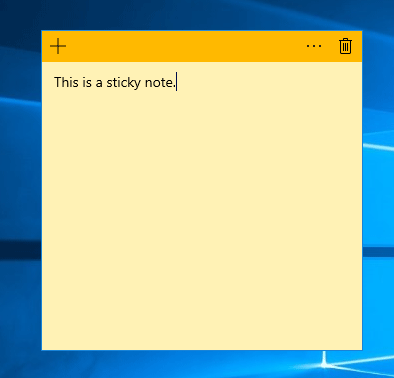
How can I transfer old sticky notes to a new computer? Looking for a way to import the legacy sticky notes into the new Sticky Notes application? This tutorial will show you how to backup and restore Sticky Notes on any computer running Windows 10, 8 or 7.
Part 1: Backup Sticky Notes
- Before get started, you need to close the Sticky Notes application if it’s running.
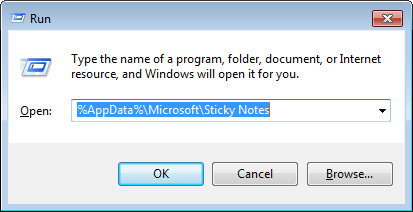
- Press the Windows key + R to open the Run box. Copy and paste one of the following path and press Enter.
- In Windows 7, Windows 8, and Windows 10 version 1511 and earlier:
%AppData%\Microsoft\Sticky Notes - In Windows 10 Anniversary Update (Build 1607) or later:
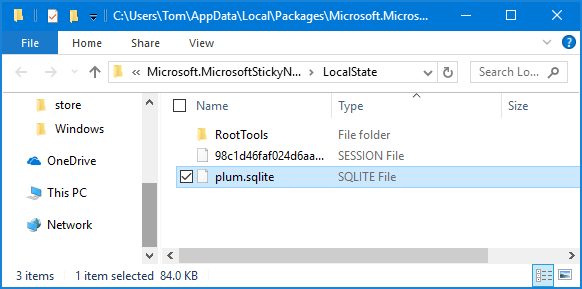
%LocalAppData%\Packages\Microsoft.MicrosoftStickyNotes_8wekyb3d8bbwe\LocalState
- In Windows 7, Windows 8, and Windows 10 version 1511 and earlier:
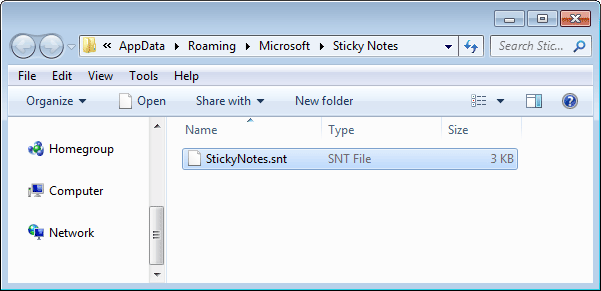
- Now, Windows Explorer will open the location where your sticky notes are stored. Just copy StickyNotes.snt or plum.sqlite to a backup location of your choice.
Part 2: Restore Sticky Notes
If you need to restore your notes to another computer for whatever reason, you can easily copy the same file you backed up earlier to the same directory on that computer. Before you copy the file, make sure the Stick Notes app isn’t running.
Part 3: Import Old Sticky Notes (StickyNotes.snt) into Windows 10 Anniversary Update or Later
- First of all, close Sticky Notes application. Press the Windows key + R to open the Run box. Copy and paste the following path and press Enter.
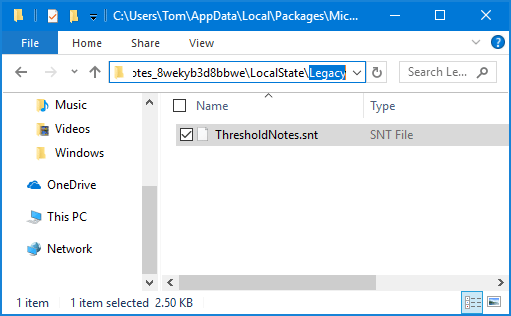
%LocalAppData%\Packages\Microsoft.MicrosoftStickyNotes_8wekyb3d8bbwe\LocalState - This will open the LocalState folder in File Explorer.
- From there create a new folder named Legacy. Copy and paste the backed up StickyNotes.snt file into the Legacy folder, and rename it to ThresholdNotes.snt.
- Start the Sticky Notes app. It will read the legacy .snt file and transfer the notes to the database file plum.sqlite automatically. That’s it!