AppLocker is a Window’s built-in application that gives the administrator a very granular control over which applications are allowed to execute and which are blocked for a Windows account. This feature is really useful if you share a computer and don’t want other users accessing certain applications.
Today we’ll walk you through how to create rules in AppLocker to prevent other users from accessing certain applications in Windows 10, 8 and 7.
How to Restrict Access to Programs with Windows AppLocker?
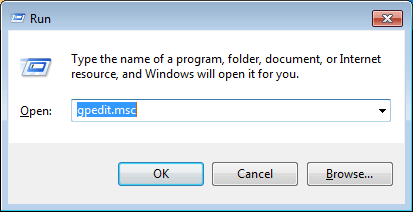
- Press Windows key + R to open the Run dialog box. Type gpedit.msc and press Enter.
- Under Local Group Policy Editor, navigate to:
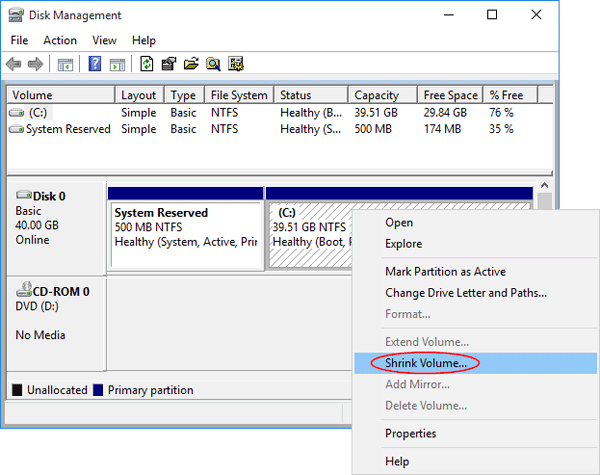
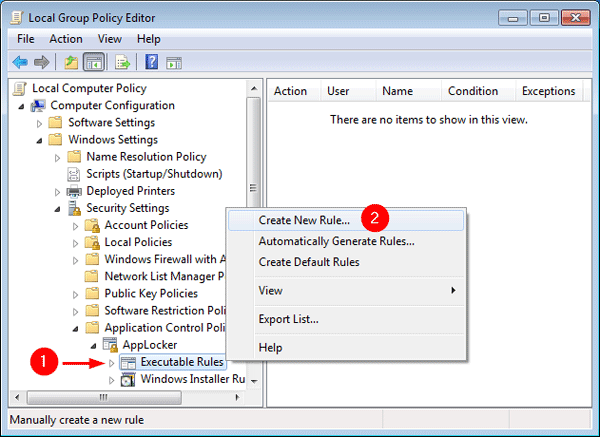
Computer Configuration -> Windows Settings -> Security Settings -> Application Control Policies -> AppLocker -> Executable Rules - Right-click on Executable Rules in the left pane, and then select Create New Rule.
- Click Next to bypass the Before You Begin screen. On the Permissions page, select Deny (Click Allow if you want to restrict what programs other users can access only).
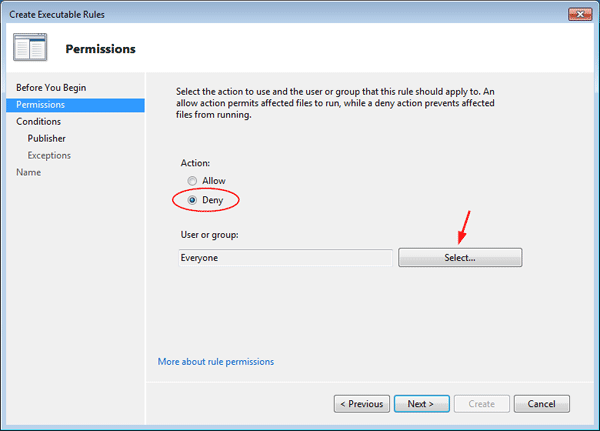
Click on the Select button to choose the user or groups you want the rule to apply. When it’s done, click Next to reach the Conditions page.
- AppLocker rules can identify programs using the following conditions: Publisher, Path and File hash. Publisher condition relies on the digital signature of the executable file.
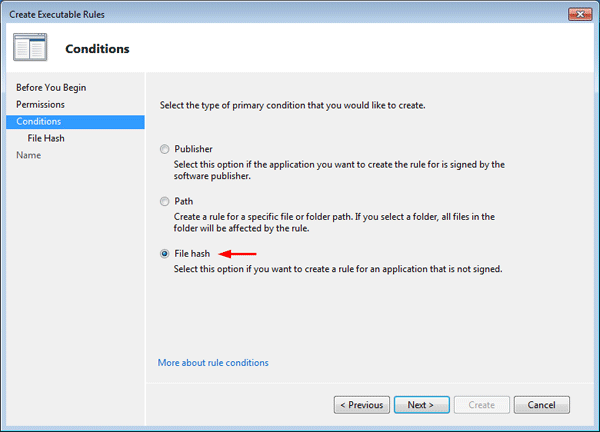
Here we’ll choose File hash because AppLocker can still identify the program even if it’s renamed or moved.
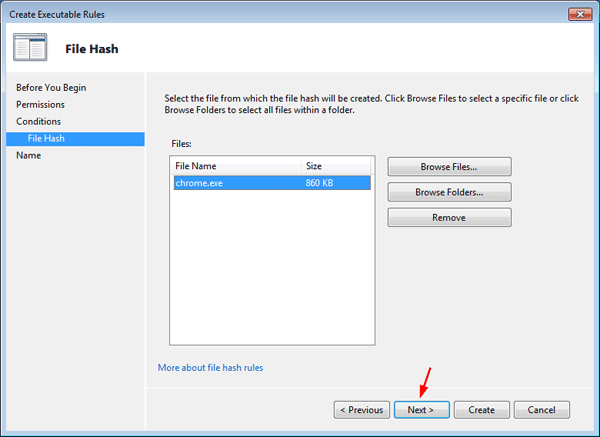
- On the File Hash page, click Browse Files and find the executable file for the application to which you want this rule to apply, or click Browse Folders if you want the system to calculate a hash for all of the executable files in a folder. Click Next.
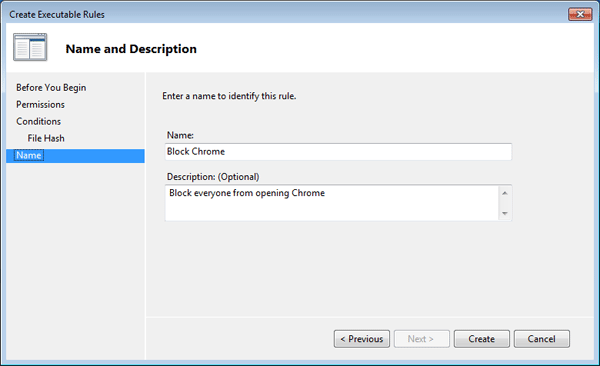
- Type a name for the rule that will make it easy for you to remember what it is, and then click on Create.
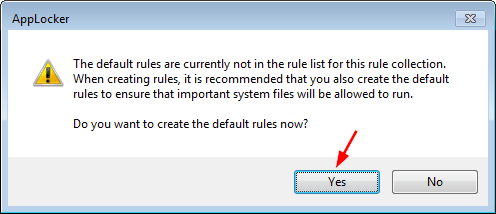
- When prompted to create the default rules, make sure you click Yes. This is to ensure that the rules you created don’t block operating system files from running.
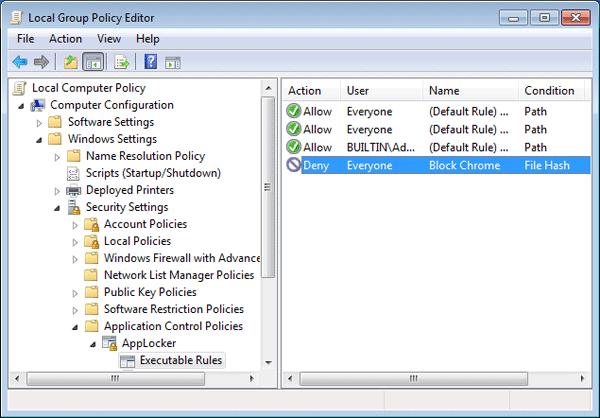
- Now you will see three default rules and the new one you created.
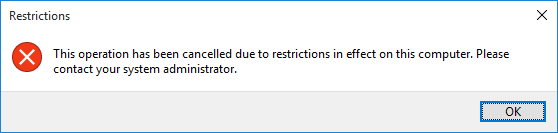
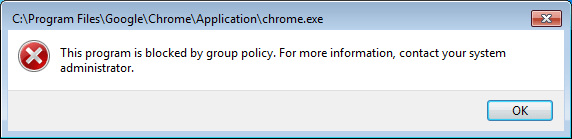
Restart your computer for the AppLocker rules to come into effect. When you try to run the blocked application, you’ll receive an error: “This app has been blocked by group policy. For more information, please contact your system administrator.”
AppLocker Doesn’t Work?
AppLocker doesn’t work under either an admin account or a standard account? AppLocker not blocking application even if you set up the executable rule correctly? AppLocker relies on the built-in Application Identity service, which is normally set to manual startup type by default. Administrators should configure the service to start automatically.
To bring AppLocker back to work, follow these steps to start the Application Identity service:
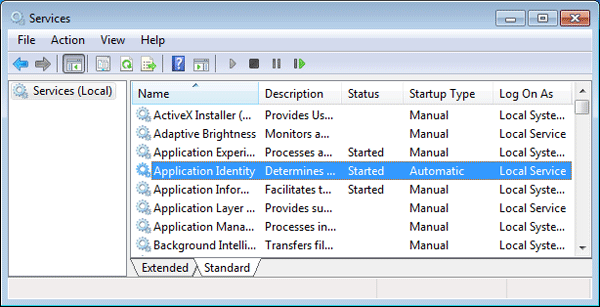
- Press Windows key + R to open the Run dialog box. Type services.msc and press Enter.

- Right-click on the Application Identity service, and select Properties.
- Set the Startup type to Automatic and click on the Start button to run the service.
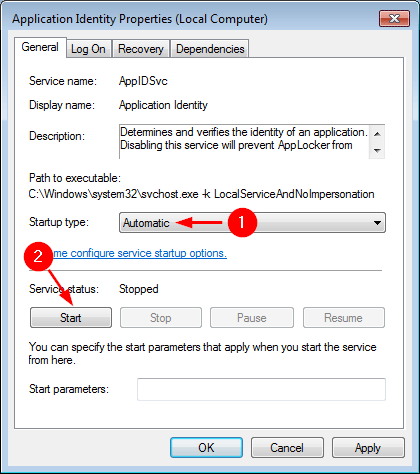
- Click on Apply and then OK.