How to convert Outlook .ost file to a .pst file, so I can open it in a new Outlook installation on another computer? PST is a personal storage table used by Microsoft Outlook to store mailbox data of an Outlook user, while OST is an offline storage table used by Outlook Exchange Server that stores email messages and other mailbox data. However, you cannot open an .ost file in Office Outlook if it is not configured with Exchange Server.
There are many situations that we need to convert .ost file to pst format for future importing into Outlook. In this tutorial we’ll show you two options to convert Outlook .OST file to PST format for free, without using any third-party software.
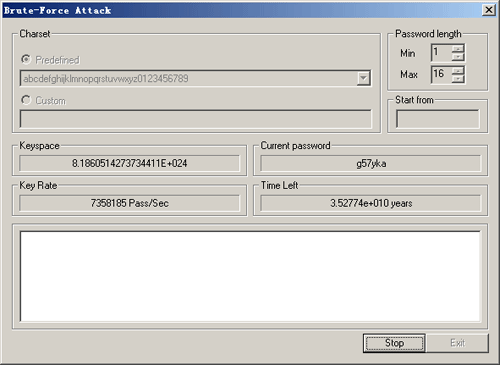
Tips: In all versions of Microsoft Outlook, there is no option to password protected an .ost file. After converting ost to pst, you can set a password to protect the .pst file itself. However, pst file password is very weak and you can break pst password easily!
Method 1: Convert OST to PST with AutoArchive
Using the AutoArchive feature of Microsoft Outlook, you can manage space in your mailbox of an .ost file by moving older items to to a specific location in the PST file format. This should be the easiest way to convert an .OST file to PST format. However, AutoArchive is not enabled by default. Here are step-by-step instructions to enable AutoArchive in Outlook 2007:
- Open Outlook application. Click on the Tools menu and click on Options.
- The Outlook Options window will open. Click on Other tab and then AutoArchive button.
- The AutoArchive window opens and you’ll notice everything is grayed out. Check the box next to Run AutoArchive every…
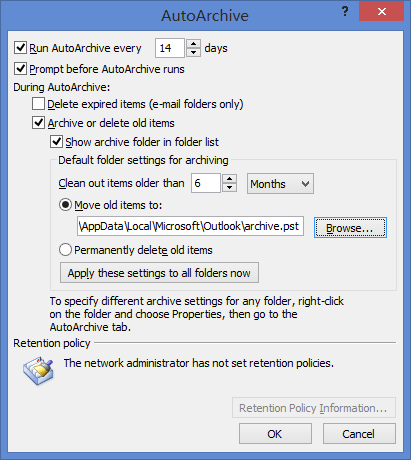
- Specify how often you want it to run. Click on the “Move old items to” option and specify a newly created .pst file to save the archive data. After you’ve made your selections click OK.
- You can then access the archive pst file at a later time after the AutoArchive feature runs.
Method 2: Migrate OST to PST with Outlook GUI
With Outlook GUI you can copy everything in the mailbox of your OST file to PST flawlessly. To get started, you need to create a new pst file and then follow these steps to migrate OST to PST:
- From the left-hand navigation pane of Outlook, select your desired ost folder such as inbox that you want to copy.
- On the Edit menu, click the Copy to Folder option.
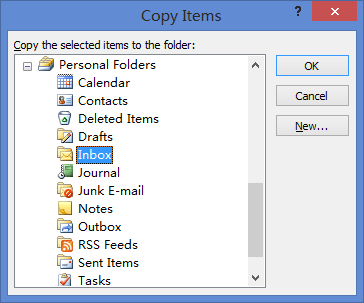
- In the Copy to Folder dialog, select your newly created pst file. Click OK.
- Repeat the steps for copying and saving the email items from each folder containing email messages. At this point in time, the email messages of OST file are copied to the newly created PST file.