Remote desktop sessions keep disconnecting after a while? Recently I ran into this issue on Windows 11 24H2 and the remote desktop connection frequently disconnected so I had to reconnect again and again. This is quite frustrating and many people who experienced the same problem reported that either KB5050094 or KB5051987 was to blame. Uninstalling those updates might solve the issue but eventually I found a better solution. In this tutorial we’ll show you how to tweak the group policy to fix the issue of remote desktop connection frequently disconnecting after Windows 11 update.
How to Fix: Remote Desktop Frequently Disconnects after Windows 11 Update
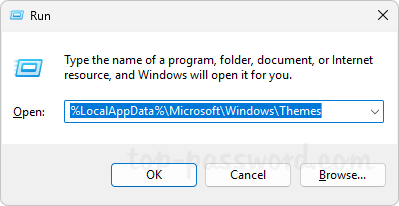
- Press the Windows key + R together to open the Run box, type
gpedit.mscand hit Enter to launch the Local Group Policy Editor.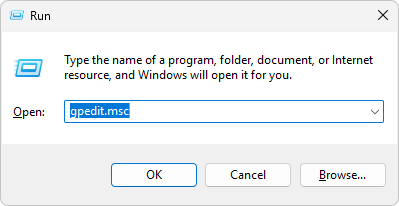
- Browse to:
Computer Configuration -> Administrative Templates -> Windows Components -> Remote Desktop Services -> Remote Desktop Connection Client. On the right pane, double-click the “Turn Off UDP On Client” policy.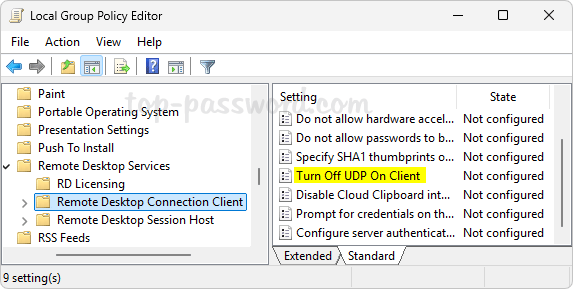
- Select the Enabled option. Click Apply and then OK.
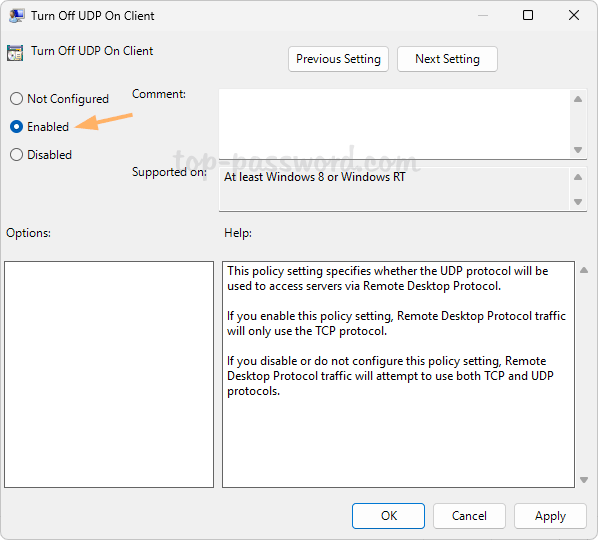
- Close the Local Group Policy Editor and restart the computer to make this change to take effect. The next time you connect to this PC through RDP and your session won’t keep dropping or disconnect automatically.
After applying the above group policy tweak, remote desktop service will run on TCP protocol only instead of UDP protocol. Whenever Microsoft releases a new update to fix the remote desktop connection issues, you can then disable the above group policy.