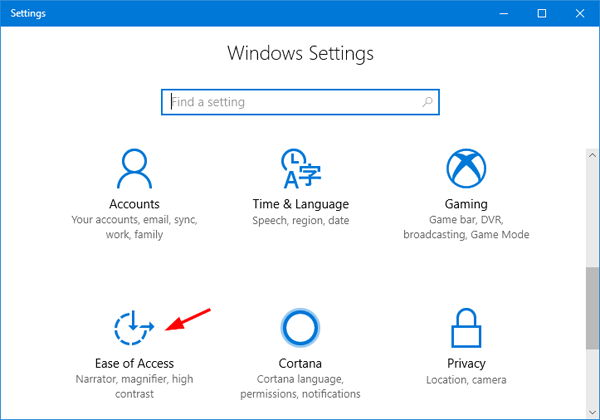
Since Windows 10 Fall Creators Update, the Settings app will display online tips on the right side of the currently opened page. The online tips could be general advice, links to online help or video tutorials.
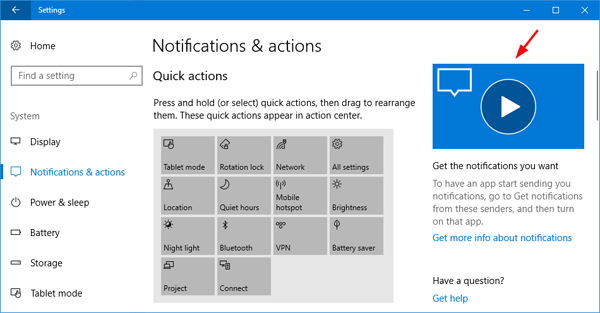
If the tips annoy you, you can easily turn them off using group policy or registry editor.
Method 1: Use Group Policy to Disable Online Tips for Settings App in Windows 10
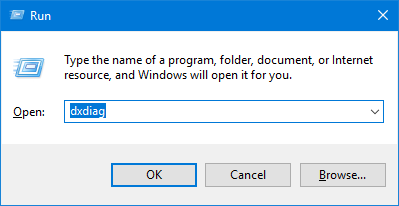
- Press the Windows key + R together, type in gpedit.msc and hit Enter to access Local Group Policy Editor.

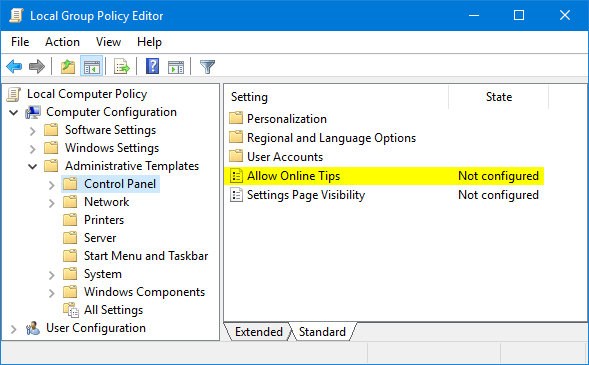
- Navigate to: Computer Configuration\Administrative Templates\Control Panel, and then double-click on the Allow Online Tips policy to edit it.
- Select Disabled, click Apply and then OK.
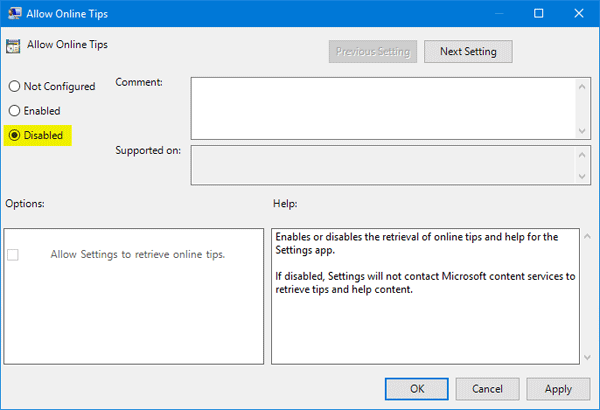
- Re-open the Settings app and the online tips should have gone.
Method 2: Use Registry Editor to Disable Online Tips for Settings App in Windows 10
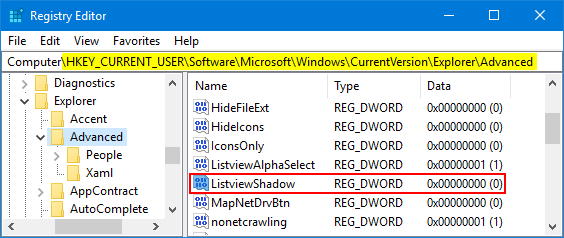
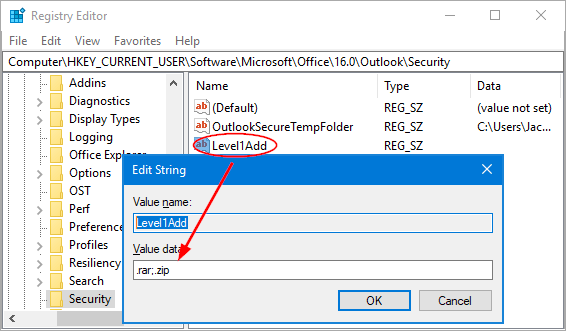
- Press the Windows key + R together, type in regedit and hit Enter to access Registry Editor.

- Navigate to the following key:
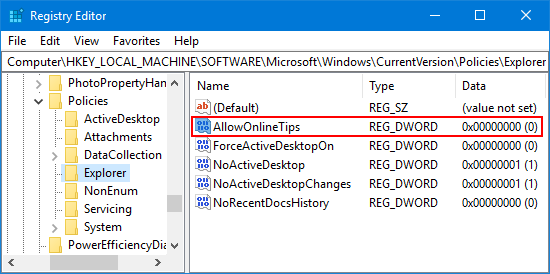
HKEY_LOCAL_MACHINE\SOFTWARE\Microsoft\Windows\CurrentVersion\Policies\Explorer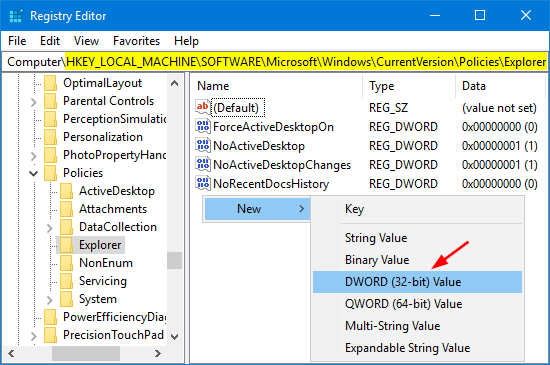
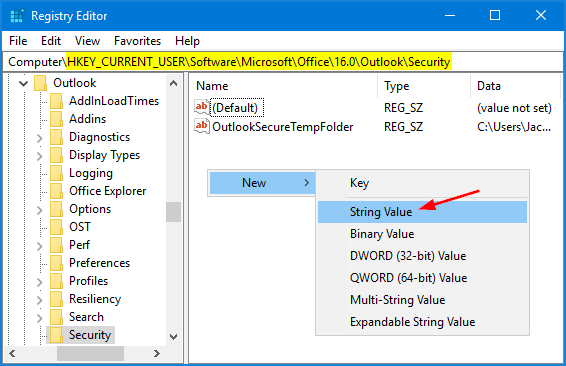
Then right-click the empty space in the right pane, select New -> DWORD (32-bit Value).
- Name the newly created value as AllowOnlineTips and keep its value at 0.
- Close Registry Editor and reboot your computer to see the changes.
