When you click the volume icon in the system tray, a new horizontal volume slider will appear on the screen. It just feels a little weird that you have to adjust the volume horizontally. Luckily there is simple registry hack that can help you get back the old / vertical volume control back in Windows 10.
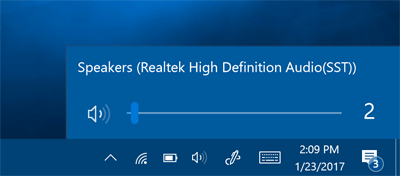
How to Enable Old / Vertical Volume Control in Windows 10?
-
Press the Windows key + R shortcut to open the Run command box. Type regedit and press Enter.

-
When the Registry Editor window opens, navigate to the following key:
HKEY_LOCAL_MACHINE\SOFTWARE\Microsoft\Windows NT\CurrentVersion\MTCUVCIf the MTCUVC key doesn’t exist, right-click on CurrentVersion and then choose New -> Key. Name the new key MTCUVC.

-
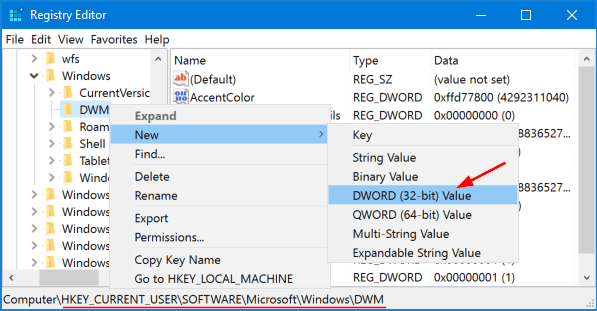
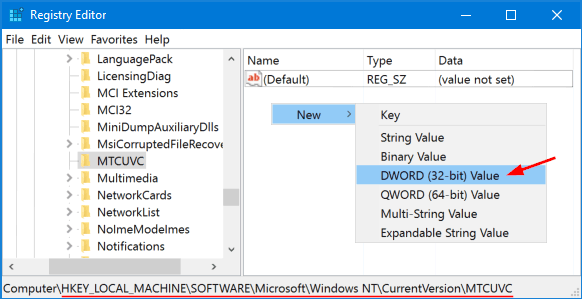
Select the MTCUVC key on the left pane. Right-click any empty space on the right pane, then choose New -> DWORD (32-bit) Value.
-
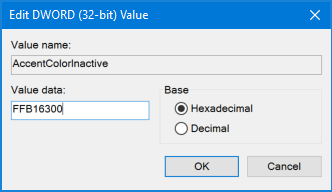
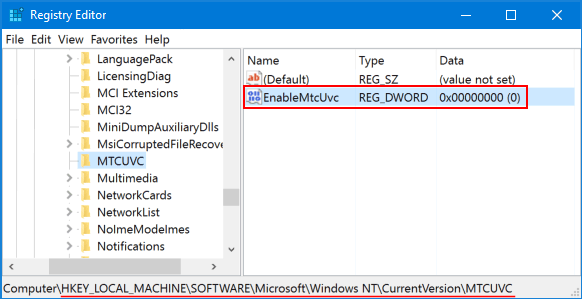
Name this new DWORD EnableMtcUvc and leave the Value data to be 0. If you want to enable the new / horizontal Volume Control later, just change its data back to 1.
-
Log out of your Windows account and log back in. Click the Volume icon in the system tray and you should see your old vertical Windows mixer.

Actually, this tweak might work instantly without having to log out or restart your PC.
