Did you ever play a game in full-screen mode and accidentally press the Windows key? This might cause your game to minimize or exit full-screen mode. What to do if the Windows keyboard shortcuts conflict with some software shortcuts? In this tutorial we’ll show you 3 simple ways to disable Windows key shortcuts (hotkeys) in Windows 10.
After testing, the first two methods seem to disable only these keyboard shortcuts: Windows + D, Windows + R, Windows + S, Windows + A. It won’t disable the shortcuts like Windows + X, Windows + L, Windows + PrntScr or Windows + Tab in Windows 10. If you want to disable the single Windows key on your keyboard, the 3th method is your choice.
Method 1: Disable WIN+ Keyboard Shortcuts in Using Group Policy
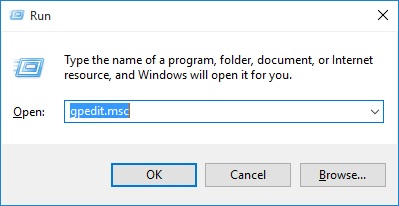
- Type edit group policy in the Search or Run box and press Enter. It will open Local Group Policy Editor.
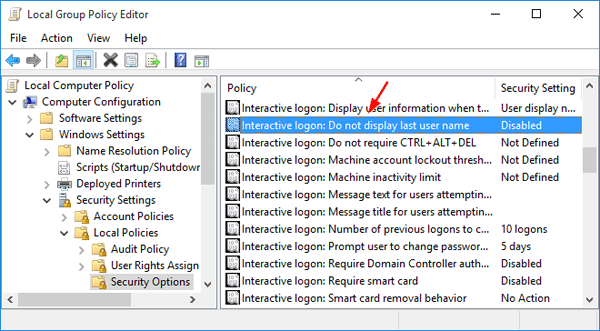
- Navigate to
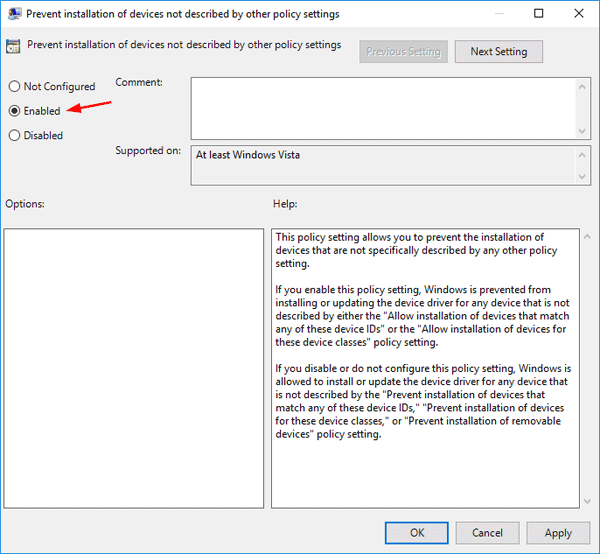
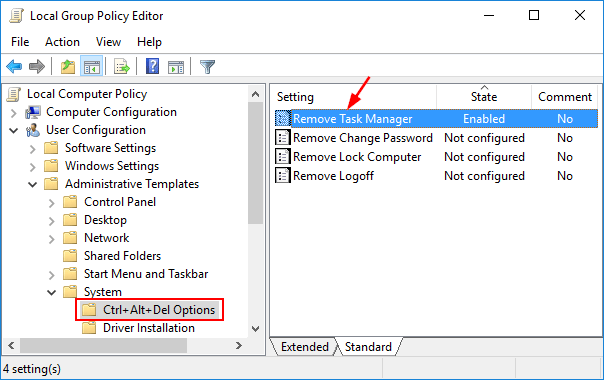
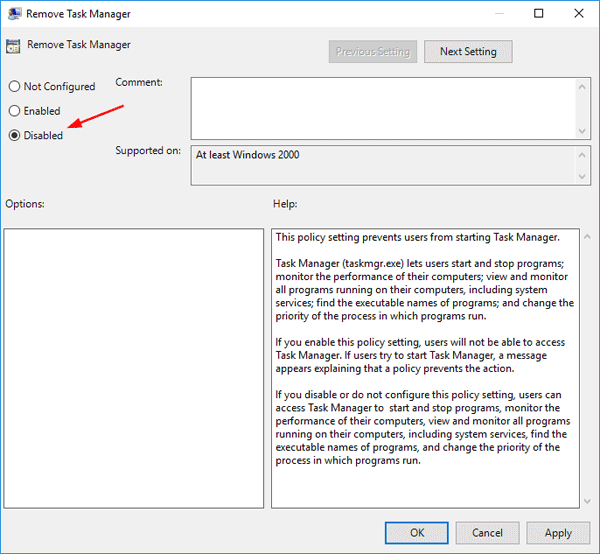
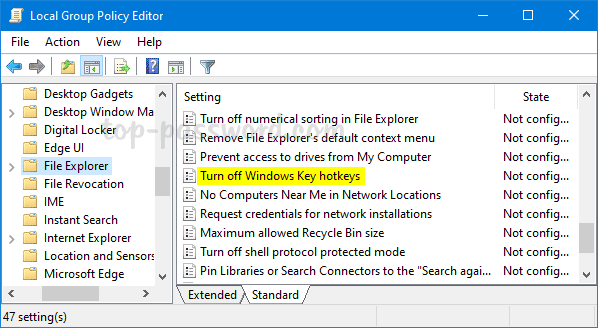
User Configuration -> Administrative Templates -> Windows Components -> File Explorer. In the right-side pane, double-click on the Turn off Windows Key hotkeys policy to edit it.
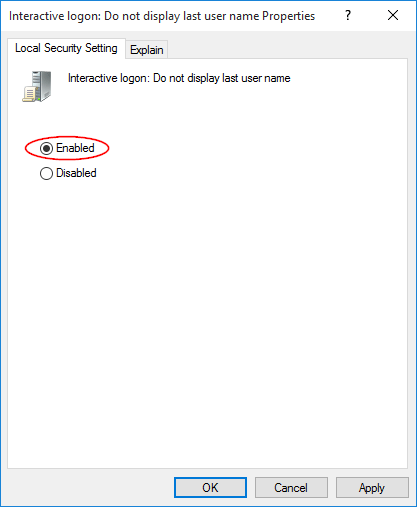
- Select the Enabled option and click Apply and then OK.
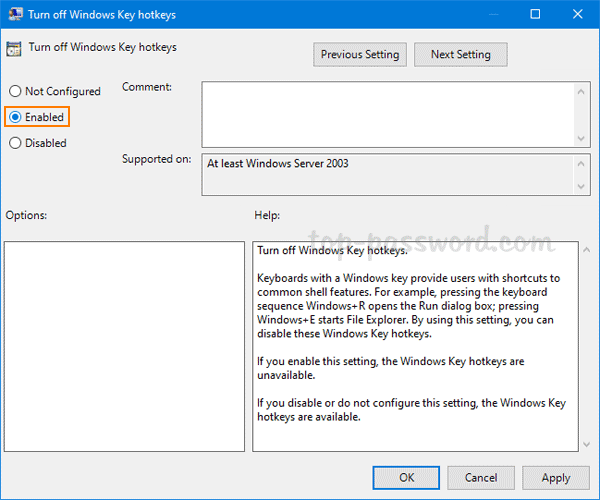
- Reboot the computer to apply the changes.
Method 2: Disable WIN+ Keyboard Shortcuts in Using Registry Editor
If you’re unable to access the Local Group Policy Editor, you can take help of Registry Editor for the same task. Just follow these steps:
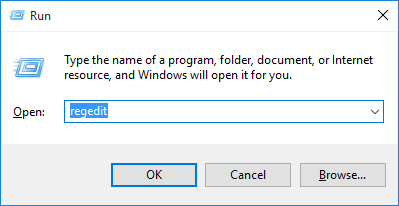
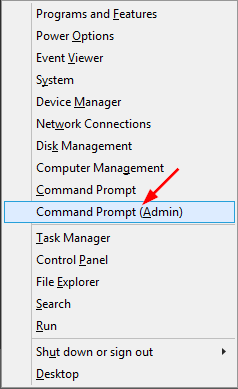
- Type regedit in the Search or Run box and press Enter. It will open Registry Editor.
- Navigate to the following key:
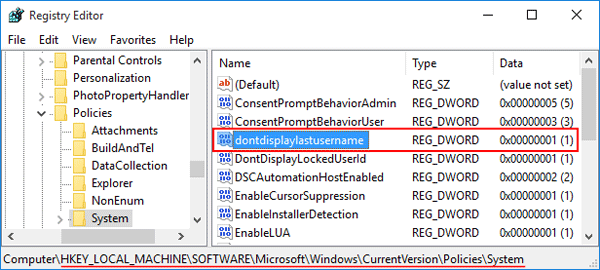
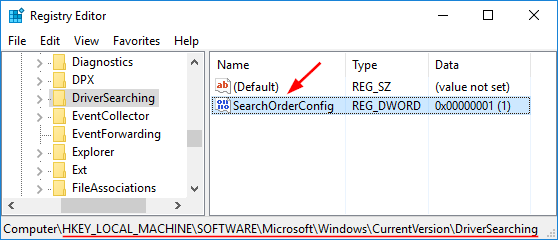
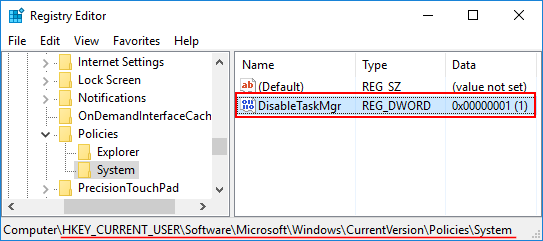
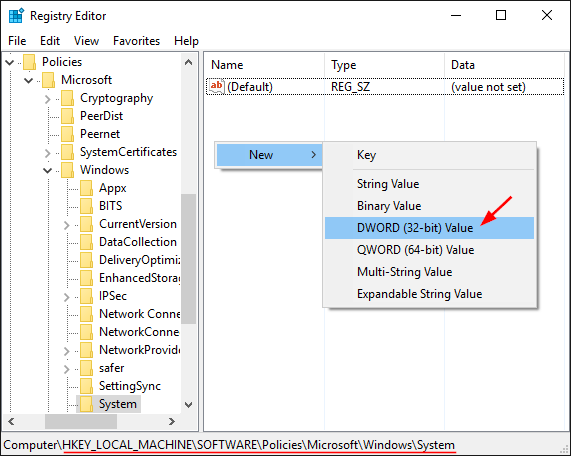
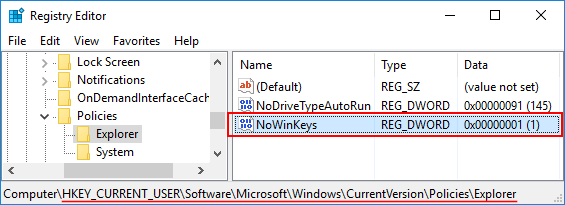
HKEY_CURRENT_USER\Software\Microsoft\Windows\CurrentVersion\Policies\Explorer. In right-side pane, right-click on the empty space and select New -> DWORD (32-bit) Value.
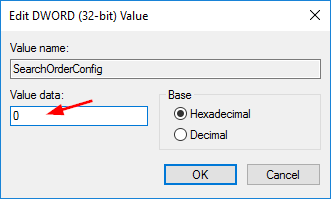
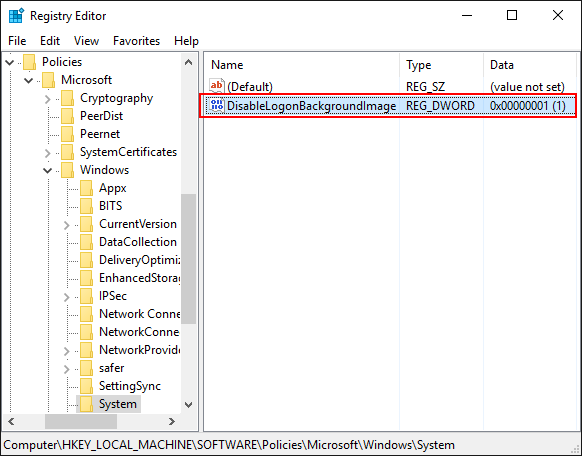
- Rename the newly created entry as NoWinKeys and set its value to 1.
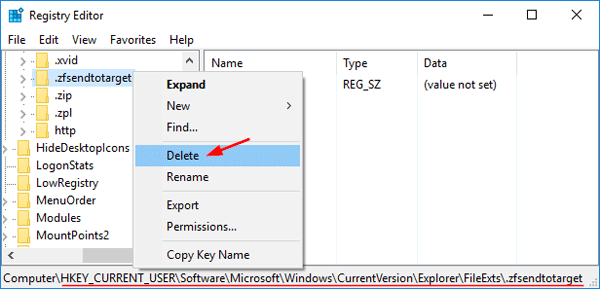
- Close Registry Editor and restart your system. After reboot the WIN+ hotkeys will be turned off in your system. If you want to re-enable the WIN+ keyboard shortcuts, just delete NoWinKeys entry.
Method 3: Disable Windows Key Completely
This method allows you to completely disable the Windows logo key for all users in Windows 10, 8, 8.1 and Windows 7. Follow these steps to disable Windows key virtually:
- Type regedit in the Search or Run box and press Enter. It will open Registry Editor.
- Navigate to
HKEY_LOCAL_ MACHINE\System\CurrentControlSet\Control\Keyboard Layout. In the right-side pane, right-click on the empty space and select New -> Binary Value.
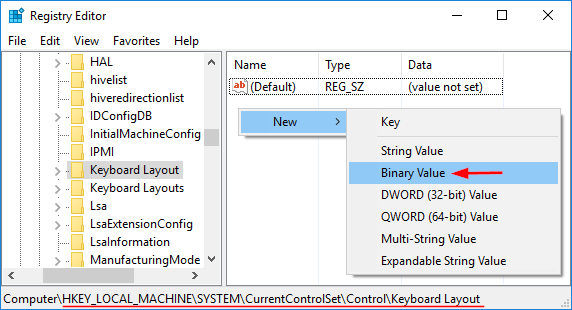
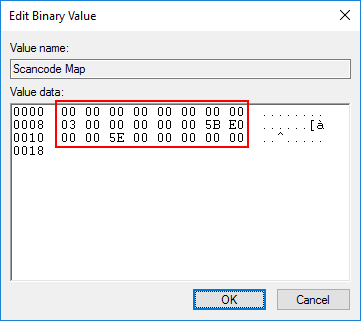
- Rename the newly created entry as Scancode Map. Right-click on Scancode Map and click Modify. Type in the following value as the value data manually (copying and pasting will not work), then click OK.
00 00 00 00 00 00 00 00
03 00 00 00 00 00 5B E0
00 00 5C E0 00 00 00 00
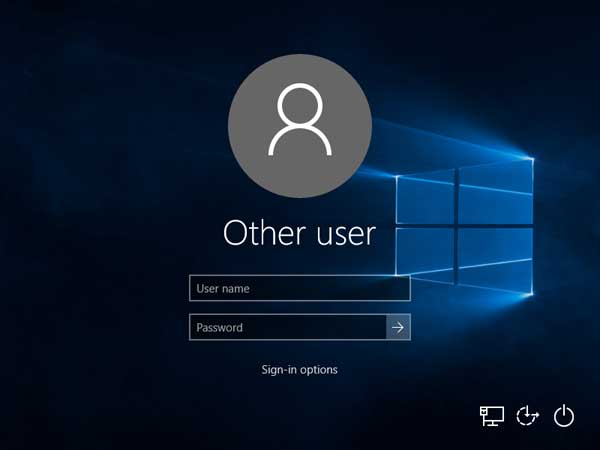
- Close Registry Editor and restart the computer. When you boot back into Windows 10, press the Windows key and nothing will happen. If you want to re-enable the Windows logo key, open the Registry Editor again and delete the Scancode Map entry.