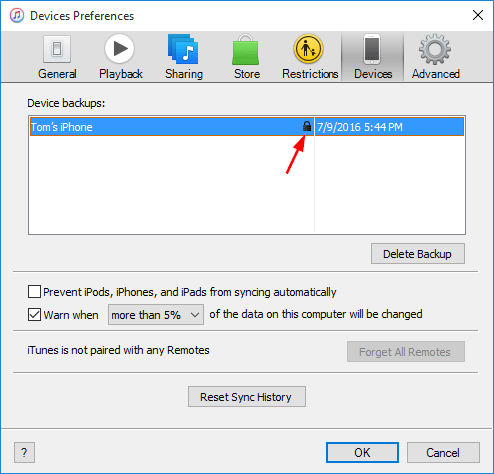
Lost your iPhone backup password? How to unlock your iPhone backup if you forgot the password? The encrypted local backup will be unusable and unreadable without that password. In this tutorial we’ll show you 2 ways to recover forgotten iPhone backup password on Windows 10, 8 or 7.
Method 1: Try Possible Passwords
The most obvious advice is to try some of your possible passwords! Very few computer users actually create unique passwords for each account. Most people have one or two passwords that they use across all of their accounts. Check out the clues below and hope you can remember your iPhone backup password:
- Try your iTunes Store password, which is most commonly the password to restore your backup.
- Try your 4 digit passcode for unlocking your iPhone device.
- Try the default password 0000 or 12345.
- If you are using a Mac, check if your iTunes backup password is stored in Keychain access. First, open Applications -> Utilities -> Keychain Access. Double-click on the entry for “iPhone backup” and click “Show password”.
- Try the Windows administrator password.
If you have managed to attempt all the steps and nothing has worked, it seems like you will have to crack your iPhone backup password with third party password cracking software.
Method 2: Recover iPhone Backup Password with iTunesKey
iTunesKey allows you to recover iPhone backup password using Brute-force attack, mask attack or dictionary attack. It works by try all possible password combinations or most common passwords. Follow these steps to crack iPhone backup password on Windows:
- Download and install iTunesKey on your local computer. After installing, launch iTunesKey and then click on the … button.
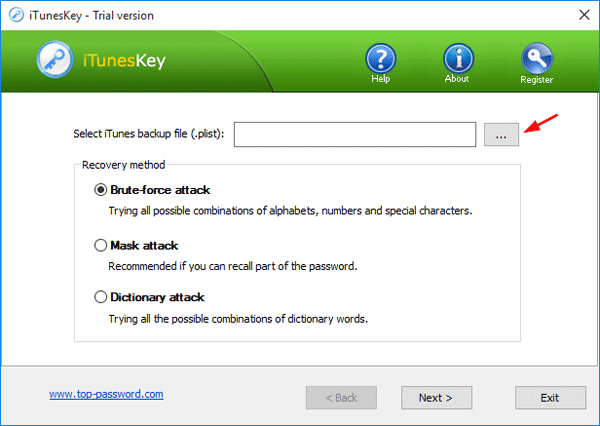
- When the File Open dialog opens, select the Manifest.plist file which is used by iTunes to store your iPhone backup password.

If you don’t know where the Manifest.plist is located, please check out this article: How to Find iPhone Backup Location in Windows and Mac.
- Choose one of the recovery modes: Brute-force attack, Mask attack and Dictionary attack, and then click Next. In my example, I used Brute-force attack.
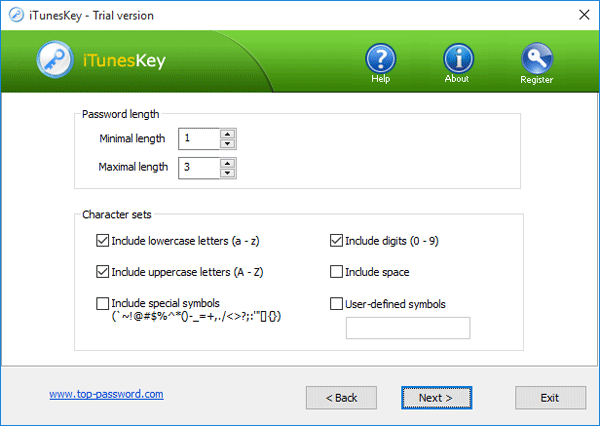
- Customize the password length and the characters your password may contains. Click Next.
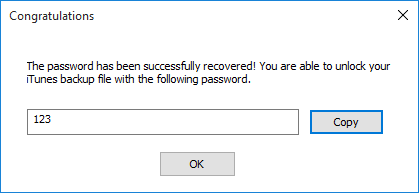
- Just wait for the program to try all possible combinations to guess your password. When the correct password is found, you’ll get a pop-up dialog box with your password shown on the screen.
