Did you end up with a Microsoft account after upgrading to Windows 10? Struggle to revert your Windows login from Microsoft account to local account but you forgot the password? This beginner’s step-by-step guide will help you switch a Microsoft account to a local account in Windows 10, even if you forgot your Microsoft account password.
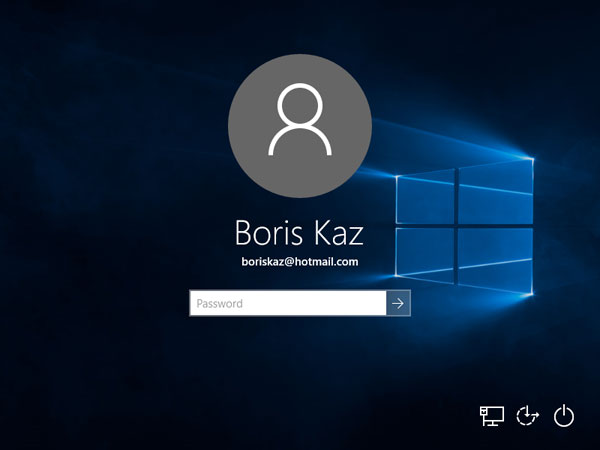
Method 1: Switch to Local Account with Logging in
Log into your Windows 10 computer with either a local admin account or your Microsoft account, then follow these steps to switch from a Microsoft account to local account easily:
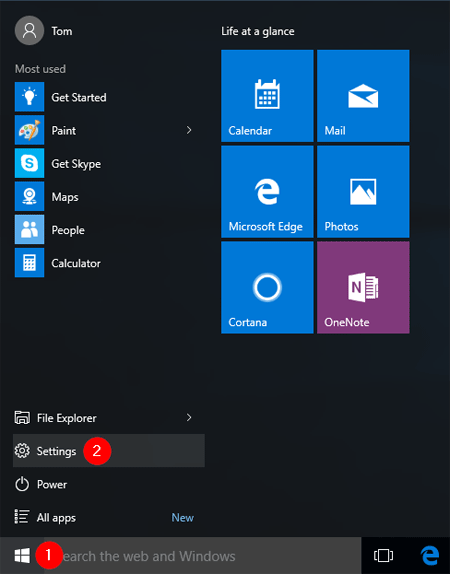
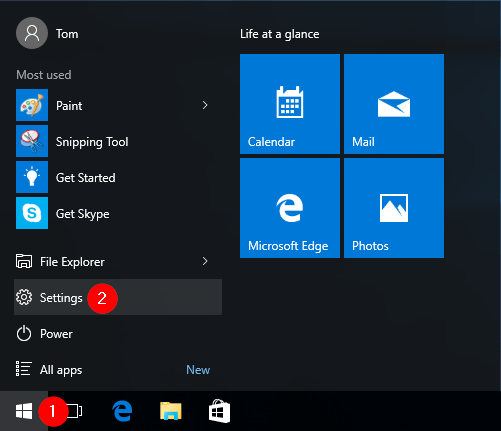
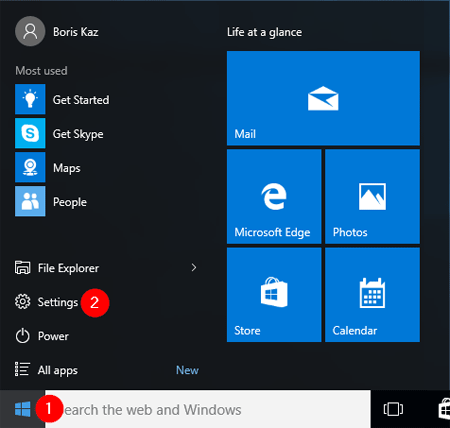
- Press the Windows + I keys to open the Settings charm, or click on the Windows Start button and choose Settings.
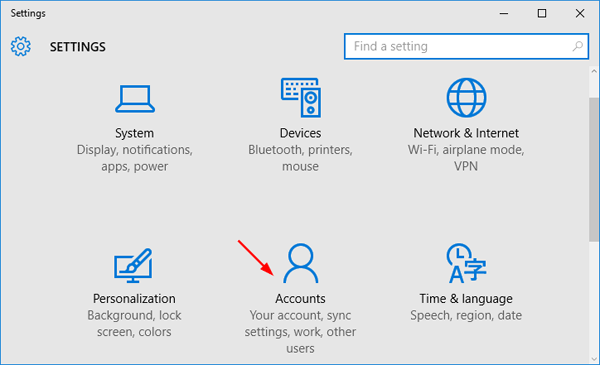
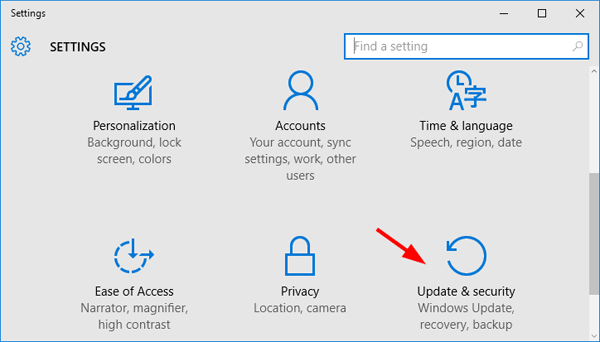
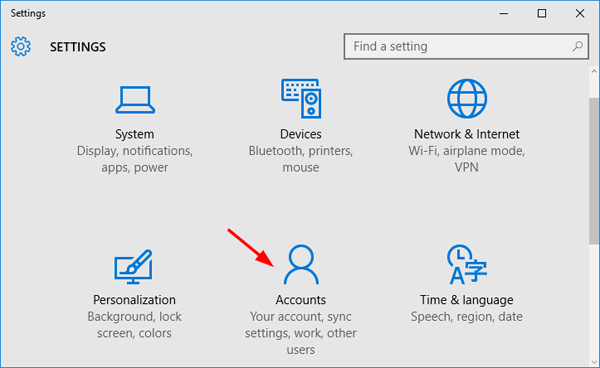
- Click on Accounts.
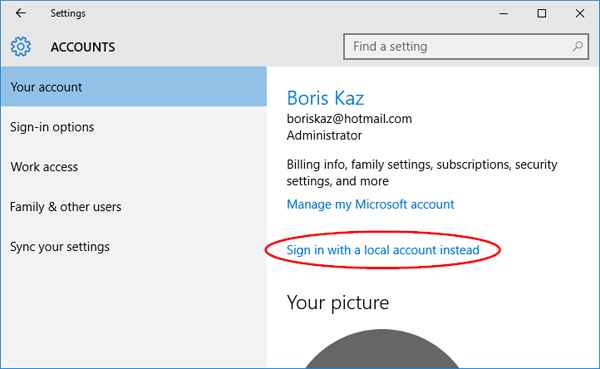
- In the Your account section, click on the “Sign in with a local account instead” link.
- Verify your Microsoft account by entering your current email password. Click Next.

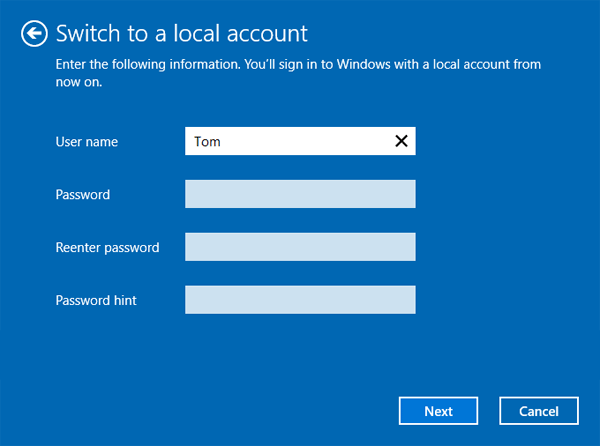
- Once your password is successfully verified, then the system will prompt you to create a new local account. Enter the account name and password, then click Next.
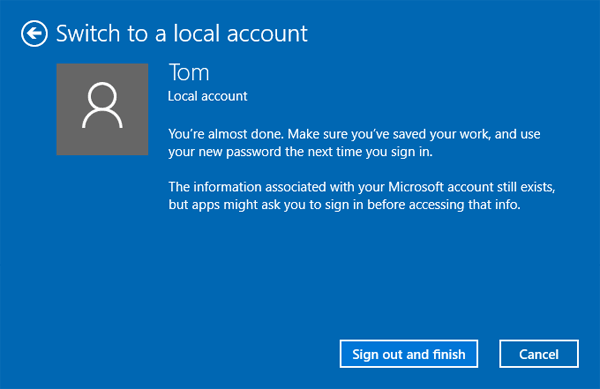
- Click Sign out and finish at the bottom of the screen. You will have created a new local account that you can log into instead of your Microsoft account.
Method 2: Switch to Local Account without Logging in
If you’re locked out of your Windows 10 PC or couldn’t remember your Microsoft account password, you need to use a recovery boot CD like PCUnlocker. Just boot your PC from the CD and it allows you to offline switch your Microsoft account to a local account.
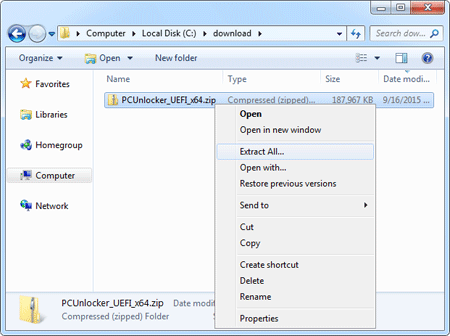
- Use a working PC to download the ISO image of PCUnlocker Enterprise. The downloaded file is in .zip format. To extract the pcunlocker.iso file from it, simply right-click on the zip file and choose “Extract All” from the pop-up menu.
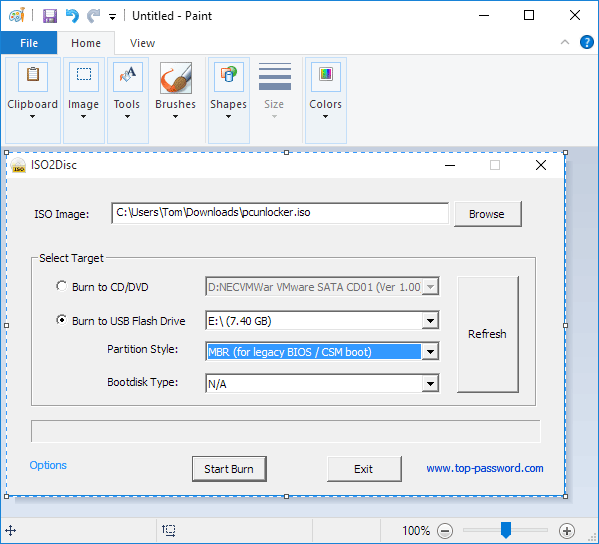
- Burn the ISO file to a blank CD using the free USB burning program – ISO2Disc. If your PC doesn’t have a CD drive, you can choose to make a bootable USB drive (Remember to select GPT partition style which is required for Windows 10/8 UEFI boot).
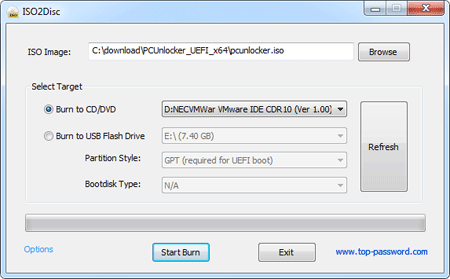
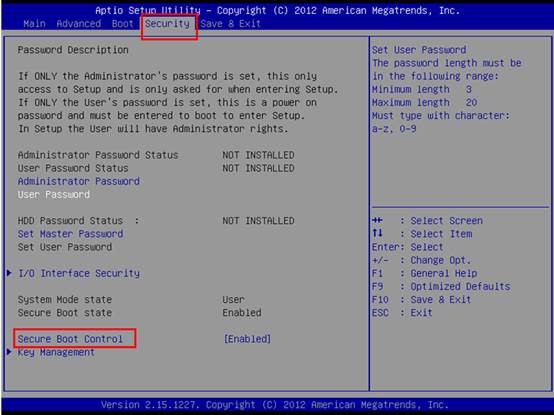
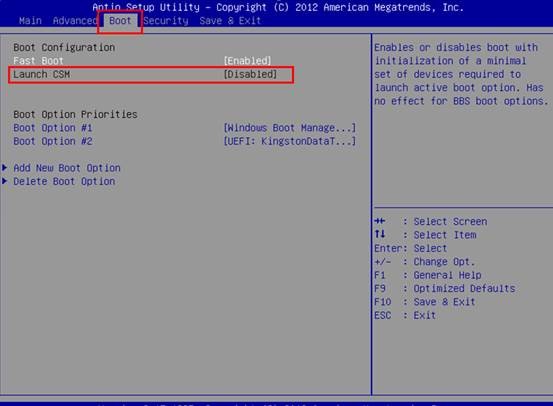
- Boot your Windows 10 PC from the CD you burned. You might have to access your computer’s BIOS and change the boot sequence for booting from a CD/DVD. Once booting from the CD, it will launch the PCUnlocker program within one or two minutes.
- From the PCUnlocker program, you can see a list of local accounts available in your PC. Your Microsoft email address should be displayed under the Description column of the linked local account.

- Highlight the linked local account and click on Reset Password button. The program will revert your associated Microsoft account back to local account and remove the local password.
- Reboot your computer without the CD. Now Windows 10 login screen will display a local account instead of Microsoft account, and you can login without typing a password! That’s it!
