Windows 10 notifications disappear too quickly from the bottom right of your screen before you can read them? By default, the notifications will pop up for 5 minutes before they are sent off to the Action Center. If you would like the notifications to stay a litter longer, here are 3 ways to change Windows 10 notification duration with ease.
Method 1: Change Windows 10 Notification Duration from Settings App
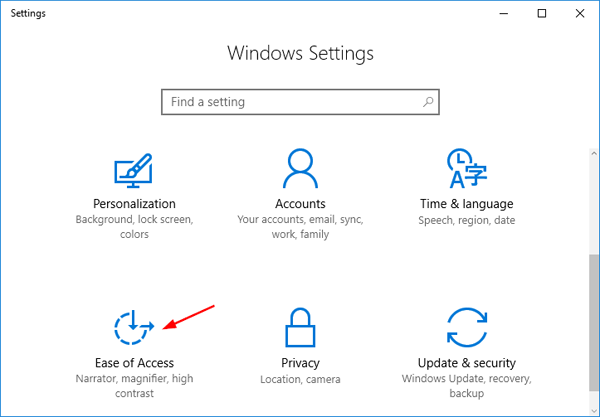
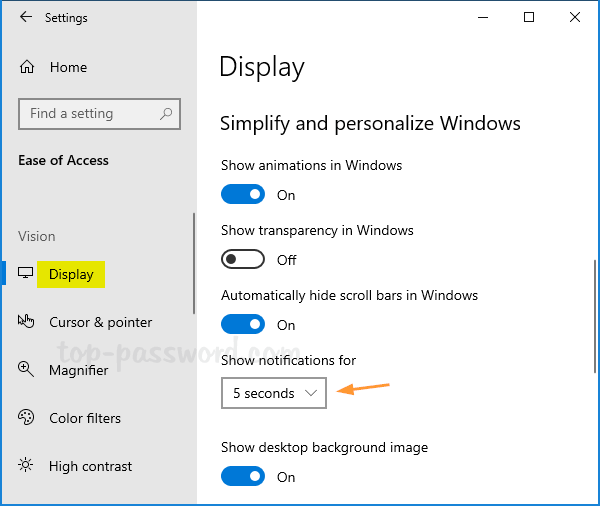
- Open the Settings app, and click on the Ease of Access.

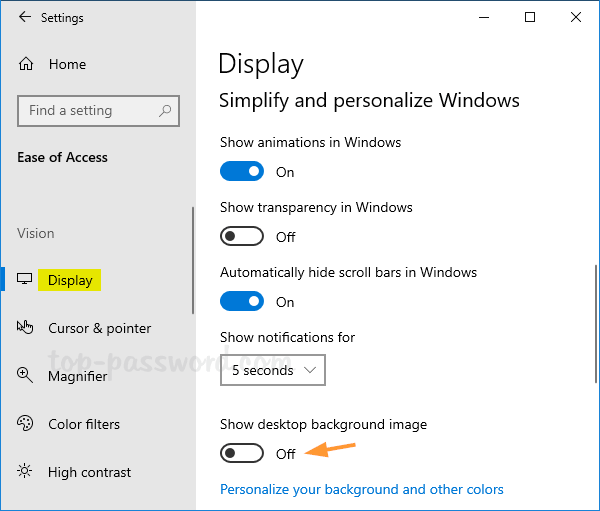
- Choose the Display tab on the left side. On the right, click the “Show notifications for” drop down menu and you can change the time duration from the default 5 seconds to 7, 15, 30 seconds or even 5 minutes.
- Your notifications will now stay longer on the bottom right of your screen before they disappear.
Method 2: Change Windows 10 Notification Duration from Control Panel
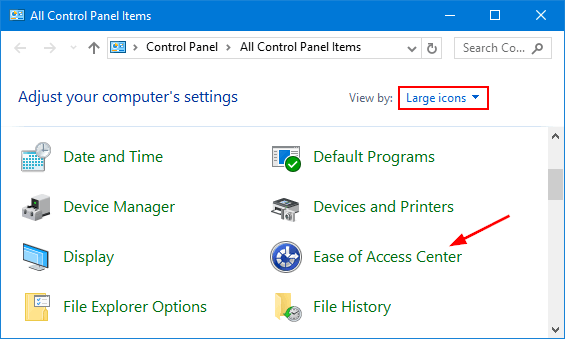
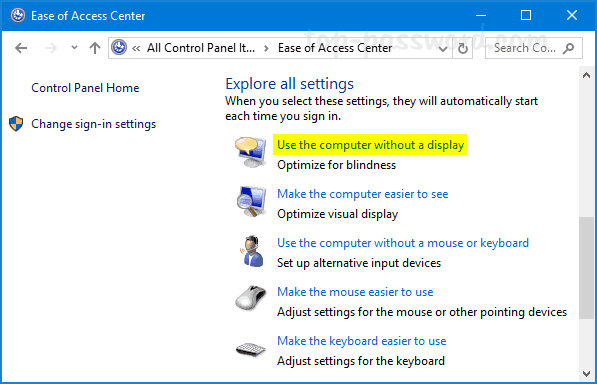
- Open the Control Panel in Large icons view, and click on Ease of Access Center.

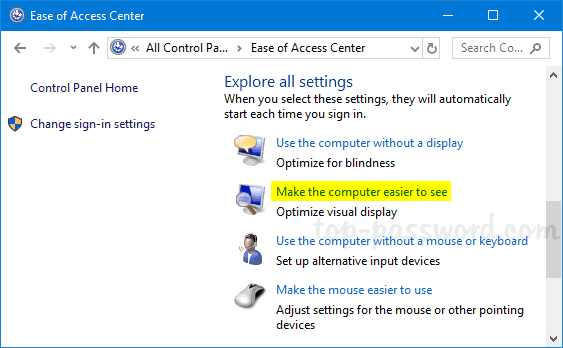
- Under the “Explorer all settings” section, click on the “Use the computer without a display” link.
- Scroll down to the “Adjust time limits and flashing visuals” section, click the drop-down list to specify how long Windows notification dialog boxes should stay open.
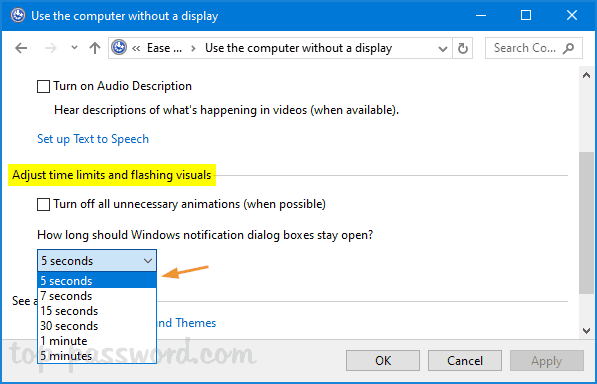
- Click OK to save your changes.
Method 3: Change Windows 10 Notification Duration from Registry Editor
- Open Registry Editor and navigate to the key:
HKEY_CURRENT_USER\Control Panel\Accessibility. Double-click the DWORD MessageDuration on the right pane to modify it.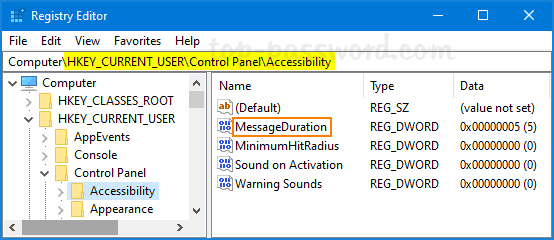
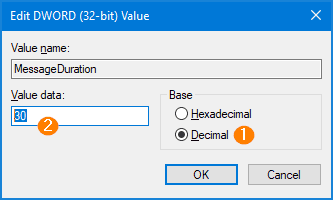
- The Edit DWORD Value window will appear. Set Base to Decimal and enter the time duration in seconds. If you enter 300, notifications will disappear within five minutes.
- Close Registry Editor. You have to log off or restart your computer to make the changes take effect.