Mess up the firewall settings accidentally? Need to delete all the custom firewall rules to troubleshoot your network connectivity issue? In this tutorial we’ll show you 5 ways to reset / restore firewall settings to default in Windows 10.
Method 1: Reset Firewall Settings to Default via Control Panel
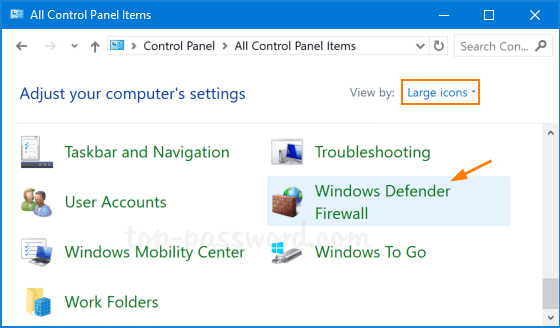
- Open the Control Panel and change the View by option from Category to Large icons. Click on Windows Defender Firewall.
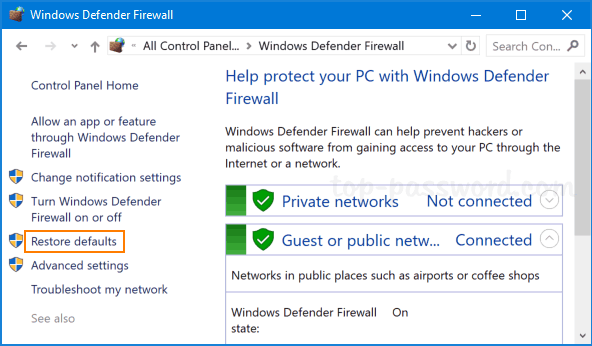
- Click on the Restore defaults link on the left side.
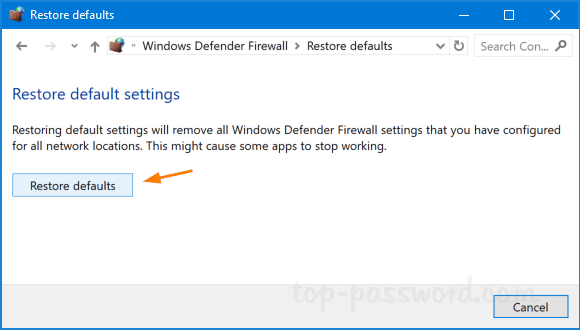
- Click on the Restore defaults button.
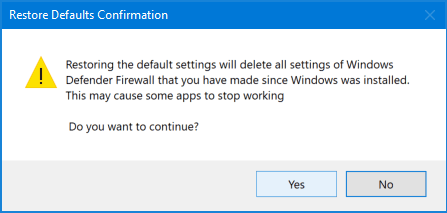
- When the confirmation dialog box appears, click Yes and your Windows firewall settings will be restored to default immediately.
Method 2: Reset Firewall Settings to Default via Windows Defender
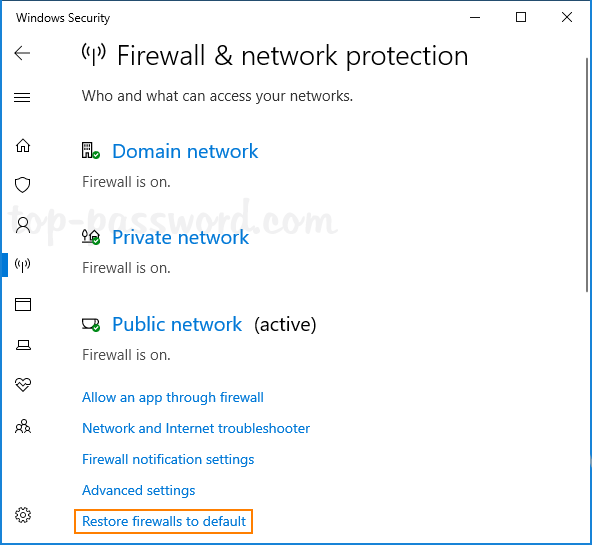
- Open the Windows Defender app and select Firewall & network protection on the left menu bar. Next, click the “Restore firewalls to default” option on the right side.
- Click on the Restore defaults button.
- You will be asked for confirmation once again. Click Yes to reset all Windows Firewall settings.
Method 3: Reset Firewall Settings to Default via Windows Firewall with Advanced Security
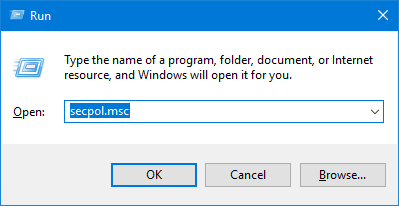
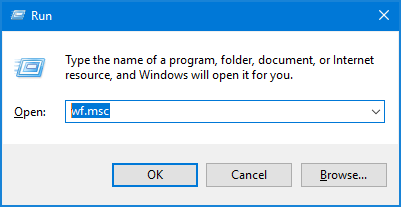
- Press the Windows key + R to open the Run box, type wf.msc and hit Enter to open the “Windows Defender Firewall with Advanced Security” console.
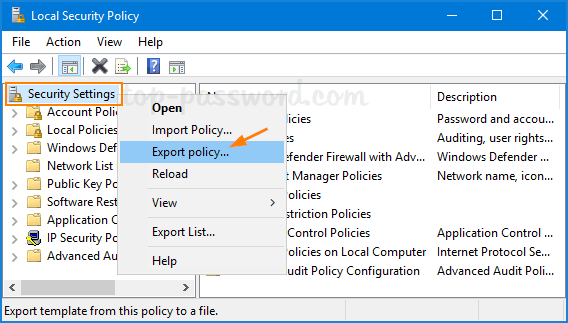
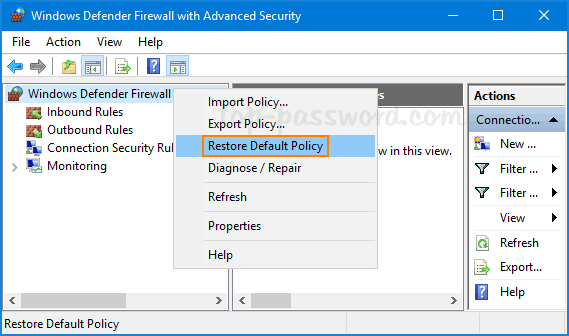
- Right-click on the top item “Windows Defender Firewall with Advanced Security on Local Computer” in the left pane and select “Restore Default Policy“.
- Click Yes when you see the following confirmation dialog box.

- All the firewall rules are now reset to their initial values, as they were when you first installed Windows 10.
Method 4: Reset Firewall Settings to Default via Command Prompt
- Open the Command Prompt as administrator, and type this command:
netsh advfirewall reset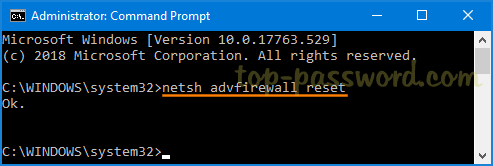
- Once pressing Enter, all the firewall settings are now reset to their default values.
Method 5: Reset Firewall Settings to Default via Windows PowerShell
- Open Windows PowerShell as administrator, and run the following command:
(New-Object -ComObject HNetCfg.FwPolicy2).RestoreLocalFirewallDefaults()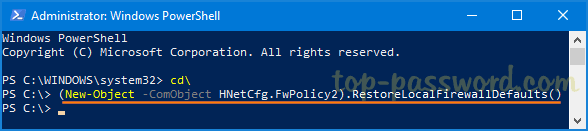
- Your Firewall rules will be restored to defaults in no time, without any additional confirmation.