If your computer shows the wrong time, it’s probably because Windows fails to update the time zone based on your physical location, especially when you’re traveling overseas. In this tutorial we’ll show you 4 simple ways to change time zone in Windows 10.
Method 1: Change Time Zone in Windows 10 from Settings
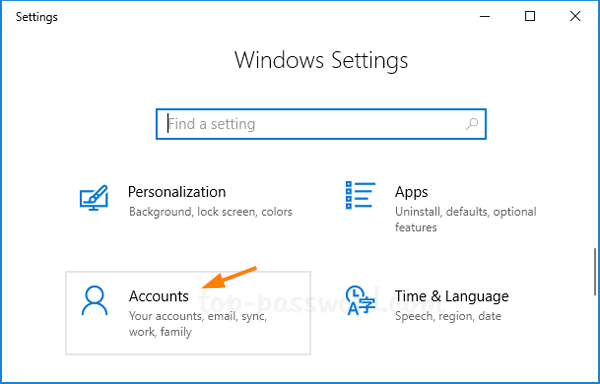
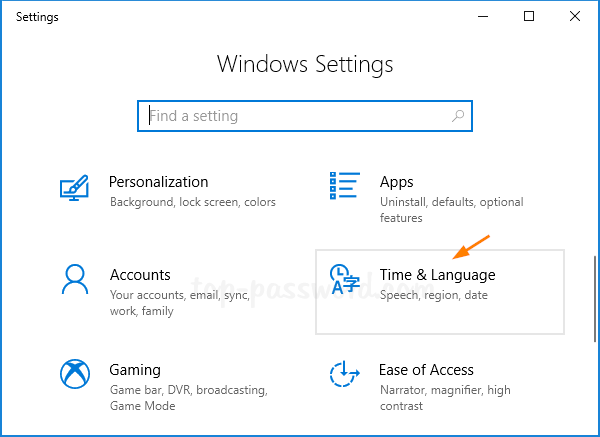
Open the Settings app and go to the “Time & Language” section.
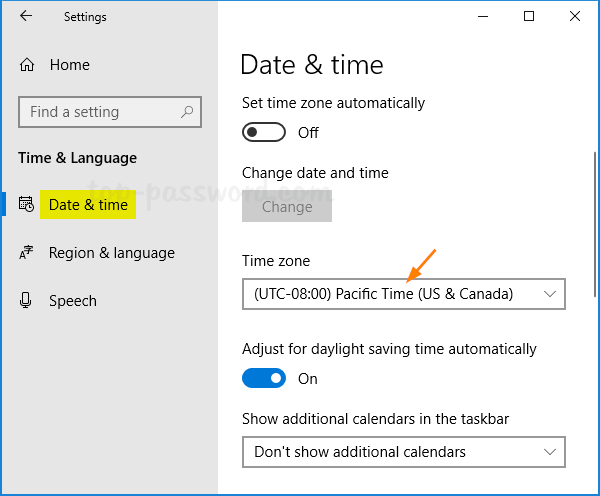
Select Date & time in the left-hand menu. Make sure the “Set time zone automatically” is turned off, so you can then click the “Time zone” drop-down menu to set the correct time zone for your location.
Method 2: Change Time Zone in Windows 10 from Control Panel
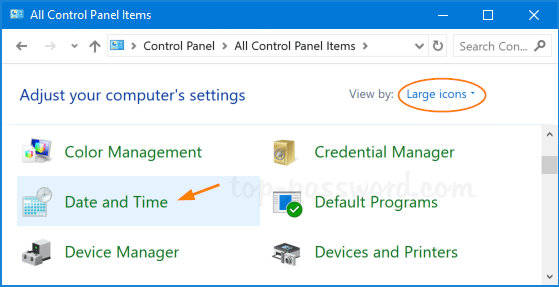
Open the Control Panel in Large icons view, and click on Date and Time.
Click on the Change time zone button.
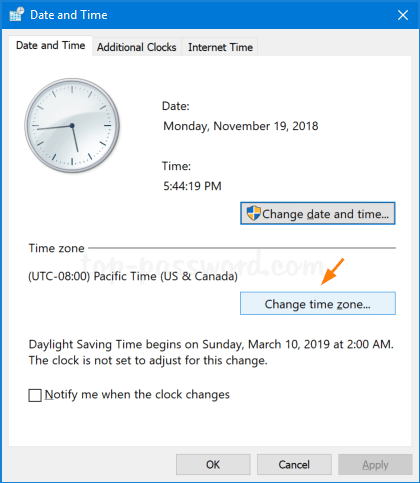
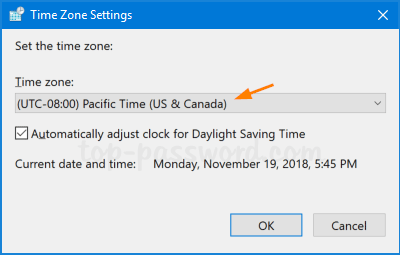
In the Time Zone Settings window, you can adjust the time zone based on your physical location. Click OK to save your changes.
Method 3: Change Time Zone in Windows 10 from Command Prompt
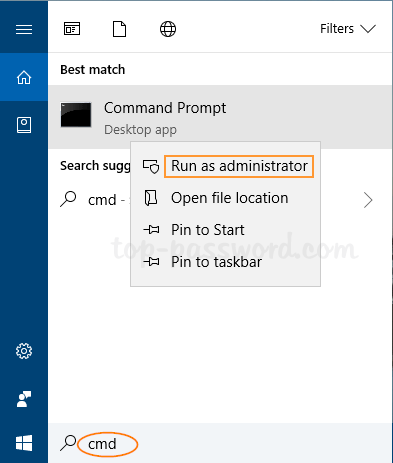
Open an elevated Command Prompt.
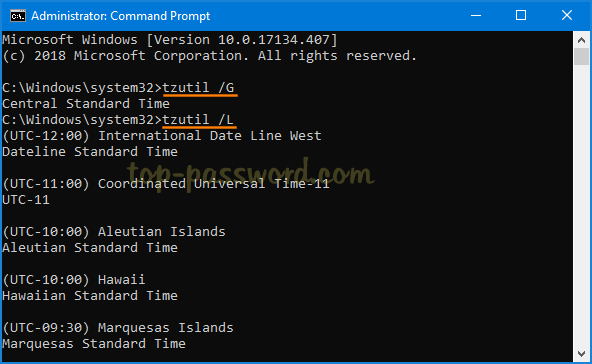
To view the current time zone, type tzutil /G and press Enter. If you want to find out the list of all available time zones, type tzutil /L instead.
To set a new time zone, execute the command:
tzutil /S "time_zone_name"

Method 4: Change Time Zone in Windows 10 from PowerShell
Open Windows PowerShell as administrator.

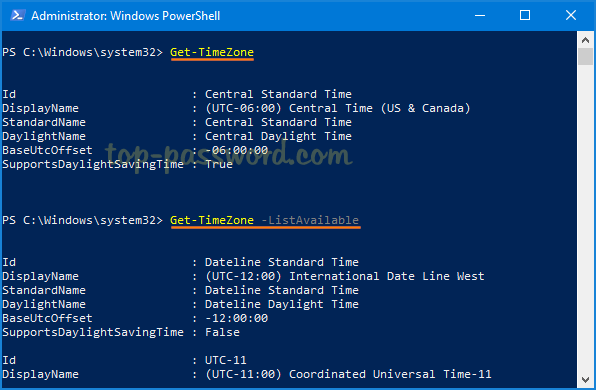
You can find out your current time zone by executing the Get-TimeZone command. To list all available time zones, run this command: Get-TimeZone -ListAvailable.
In order to change the time zone, execute the command:
Set-TimeZone -Name "time_zone_name"

That’s it!