Windows 10 file extensions are messed up? Is there a simple way to reset all file associations to default? When double-clicking a text file, Windows will open it with Notepad because the file extension .txt is associated with Notepad by default. Installing a new text editor software can result in changes to the default file association. Since Windows 10 there is an easy way to restore all file associations to default.
How to Restore All File Associations to Default in Windows 10?
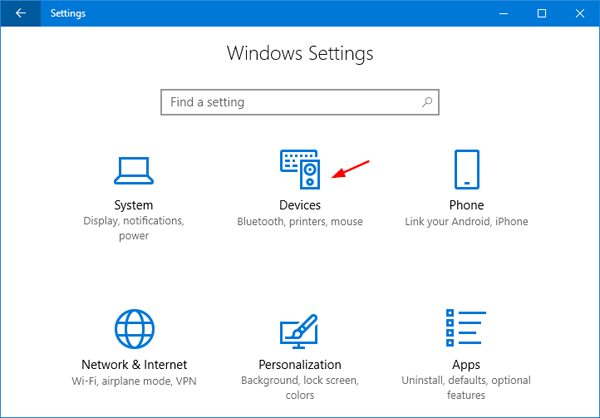
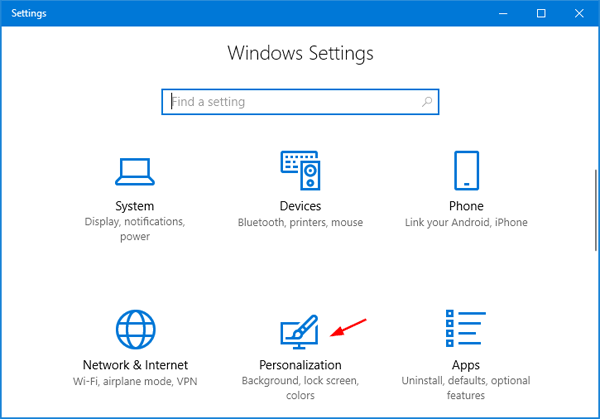
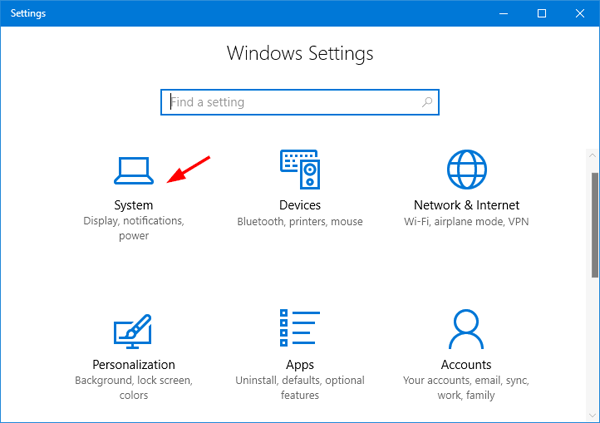
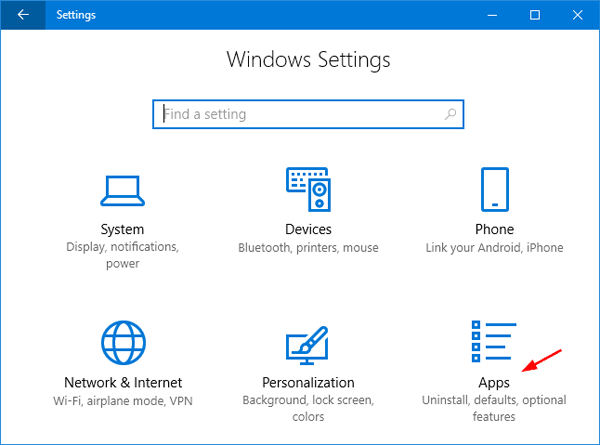
Press the Windows key + I shortcut to open the Settings app, and then click Apps.
Select the Default apps on the left, you’ll see all the default programs for opening your pictures, videos, webpage or checking out email message, etc. Scroll down a bit till you see the setting – Reset to Microsoft recommended defaults.
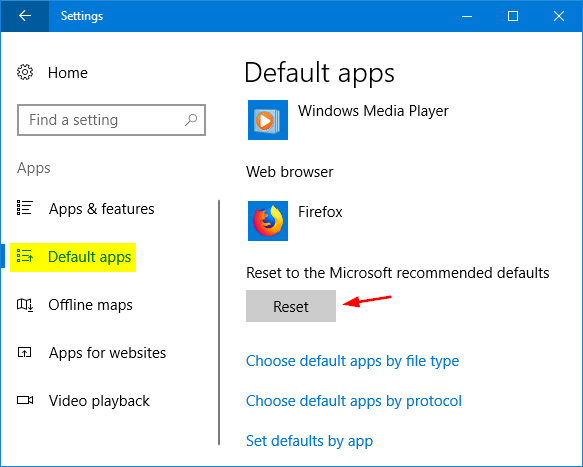
Click the Reset button and all your file associations will be restore to their original defaults immediately.